Premium Only Content

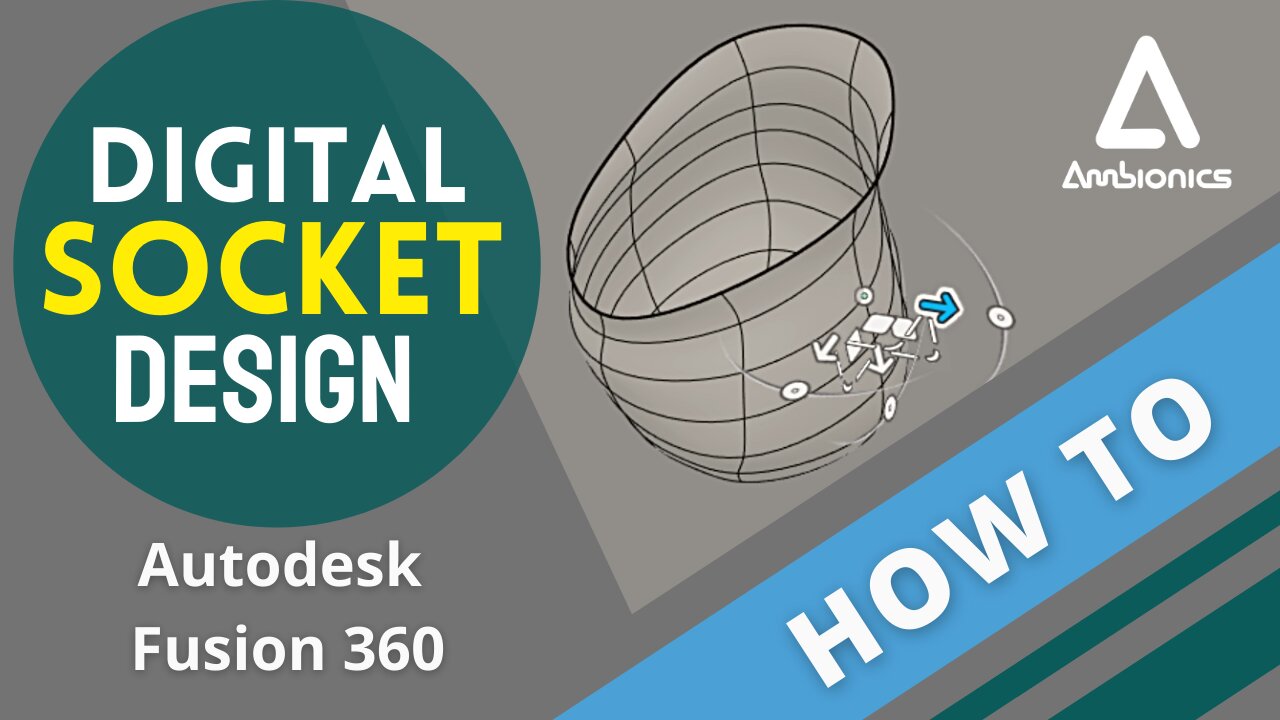
How to Adjust Prosthetic Sockets in Fusion 360 | Tutorial
After 5 months of using the Vario system, it looks like Sol needs a new #Prosthetic socket. This video is a How-to on digital socket adjustments and contains #Tips for #Autodesk #Fusion360 when modeling organic geometry. Sol compares two check sockets at the end.
Background: Sol recently began showing signs that his first Vario-socket needs replacing. After heavy play periods and especially after sports, Sol is left with a red mark from where his paw is rubbing against the socket. It's not painful but is something that cannot be left to worsen. When this starts to happen, Sol must wear a cotton sock over his paw whenever he uses his device. This protects the affected area and along with some ointment, keeps things moving for a couple of weeks. Sol doesn't like wearing cotton socks (which are just 0-6 month-old baby socks). He prefers the smooth surface of annealed rubber which creates a 'suction fit' allowing him to really throw the device around (for example when balancing or changing direction suddenly in football). The sock makes the arm feel loose and that won't do! It's now a race against time to get the new one fabricated. As we are moving into the UK summer, white, expanded rubber will be used this time. Be sure to subscribe to make sure you catch the next episode!
-
 4:10
4:10
Ben & Sol
3 years agoAmbionics | Inside the Workshop | 3D Printed Switches
59 -
 2:22:06
WeAreChange
6 hours agoPSYOP Spreads: Drones Shut Down Airport In New York!
80.2K44 -
 1:31:18
Redacted News
9 hours agoEMERGENCY! NATO AND CIA ASSASSINATE TOP RUSSIAN GENERAL, PUTIN VOWS IMMEDIATE RETALIATION | Redacted
221K426 -
 56:45
56:45
VSiNLive
7 hours ago $5.73 earnedFollow the Money with Mitch Moss & Pauly Howard | Hour 1
73.6K2 -
 52:44
52:44
Candace Show Podcast
8 hours agoMy Conversation with Only Fans Model Lilly Phillips | Candace Ep 122
93.5K326 -
 LIVE
LIVE
tacetmort3m
8 hours ago🔴 LIVE - RELIC HUNTING CONTINUES - INDIANA JONES AND THE GREAT CIRCLE - PART 5
297 watching -
 26:52
26:52
Silver Dragons
7 hours agoCoin Appraisal GONE WRONG - Can I Finally Fool the Coin Experts?
35.6K2 -
 6:49:16
StoneMountain64
11 hours agoNew PISTOL meta is here?
37K1 -
 20:58
20:58
Goose Pimples
12 hours ago7 Ghost Videos SO SCARY You’ll Want a Priest on Speed Dial
21K3 -
 2:24:59
The Nerd Realm
10 hours ago $2.92 earnedHollow Knight Voidheart Edition #09 | Nerd Realm Playthrough
36.9K2