Premium Only Content

Honeywell WAP-PLUS: Review
Enroll your IP cameras with the WAPPLUS router quickly by using the WPS button. This video will show you how.
Honeywell WAP-PLUS: http://alrm.gd/honeywell-wap-plus
Get Monitored! http://alrm.gd/get-monitored
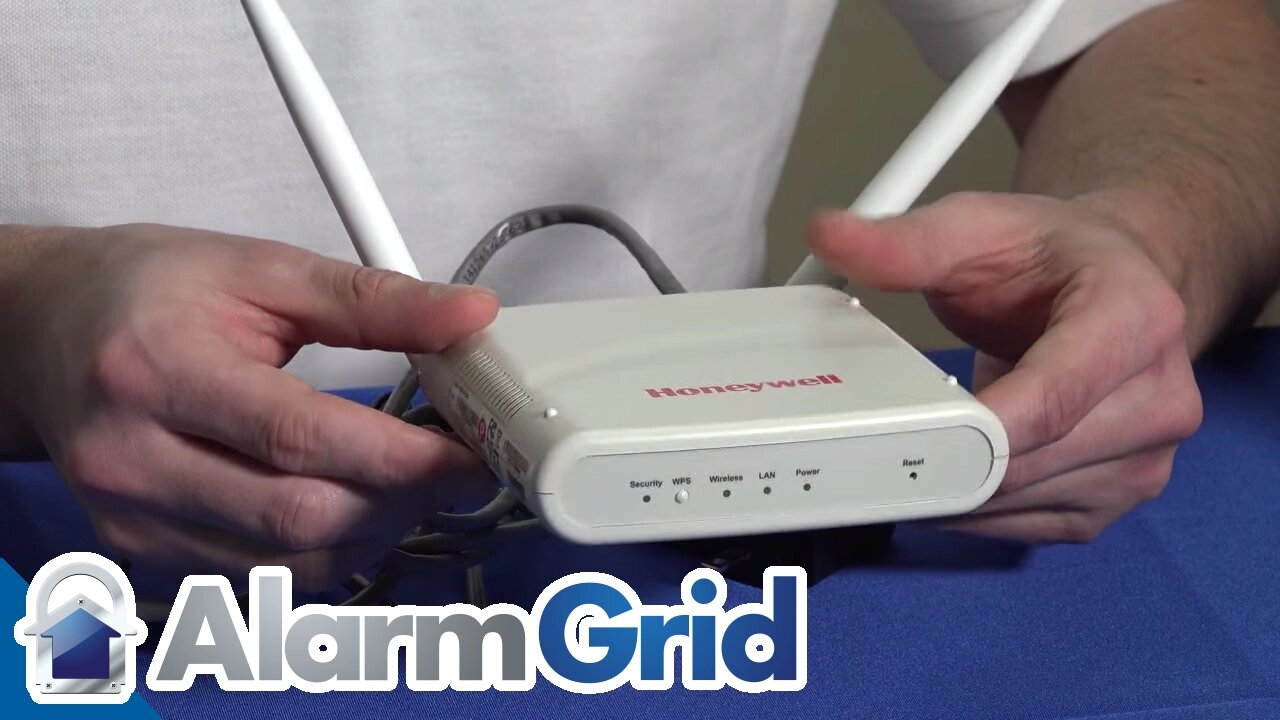
While the AlarmNet system and cameras will work on most wireless routers that are WPS enabled, this video will discuss the points and ease of using the Honeywell WAPPLUS router. Designed specifically for IP camera usage, it is the secure way to go for your home security.
As you can see in the video, the router is small and designed to be non-intrusive by being easily placed next to your router. The first thing out of the box, as always, is the instruction sheet.
Once you have everything out of the box, the video will walk you through the instructions. The wireless router comes with an instruction sheet, and it is highly recommended that you read through it while watching the video. Once you are finished with the setup, you should keep the instruction sheet in a safe place for future reference.
Next, in the video, you will find the ethernet cable. You will use this to direct connect the WAPPLUS to your existing router. The WAP includes two powerful antennas that you simply screw on for excellent WiFi signal strength.
As the video shows, you just screw the antennas on, position them as needed and then plug the ethernet cable from the incoming port on the WAP and the outgoing post on your router. You will see how this is done in the tutorial.
Once that is complete the power supply is plugged in, and the WAP will power up. You can follow along with the video and learn how to make your WPS connections. Here you simply press the WPS button on the WAPPLUS box for 3 seconds. As we discuss here, this will put the WAP in enrollment mode. To connect the camera, you simply press the WPS button on your camera within a minute.
Once enrolled you can view your cameras on the Total Connect software. You will need to send the MAC addresses for each of your cameras to the AlarmNet service prior to use. Our video shows you where to find the MAC address label and how to enroll the cameras on the network.
You have several options when viewing your cameras. Depending on your system you can see the video feeds on your computer, cell phone or the control panel touch screen (if available). The video will cover all of these options for you.
The tutorial will cover all of your options with the Total Connect software. This includes cloud storage for motion detection snap shots, downloading video clips and controlling the cameras that are connected tot he network.
This video wraps up the review section for the WAPPLUS and the available cameras for the AlarmNet system using the Honeywell cameras and WAP. Follow along for full details on the entire system and view the other videos to find the perfect set up for your needs.
-
 3:31
3:31
Alarm Grid Home Security DIY Videos
1 year ago $0.01 earnedWireless Repeater: Use With Life Safety Devices
24 -
 LIVE
LIVE
TheDigitalChamber
3 days agoDC Blockchain Summit 2025 - Livestream
1,406 watching -
 LIVE
LIVE
LFA TV
15 hours agoFULL BLOWN PANIC! | LIVE FROM AMERICA 3.26.25 11AM
567 watching -
 LIVE
LIVE
MYLUNCHBREAK CHANNEL PAGE
14 hours agoAirships, Lies, and Buried Truths
232 watching -
 LIVE
LIVE
Caleb Hammer
18 hours ago120 Years To Fix This… | Financial Audit
88 watching -
 LIVE
LIVE
Dad Dojo Podcast
11 hours agoEP25: Cain Velasquez Sentence Reaction
39 watching -
 1:07:32
BonginoReport
5 hours agoConservatism, Faith, and the Future of MAGA with Vince Coglianese-Early Edition (Ep.168)-03/26/2025
112K80 -
 1:20:02
Dear America
10 hours agoTrump Signs HISTORIC Executive Orders! + Russia Hoax Documents To Be Declassified!
33.1K5 -
 LIVE
LIVE
Wendy Bell Radio
6 hours agoNothing To Sell But Hate
9,035 watching -
 1:24:30
JULIE GREEN MINISTRIES
4 hours agoLIVE WITH JULIE
122K169