Premium Only Content

Honeywell 5800MICRA: Program to L7000
Interested in learning about the benefits of wireless sensors? Our video guide to the 58000MICRA wireless sensor covers installation and operation.
Alarm system sensors need to find a balance between effectiveness and aesthetics. Wall-mounted sensors are visible when placed on a door or window. If you want sensors which aren’t as easy to see, you’ll want to consider recessed sensors.
This video provides in-depth info on the 5800MICRA recessed wireless sensor. The sensor is a thin wireless transmitter often used in both doors and vinyl windows.
As shown in the video, the sensor is very small. Roughly the diameter of a quarter, the battery-powered sensor is attached to an antenna which allows for wireless communication with the control panel.
Recessed sensors go into the actual door or window and frame. The transmitter (the main part of the sensor) will be inserted into the frame next to the door or window. The second, magnetized part of the sensor is inserted into the window and door itself.
When the door is closed, the two parts of the sensor touch. This completes the circuit and tells the control panel that the entry point is closed. When the door or window is opened, the circuit is broken, and the alarm system issues an appropriate response.
Recessed sensors are more complicated to install compared to mounted sensors. You’ll need to be comfortable with drilling into your walls. Plus, you’ll need to match the two oval-shaped parts of the sensor or else it won’t function properly.
The transmitter is fairly thin. You won’t need to drill an especially large hole. However, there needs to be enough space in the wall for the entire antenna. The antenna can’t be bunched up within the wall. It needs to extend completely. Otherwise, the signal won’t reliably reach the control unit.
The antenna is thin, but you want to make sure the inside of the wall has a long enough cavity to accommodate it. A plastic sleeve is included to help keep the antenna straight.
The video also discusses the importance of proper transmitter orientation. Both halves of the transmitter are equal-sized ovals. When connected they must match exactly. Otherwise, the system won’t be able to read the connection properly. We show you the correct alignment for the sensor to ensure proper performance.
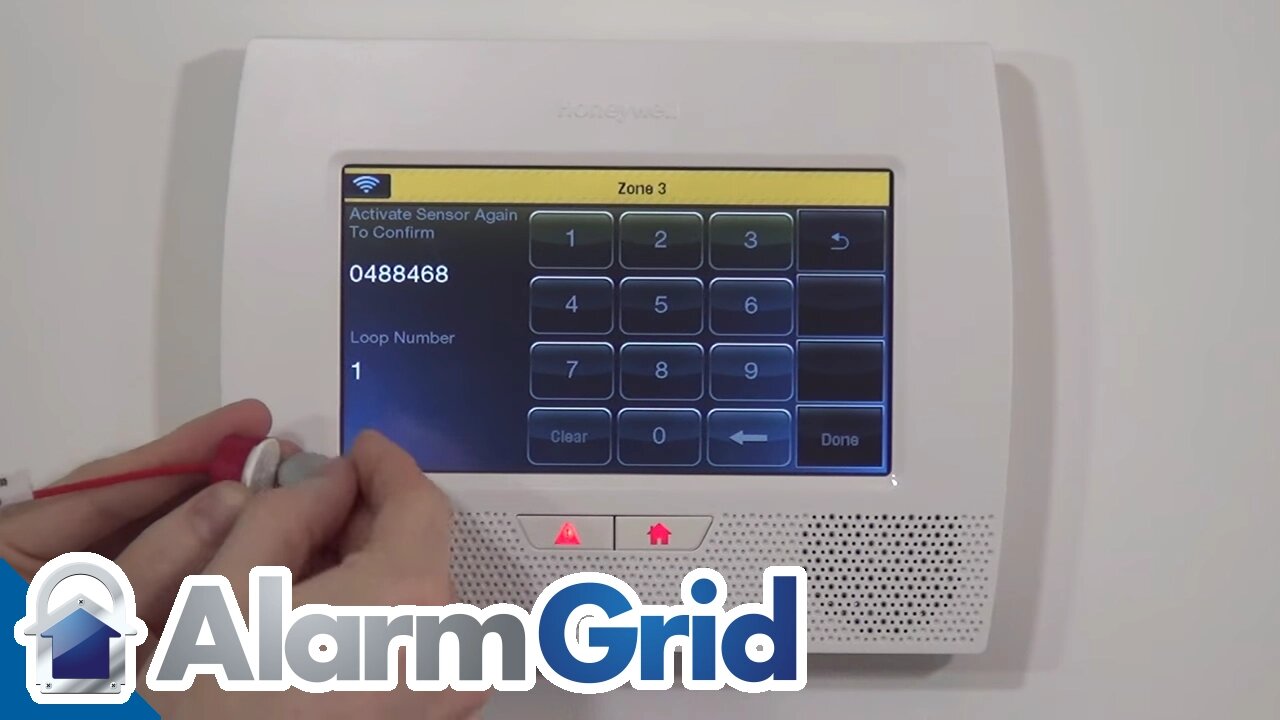
Finally, the video walks you through the other half of the installation process: Connecting the sensor to the system. Using the Installer Code, you’ll enter the System Programming area. The video explains how zones work with the system. We’ll show you how to connect your new sensor to either an existing zone or a new zone.
We also connect a sensor to the alarm using the Auto-Connect feature. You simply attach and detach the sensor three times. The serial number is transferred automatically into the device.
Finally, the video guide shows you how to name each sensor. Proper labeling is more important than many people realize. When an alarm goes off, you want to know instantly where in the home the problem is occurring.
Although there is a fair amount of initial setup, many people are very happy with the hidden power of wireless, recessed sensors as part of their security system.
-
 3:39
3:39
Alarm Grid Home Security DIY Videos
1 year agoQolsys IQ Panel 4: Using Dual Path Monitoring
21 -
 16:19
16:19
DeVory Darkins
21 hours ago $8.88 earnedWoke activist dealt HUGE BLOW after judge approves deportation
14.7K90 -
 9:55
9:55
Russell Brand
1 day agoThis Is Absolutely Shocking...
55.9K76 -
 26:01
26:01
The Brett Cooper Show
2 days ago $3.02 earnedChappell Roan Says All Parents Are Miserable. Is She Right? | Episode 21
13.2K24 -
 1:34:25
Michael Franzese
18 hours agoThey Blame Trump for Everything - But Who’s Really Wrecking the Economy?
44.9K56 -
 1:43:55
I_Came_With_Fire_Podcast
13 hours agoThe REVOLUTION to SAVE AMERICA Starts At HOME
38.1K9 -
 28:33
28:33
Mike Rowe
3 days agoWhy Are Healthy Men Exiting The Workforce? | Nick Eberstadt #274 | The Way I Heard It
38.9K207 -
 38:40
38:40
Adam Carolla
2 days ago $12.09 earnedBill Maher Calls Trump 'Effective'?! You won't see it coming! | Adam Carolla Show | #news
70.7K31 -
 14:40
14:40
Talk Nerdy Sports - The Ultimate Sports Betting Podcast
5 hours ago4/12/25 - Wake the F Up: It’s Saturday! It’s War!
30.5K4 -
 5:07
5:07
DEADBUGsays
1 day agoThe Murder of Janet Brown
30.2K4