Premium Only Content

2GIG DW10: Program to 2GIG GC3
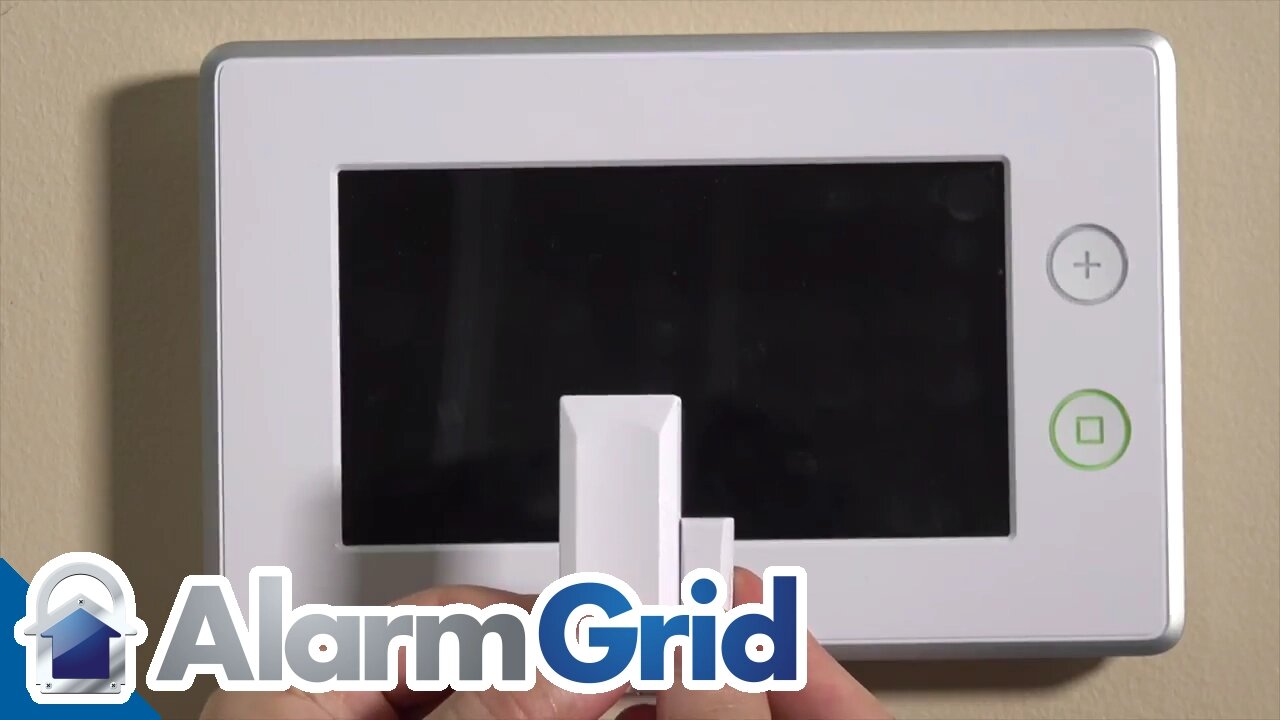
This video tutorial explains how to program the 2GIG DW10 wireless door/window contact to the 2GIG GC3 wireless security system.
2GIG DW10: http://alrm.gd/2gig-dw10-345
2GIG GC3: http://alrm.gd/2gig-gc3
Get Monitored: http://alrm.gd/get-monitored
Door/window contacts add an additional layer of security to your home by protecting the most common entry points.
Once installed and programmed to your security system, these devices trip the main alarm when contact is broken and the security system is armed.
Our video shows you how to program the 2GIG DW10 wireless door/window contacts to the 2GIG GC3 wireless security system.
The DW10 is one of the most popular door/window contacts available. Several of these devices also come with the purchase of the 2GIG GC3, making the pairing natural and programming easy.
A written instruction manual is provided with both the 2GIG DW10 and the 2GIG GC3 that walks you through programming. However, our video is much clearer and easier to follow if your goal is programming the two to work seamlessly together.
Our video walks you through every inch of the programming process. We show you how to set the DW10 up, enroll it with the GC3, program it to your desired settings, and test it to make sure it properly works.
Note that our tutorial focuses on setting the DW10 up wirelessly. The devices can also be used as a wired alarm. A wire dongle cord is provided if you prefer a wired alarm over wireless.
Our video starts by showing you how to navigate to the “Installer Tool Box,” select the right sensor type, and enter your door/window contact’s serial number. Performing these steps properly is vital to programming your DW10 correctly.
From here, we show you how to select the right alarm settings. Numerous settings are available to enable you to tweak your security system to your personal needs and preferences.
“Transmission Delay” is a particularly important setting that our video talks about in detail. It relates to the speed at which an alarm is sent to central station and emergency dispatching.
With transmission delay enabled, an alarm isn’t sent as soon as the system is tripped. The alarm will sound audibly but an alert isn’t immediately sent. This gives you the chance to turn the alarm off if it was accidentally tripped.
Preventing false alarms is the key function of transmission delay. It’s particularly important if you live in an area where false alarms are fined heavily by the local police department or sheriff’s office.
The proper way to mount your DW10 is briefly discussed in our video. We show you how to do so with adhesive tape. However, mounting screws are also provided.
It’s important not to mount the DW10 directly to metallic surfaces. These tend to interfere with the magnet feature that enables the devices to function. If you need to mount on a metallic surface, it’s essential to use a thin layer of foam insulation between the device and the metal/
That’s the value of using the 2GIG DW10 wireless door/window contacts alongside the 2GIG wireless security system – it improves the overall security of your home by protecting common entry points such as windows and doors.
-
 3:31
3:31
Alarm Grid Home Security DIY Videos
1 year ago $0.01 earnedWireless Repeater: Use With Life Safety Devices
24 -
 1:58:47
The Charlie Kirk Show
2 hours agoThe Bravest Presidential Action In Decades + Trump's Spiritual Rebirth | Sen. Mullin | 1.22.2025
73.7K26 -
 1:41:39
Matt Kim
14 hours agoThe Single Best Part of Trump's Inauguration | Matt Kim #137
16.1K4 -
 LIVE
LIVE
The Sufari Hub
49 minutes agoWEDNESDAY GAMING SESH | Kompete & Fortnite & Minecraft - #RumbleGaming
75 watching -
 LIVE
LIVE
The Kevin Trudeau Show
3 hours agoThe 3 Secrets Used By Every Billionaire | Ep. 85
421 watching -
 1:37:34
The Dana Show with Dana Loesch
2 hours agoThe Dana Show | 01-22-25
3.97K2 -
 58:20
58:20
The Dan Bongino Show
6 hours agoPresident Trump Did More In A Day Than Others Did In Two Terms (Ep. 2406) - 01/22/2025
649K918 -
 57:21
57:21
Russell Brand
4 hours agoBREAK BREAD EP. 11 - NATHAN FINOCHIO
102K3 -
 2:02:32
Steven Crowder
5 hours agoNon-Stop Winning: How Trump Axed DEI & the Unholy Sermon at the National Cathedral
423K345 -
 59:11
59:11
The Rubin Report
4 hours agoWatch the Moment Charlamagne tha God Realizes Dems Have Been Lying the Whole Time
58.5K54