Premium Only Content

Including a Schlage Z-Wave Lock
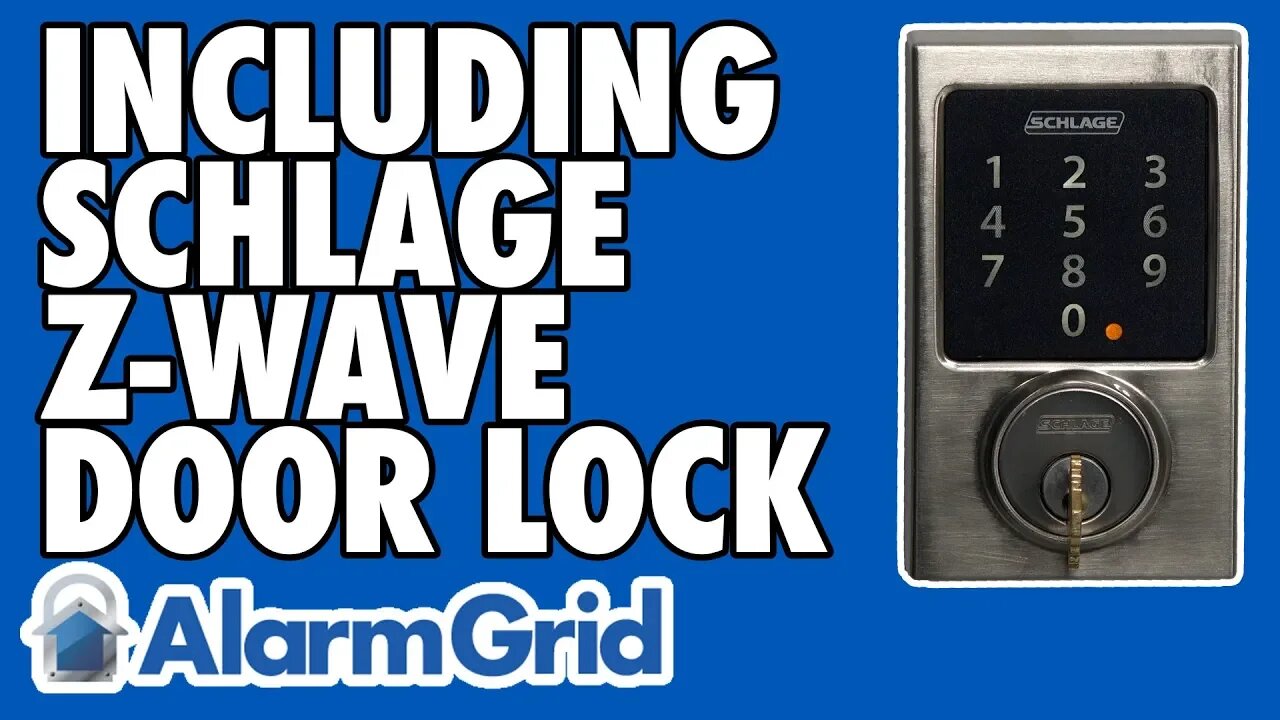
In this video, Joe shows users how to include a Schlage Z-Wave Lock into a Z-Wave network. Including the lock into a Z-Wave network is necessary for getting the most out of the device. It must be paired with a network for remote operation and for use with smart scenes. Pairing a lock is very simple.
Most Schlage Z-Wave Locks are paired using a programming code. This programming code can be located on a white sticker found underneath the device's main cover. The user should make sure to write down this programming code, as they will need it whenever they want to enroll the device or exclude it from a Z-Wave network. They should also write down the two default user codes that are unique to the lock. These codes will be used if the user ever performs a factory reset for the lock. They are also used during initial setup. The user can always change these default codes later if needed. Furthermore, the sticker should never be removed, as doing so may make it impossible to determine the programming codes and the default user codes later.
Before trying to pair a Schlage Z-Wave Lock, the user should make sure to exclude it from the network first. Many locks are paired with Z-Wave networks before leaving factories for testing purposes. Clearing the lock will ensure that it can be successfully paired with your local Z-Wave network. The exclusion process is actually very similar to initial enrollment. All you need to do is activate the exclusion model for your Z-Wave controller. Then activate the learning function on the Schlage Lock. The lock should be cleared from the network. You can then pair the lock by putting the Z-Wave hub into its inclusion mode and then activating the same learning function for the Schlage Lock. The lock should pair with the network.
-
 6:05
6:05
Alarm Grid Home Security DIY Videos
1 year agoPROA7 or PROA7PLUS: Using Lyric Sensors
15 -
 1:46:20
Benny Johnson
8 hours agoPANIC: Feds FLEE DC After Mass PURGE, Fired USAID Activists EXPOSED | Trump DOMINATES Daytona 500
174K190 -
 1:58:43
The Charlie Kirk Show
6 hours agoCBS Steps In It + Hockey Brawl + Judicial Standoff | Yoo, Schlapp, BigTree | 2.17.2025
163K48 -
 1:01:26
The Dan Bongino Show
9 hours agoTrump Is Cancelling DEI And Cancel Culture (Ep. 2424) - 02/17/2025
958K1.81K -
 1:06:12
Timcast
8 hours agoDemocrat Swamp IMPLODES, CBS Runs DAMAGE Control For Democrats, Gets ROASTED By Elon | Timcast LIVE
187K214 -
 2:00:58
RealAmericasVoice
15 hours agoWAR ROOM WITH STEVE BANNON AM EDITION
158K25 -
 2:59:47
Wendy Bell Radio
14 hours agoAmerica Drops The Gloves
137K67 -
 1:22:27
Steven Crowder
9 hours agoGeorge Washington, Our First President | 3 in 3 Special
371K272 -
 1:03:57
Kyle Fortch
9 hours ago $1.86 earnedDJ Chill: DJing For Jelly Roll, SOLD OUT Tour, Performing at Hometown Arena | THE ONE SHEET S1E4
64.2K4 -
![The Deep State Spied On Trump & Sabotaged 2020 Operation To Oust Maduro [EP 4440-8AM]](https://1a-1791.com/video/fwe1/94/s8/1/F/5/k/Z/F5kZx.0kob-small-The-Deep-State-Spied-On-Tru.jpg) 4:05:26
4:05:26
The Pete Santilli Show
20 hours agoThe Deep State Spied On Trump & Sabotaged 2020 Operation To Oust Maduro [EP 4440-8AM]
80.3K3