Premium Only Content

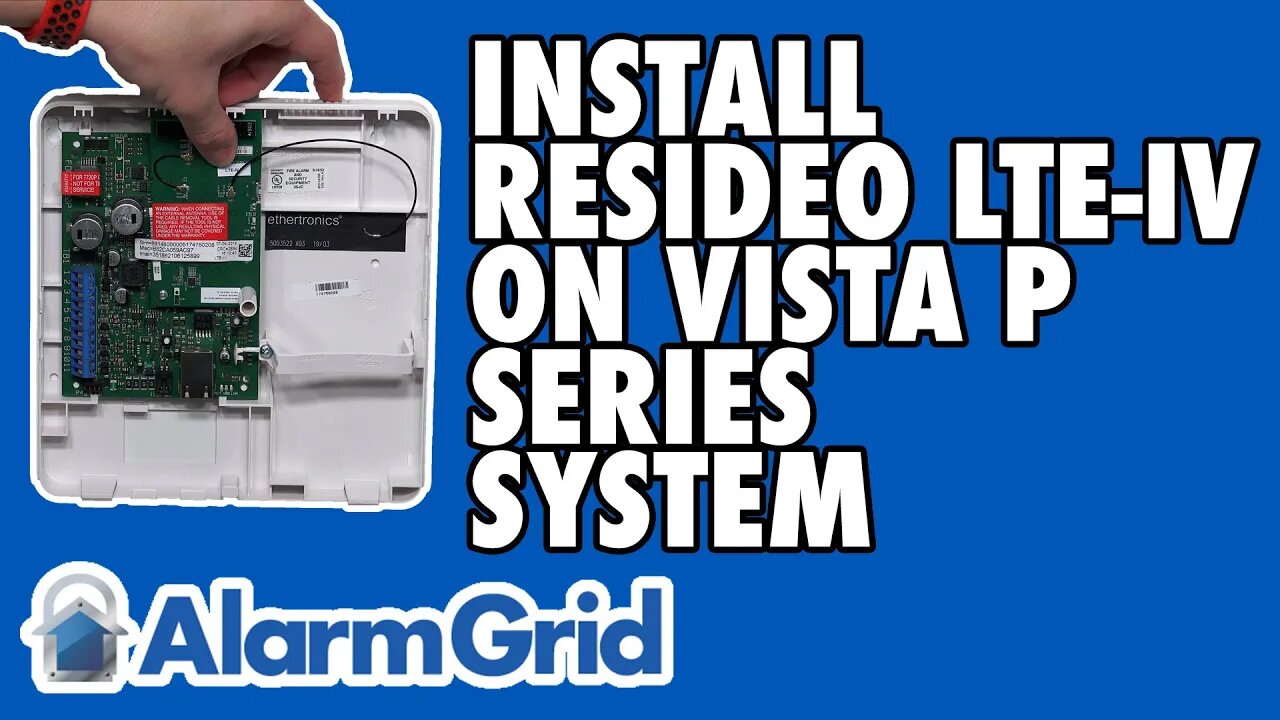
Installing the Resideo LTE-IV On A VISTA P-Series System
In this video, Jarrett shows the process for installing the Resideo LTE-IV Verizon LTE Communicator for Honeywell VISTA P-Series Panels. Adding the communicator will allow your VISTA System to connect with the AlarmNet360 Servers across the Verizon LTE Cellular Network. It is very simple to install.
Adding a communicator is arguably the most important upgrade you can make for a Honeywell VISTA Series System. The communicator is what allows the panel to send out alerts and notifications to you and/or a central station when system events occur. This could be a burglary or fire alarm, some type of system trouble, or really any other system activity.
When using the Resideo LTE-IV, the VISTA System will connect with the AlarmNet Servers that are operated by Resideo. AlarmNet then passes on notifications and alerts to a central monitoring station and/or the end user directly through the Total Connect 2.0 platform. Using TC2 is only possible if you have an AlarmNet Communicator for your Honeywell System. The Resideo LTE-IV is an example on an AlarmNet Communicator that will allow you to use TC2 with your system.
There are many things you can do through Total Connect 2.0. The platform is accessed by logging into your Total Connect 2.0 account through either a web browser or a mobile app. Once you have logged in, you can arm and disarm your system, check current system status, control Z-Wave devices (Z-Wave controller required), view Total Connect 2.0 IP Cameras, and more.
Before fully mounting the Resideo LTE-IV, you should make sure the module can receive adequate cellular signal strength. You can conduct a basic test at the module yourself, and your alarm monitoring company can perform a more thorough test. If you live in a rural area that is far away from any cellular towers, then you might consider adding a cellular amplifier or a cellular antenna to boost signal strength.
Note: In this video, Jarrett shows the connections to a Vista-21iP. This is because the Vista-21iP is the only VISTA P-Series panel available for demonstration purposes at this time. The keypad bus wiring connections for the VISTA-21iP are exactly the same as those for the VISTA-20P and VISTA-15P. If he were actually connecting an external communicator to the VISTA-21iP, he'd also need to power down, and set the Jumper on the board to the OFF position. This removes power from the VISTA-21iP's internal communicator, allowing you to connect and use an external communicator. There are certain situations where this is advantageous, such as with a panel that has been chip updated to support Total Connect 2.0, but where the built-in communicator will not support it.
Note: When referring to AC Power, Jarrett uses the terms "Positive" and "Negative". There actually is no polarity when it comes to AC Power wiring, so there is no "Positive" or "Negative". He's using these terms interchangeably with "Red Wire" and "Black Wire".https://www.alarmgrid.com/faq/how-do-i-install-the-resideo-lte-iv-on-my-vista-p-series-system
-
 6:05
6:05
Alarm Grid Home Security DIY Videos
1 year agoPROA7 or PROA7PLUS: Using Lyric Sensors
15 -
 2:06:31
Right Side Broadcasting Network
3 hours agoLIVE REPLAY: White House Press Secretary Karoline Leavitt Holds Press Briefing - 3/5/25
66.5K53 -
 1:16:50
Simply Bitcoin
3 hours ago $3.00 earnedBLACKROCK'S GAME CHANGING BITCOIN REPORT Creates $900T of FOMO? | EP 1195
17.3K2 -
 1:00:23
The White House
2 hours agoPress Secretary Karoline Leavitt Briefs Members of the Media, Mar. 5, 2025
25.9K16 -
 23:34
23:34
marcushouse
14 hours ago $0.40 earnedWhat Really Happened to Starship? The Full Story! 🚀
8.47K4 -
 16:55
16:55
T-SPLY
7 hours agoMSNBC Used A Child Brain Cancer Survivor To Make Donald Trump Look Bad
10.3K22 -
 1:03:31
Russell Brand
4 hours agoScripted Opposition? Democrats’ Viral Attack Video Drops as Trump Dominates Congress – SF548
98.6K65 -
 DVR
DVR
vivafrei
1 day agoEXCLUSIVE Interview with Pat King, Canada's Political Prisoner
53.1K17 -
 1:58:36
The Charlie Kirk Show
3 hours agoTrump Speech Aftermath + Pardon Derek? | Kane, Sen. Banks, Collin | 3.5.25
92.5K31 -
 28:48
28:48
Neil McCoy-Ward
3 hours agoThe Trade Wars Have Begun! (Canada, Mexico And China In PANIC MODE...)
21.2K2