Premium Only Content

How to Install Ring Doorbell Wired | Ring
This video shows you how to install Ring Doorbell Wired. Your Ring doorbell gets the power it needs by being wired to a compatible doorbell system or power supply. If your home has a wired doorbell system, it is powered by a doorbell transformer like this.
To work with your new Ring doorbell, your transformer must meet these specs (10-24 VAC, 50/60 Hz, 10-40 VA). To check, you'll need to find it and read the rating printed on its side. Doorbell transformers are usually mounted in an out of the way place near the doorbell chime like an attic, closet, or an electrical box. If you're not sure your transformer has the right specs or you simply can't find it, we recommend you install a compatible doorbell transformer or a Ring plug-in adapter. So, let's say your home has a compatible doorbell system, it's time to test it.
If your doorbell chime rings when you press the button, all is well! Make a mental note of where the chime is installed. Before you do anything else, you must turn off power on the breaker box. If you're not sure which breaker to turn off, contact an electrician for help.
Now that the power is off, let's install the included the jumper cable in your doorbell chime. First, remove its cover. Then, loosen the terminal screws marked "Front" and "Trans", taking care to leave the existing doorbell wires in place. Connect the jumper cable to these terminals and tighten the screws, and just pop the cover back on.
Now, let's uninstall your existing doorbell button. Unscrew it from the wall and disconnect the wires. We'll need access to those wires, so make sure they don't fall back into the wall. Get your Ring doorbell and remove the face plate by pulling from the bottom side while you gently push against the glass. Use your Ring doorbell as a template to mark the screw hole locations on your wall. If you're installing on stucco, brick, or concrete, use the one quarter inch (1/4") Mason rebit to drill holes in your wall. Then, insert the included wall anchors. If you're installing on wood or siding, you don't have to drill any holes.
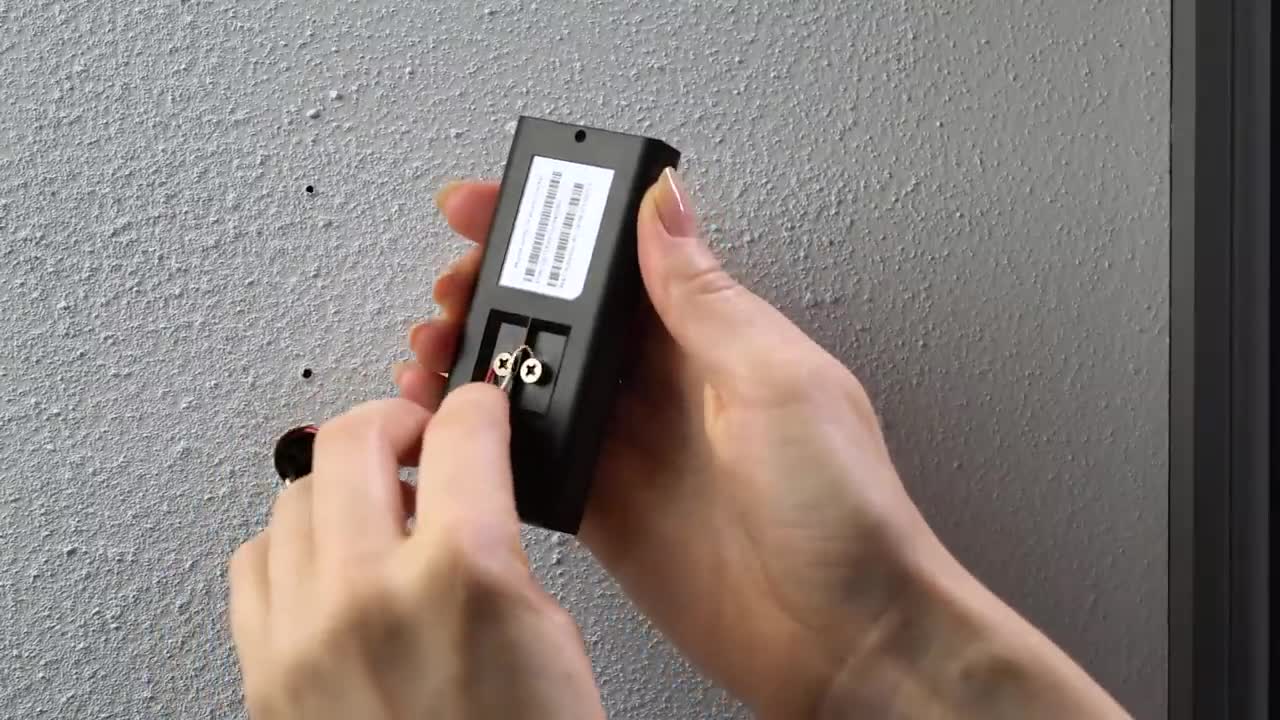
Next, connect the doorbell wires to your Ring doorbell. Loosen both terminal screws on the back. Then, loop a doorbell wire around each one. Tighten the terminal screws to secure. If your doorbell wires are too short to reach, attach the included wire extenders with these wire nuts.
Now, let's screw in your Ring doorbell. For that, get the included long mounting screws from bag A. Feed any excess wiring back into the wall. Then, mount your Ring doorbell using these screws. Now you can restore power at the breaker box. It may take a moment for your Ring doorbell to power on. You'll know it's ready once it lights up. Once power is on, you can re-attach the faceplate. To secure it, get the special security screw form bag B. Never use any other type of screw to secure the faceplate.
Insert the security screw into the bottom of your doorbell and tighten it. Now that everything is installed, open the Ring app and start the setup process. Then, just follow the instructions in the app.
Please note:
- Requires existing doorbell wiring for power supply
- Video Doorbell Wired does not sound your existing doorbell chime. To hear audio alerts in your home, pair with a Ring Chime, compatible Alexa device, or select the Video Doorbell Wired + Chime bundle.
-
 6:11
6:11
Dr. Nick Zyrowski
1 day ago4 Things I Never Do As A Doctor - Must See!
36.7K17 -
 12:26
12:26
RTT: Guns & Gear
18 hours ago $16.78 earnedLevel Up Your Sig P365 With XTech Tactical
51.8K8 -
 3:13:36
DDayCobra
13 hours ago $31.93 earnedCobraCast 199
76.5K16 -
 12:14
12:14
DeVory Darkins
13 hours ago $35.00 earnedBill Maher TRUTH BOMB Triggers HEATED Argument on The View
109K148 -
 31:58
31:58
The Officer Tatum
9 hours agoThe View LASHES OUT On Morning Joe For MEETING WITH Trump
72.7K120 -
 1:37:46
Kim Iversen
15 hours agoJoe Biden’s Post-Election Revenge: WW3 | Democrats Tremble Over Matt Gaetz and RFK Jr, Form “Shadow Cabinet"
145K152 -
 1:47:09
Fresh and Fit
15 hours agoGuy Crashes Car Working Uber?! Money Monday Call In Show!
96.8K12 -
 1:48:50
Glenn Greenwald
15 hours agoDC Attacks Trump's Most Disruptive Picks; Biden Authorizes Massive Escalation With Russia; Joe & Mika Meet With "Hitler" | SYSTEM UPDATE #367
189K252 -
 1:44:34
Tucker Carlson
15 hours agoTucker Carlson and Russ Vought Break Down DOGE and All of Trump’s Cabinet Picks So Far
235K367 -
 1:42:47
Flyover Conservatives
1 day agoBO POLNY | The Best and Worst Times Are Coming – Are You Ready? | FOC Show
71.3K24