Premium Only Content

Tutorial on How to Use your Echo H2 Pitcher™ - Hydrogen Water Pitcher
This tutorial shows you how to use your Echo H2 Pitcher™ for optimal hydrogen-rich water benefits! Here at Synergy Science™, we take your holistic health very seriously, which is why we are so passionate about the benefits that drinking hydrogen infused water has on you and your family.
For more information on this hydrogen water pitcher, please feel free to check it out on our website ► https://www.synergyscience.com/shop/echo-water-machines/echo-h2-pitcher-kettle
*Video Transcript*
"Hello, thank you for purchasing your Echo H2 Pitcher! Today we'll be going over all of the materials that you receive in the box and we'll also be showing you how to use the pitcher itself. Now that we have the pitcher unboxed in front of us, we'll be talking about the various things that you find inside. First is the pitcher itself - additionally inside you'll find three bags of baking soda. We recommend that you utilize one each time you clean the machine. We also recommend that you clean the Machine three times before you use it. You'll also find the charging cable, the power brick and the user manual. The first thing you'll notice about the Echo Pitcher is that it comes with a magnetic lid, this lid is designed to prevent it from falling off when you tilt the pitcher to pour out any water that you have inside it. You'll also notice that there are two moisture retention caps found inside the pitcher, you need to take these off prior to use - simply reach inside, twist them off and a small amount of water will come out. The water is stored inside the moisture retention caps - these caps are there to prevent the proton exchange membrane, which creates the hydrogen, from drying out. If you ever do not use your pitcher for more than a week at a time, you should replace the moisture retention caps inside your pitcher with a small amount of water in it to keep that proton exchange membrane moist. Once you have the moisture retention caps removed, you will need to fill the pitcher with filtered water. Now we'll be talking about the touch pad here on your Echo Pitcher. The touch pad itself is actually heat sensitive and not pressure sensitive. On the touch pad you'll find two individual buttons that you need to touch to activate the various features on your pitcher. The button on the left is the hydrogen creation button, this button has two individual settings, a 10-minute setting and a 20-minute setting. The button on the right, which you need to hold for five seconds, is actually the cleaning button. The reason for this is that we don't want you to accidentally activate the cleaning cycle when you're trying to get hydrogen water. Now we'll talk about the charging functionality of the Echo Pitcher. All Echo Pitchers come with a charging brick here and an additional USBC cable - you simply plug the cable into the power brick, plug that into your wall and this end into the Echo Picture itself for easy hydrogen water on-the-go. We'll now activate the Echo Picture so you can see this picture in action - the Echo Picture itself uses the water inside and passes it through a proton exchange membrane, this membrane infuses hydrogen into the water as you can clearly see below. This setting also has a ten minute and twenty minute cycle. The ten minute cycle utilizes the membrane and adds in up to one part per million hydrogen. The twenty minute cycle adds in up to two parts per million hydrogen. Once the cycle has been activated, the number will count down until it reaches zero, at which point it will make a sound indicating that your water is infused with hydrogen and ready to drink."
Looking to keep up to date on everything Synergy Science™ has to offer? Click the links below to visit our website or follow our social media pages!
Website ► https://www.synergyscience.com
Facebook ► https://www.facebook.com/SynergyScienceInc
Instagram ► https://www.instagram.com/synergyscienceinc
LinkedIn ► https://www.linkedin.com/company/synergy-science
-
 1:49
1:49
Synergy Science
3 years ago $0.09 earned9 Mind-Blowing Facts About Water - Hydro Bro: Ep. 7
614 -
 1:24
1:24
Synergy Science
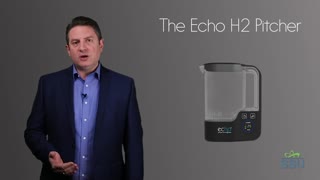
3 years ago $0.02 earnedThe Echo H2 Pitcher™ | Hydrogen Water Pitcher
161 -
 9:26
9:26
Synergy Science
3 years ago $0.03 earnedEcho Ultimate™ Hydrogen Water Machine | Under-Sink Installation Tutorial
103 -
 5:45
5:45
Synergy Science
3 years agoEcho Ultimate™ Hydrogen Water Machine - On Counter Installation Tutorial
165 -
 0:18
0:18
Synergy Science
3 years ago $0.05 earnedThe Echo Go™ - Hydrogen Water Bottle
402 -
 1:22
1:22
Synergy Science
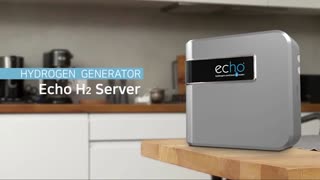
3 years ago $0.01 earnedThe Echo H2 Server™ - Hydrogen Water Generator
1561 -
 2:10
2:10
Synergy Science
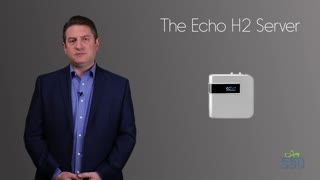
3 years ago $0.01 earnedThe Echo H2 Server™ - Hydrogen Water Generator
254 -
 4:01
4:01
Synergy Science
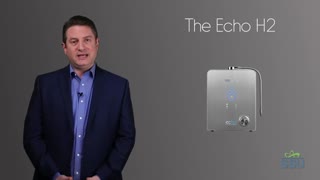
3 years ago $0.15 earnedThe Echo H2 Machine™ | Hydrogen Water Machine
1.04K -
 3:17
3:17
Synergy Science
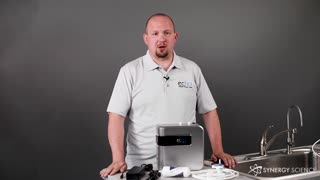
3 years ago $0.02 earnedHow to Install an Echo H2 Server™ - Hydrogen Water Generator
236 -
 3:15
3:15
Synergy Science
3 years ago $0.01 earnedHow to Uninstall Your Echo Hydrogen Water™ Machine
67