Premium Only Content
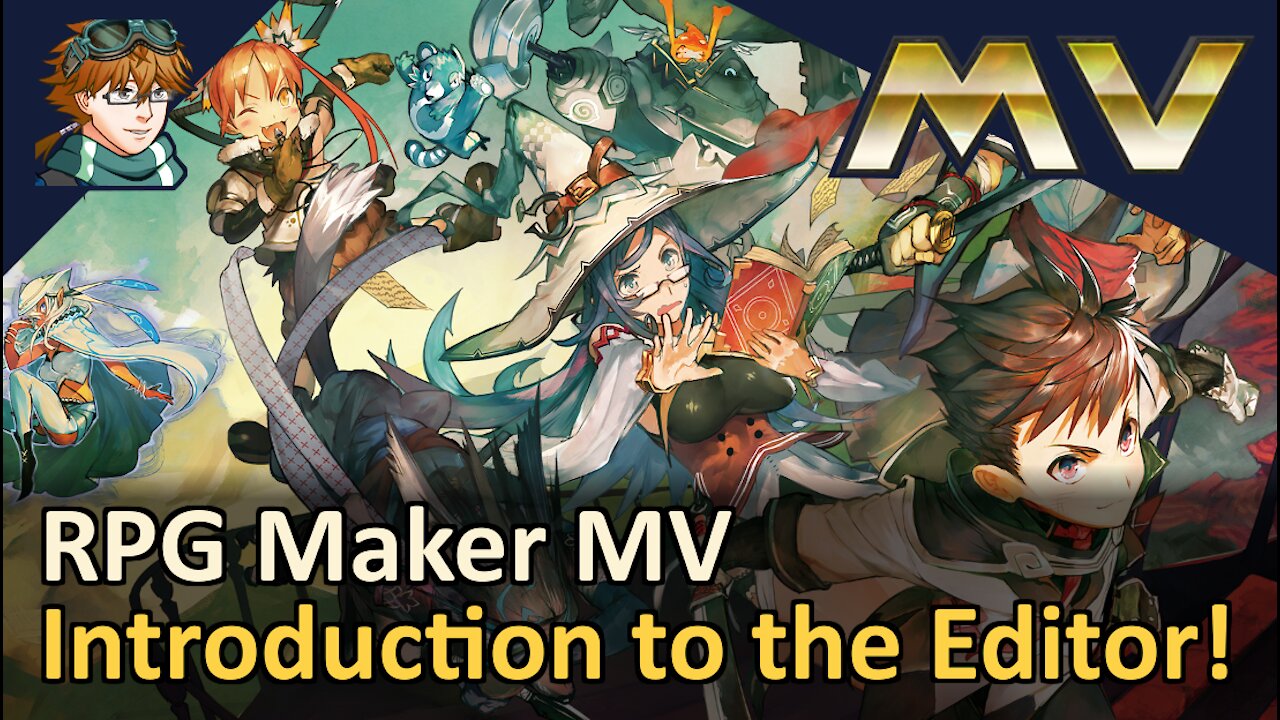
How to Get Started! RPG Maker MV! Tyruswoo RPG Maker
Hey RPG Makers!
In this tutorial, we learn how to begin using RPG Maker MV! We introduce the editor’s features, including mapping, playtesting, eventing, map properties, and the database! If you are just beginning with RPG Maker MV, this is an excellent place to start!
For more tutorials and all my RPG Maker plugins, join as a Design Counselor on my website!
https://www.tyruswoo.com/rpg-maker/
Topics Covered:
0:00 Introduction
1:01 Mapping
1:38 Playtesting
3:29 Eventing
6:11 Map Properties
6:36 Database
Take-Home Points:
Mapping
- The Map Editor allows us to paint tiles onto our map.
- Use the Map Editor by selecting the map icon.
- Click on the tile you want to use, then use the pencil, square, oval, or fill tools to paint tiles onto your map.
- To access more tiles to place on your map, use the lettered tabs at the bottom of the tile window.
- The last tab is labeled “R” and is for Regions. Regions can be used to determine where encounters are met (see Map Properties below). Also, Regions are used by many available Plugins to accomplish cool things.
Playtesting
- Playtest using the little green arrow button.
- When playtesting, press F4 to enter or exit Fullscreen mode. Note: When in Fullscreen mode, you can use F3 to alternate between fit-to-screen and pixel perfect fullscreen modes.
- Use arrow keys, mouse, or touchscreen to move.
- Hold Shift to run. Running is automatic when using the mouse or touchscreen to move.
- Press ESC to open or close the party menu.
- Interact with events by using the Action Button, which may be Enter, a mouse click, or a screen tap.
Eventing
- The Event Editor allows us place events onto our map.
- Use the Event Editor by selecting the icon of a red mark on a map.
- Right-click and choose Quick Events to easily create Treasure, Transfers, Doors, and Inns.
- Double-click on the map to create an original event. Or, right-click and select New Event.
- To make your event do something when the player interacts with it, make sure you have your event open, and then double-click under Contents to add commands. To make the event talk to the player, use the “Show Message” command.
- To make your event move on its own in random directions, make sure you have your event open, then go under Autonomous Movement and change the movement Type to “Random.”
Map Properties
- Allows us to change the name, size, music, and encounters of a map.
- To open Map Properties, go to the lower left corner of the editor and right-click the map’s name, then select “Edit.”
- Each of your maps can be up to a size of 256 tiles wide and 256 tiles tall. However, smaller maps with more events often make for more interesting games, so always consider whether making your map smaller may improve the experience.
- The map Encounters list allows you to choose which Troops (sets of enemies) the player may meet in that map. You can also increase the Weight of an encounter to make it randomly occur more often.
- Parallaxes are images that appear behind tiles. These can be used to add background images, such as the vista from a mountain, or distant stars in outer space.
- Parallax backgrounds can also be used for advanced “parallax mapping,” which is a way of using any picture as your map, instead of using tiles. To use a picture for parallax mapping, simply put an exclamation point at the beginning of the picture’s name, and put it in your project’s img/parallaxes folder.
Database
- The Database allows us to change how our game works.
- Open the Database by selecting it from the Tools menu at the top of the editor window.
- Actors are the characters the player can control while playing.
- Classes, Skills, Items, Weapons, and Armors are all modifiable.
- Enemies are the individual opponents that may be encountered in battle. Enemies must be organized into Troops in order to meet them in a battle.
- Troops are the types of encounters the player may meet. In other words, a troop is a pre-defined set of enemies, and it may include one or more enemies. Thus, enemies are combined into troops, and a single troop is met as an encounter.
- States are status effects/buffs/poisons that can affect the player (or enemies).
- Animations are visual effects that may appear in-battle when a skill or item is used, or out of battle using an event.
- Tilesets are collections of tiles and their properties, and modifying the Tilesets can change how tiles affect the player moving around the map.
- Common Events are events that can be called from anywhere in your game, by using a Common Event command within a given event. Common Events should usually be reserved for events that happen often, in various locations in your game.
- System defines how the game’s Title Screen appears, the player’s starting party characters, what music and sounds are used for various situations in the game, and how the vehicles appear.
Remember, only you can build your dreams!
-
 0:57
0:57
MoneyT0ks
3 years agoHow to get started
58 -
 2:47
2:47
Dirt Road Grocery Store
3 years ago $0.01 earnedTurkey Trumpets: Get Started Part I
24 -
 2:06
2:06
optzoo
4 years agoHow To Get Started Trading Tips
112 -
 9:06
9:06
Colion Noir
10 hours agoKid With Gun Shoots & Kills 2 Armed Robbers During Home Invasion
16.9K3 -
 54:28
54:28
LFA TV
1 day agoUnjust Man | TRUMPET DAILY 2.27.25 7PM
19.7K2 -
 DVR
DVR
CatfishedOnline
6 hours ago $1.19 earnedGoing Live With Allen Weekly Recap
10.8K -
 20:10
20:10
CartierFamily
7 hours agoAndrew Schulz DESTROYS Charlamagne’s WOKE Meltdown on DOGE & Elon Musk!
36.8K45 -
 1:36:39
Redacted News
5 hours agoBOMBSHELL EPSTEIN SH*T SHOW JUST DROPPED ON WASHINGTON, WHAT IS THIS? | Redacted w Clayton Morris
145K236 -
 2:03:31
Revenge of the Cis
6 hours agoEpisode 1453: Fat & Fit
48.6K8 -
 2:38:12
The White House
7 hours agoPresident Trump Holds a Press Conference with Prime Minister Keir Starmer of the United Kingdom
160K60