Premium Only Content

S197 Mustang GT Build - Part 4
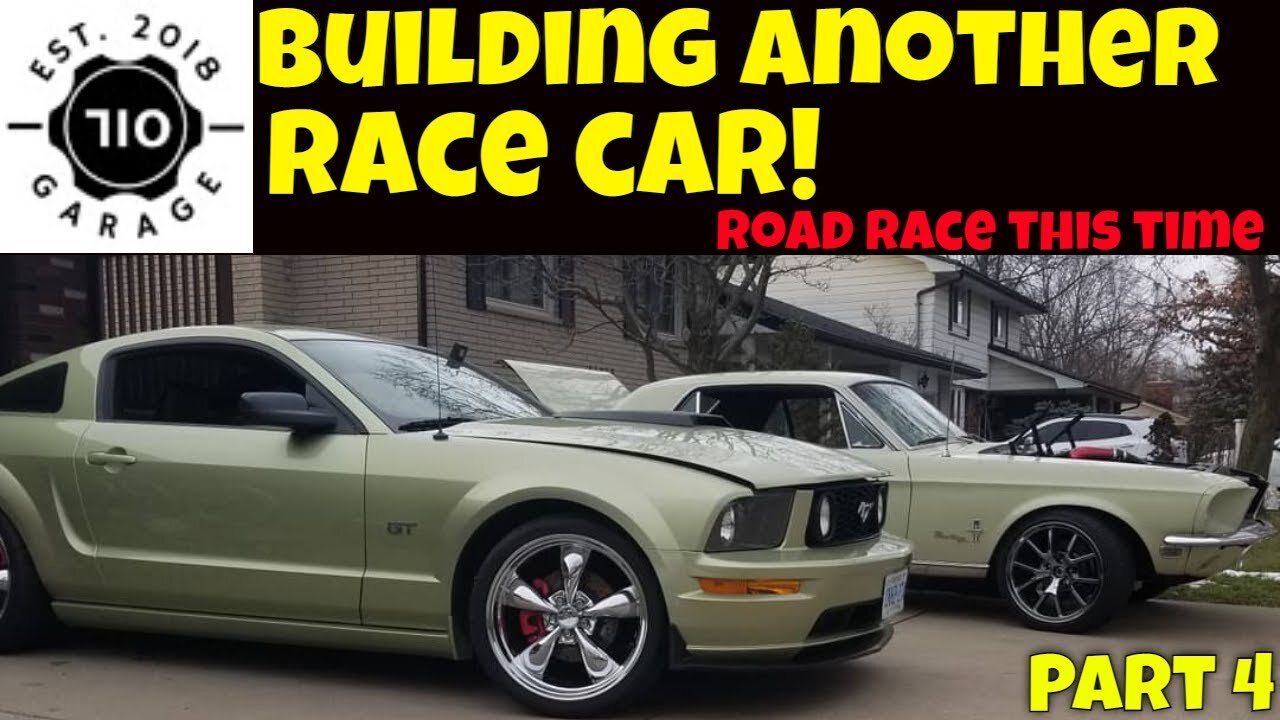
In this S197 Mustang GT Build series, we will be transforming this daily driver into a serious street sleeper with way more horsepower than most will expect!
First, we will be installing a VMP 2300 supercharger along with an inter-cooler, fuel injectors, spark plugs, and updating the computer programming. We are showing you the entire process every step of the way and point out ways to avoid those "got ya" problems that drive everyone a little crazy!
Of course, we can't just simply bolt on a supercharger and start tearing it up... we will be installing high-performance parts from KW Suspension and replacing those anemic stock brakes with serious stopping power from Stop-Check.
This is going to be an exciting project, we know you won't want to miss it!
In part 1 we started by removing the stock components, air filter, throttle body, intake manifold, etc. Then we show you the tools needed to disconnect the fuel lines. Demonstrate how to release the connections and then what to do to protect the lines from contamination. During all of this, we will be sharing all our tips so that your build is every bit as successful!
Part 2 is where we start to dig a bit deeper into the project. We remove the alternator, coolant crossover, and start to install the coolant pump for the heat exchanger. We also get the heat exchanger mounted to the front crash bar, and loosely route hoses to the engine bay.
Part 3 we run out of parts for the supercharger install... so instead of stopping we start on the brakes and suspension upgrades!! We talk about the parts we have chosen, and do a side by side comparison of the old stuff vs the new stuff. I show you how to install the brake rotors onto the center hats, and give you some tips on doing it yourself.
Part 4 We get back to the engine part of this build and install the coolant tubes, the lower intake manifold/intercooler, and lastly the supercharger itself. There is a lot of info on how you should torque down the intercooler and the supercharger itself to avoid damage.
If you're interested in some behind the scenes stuff be sure to follow us on Instagram and Facebook at
https://www.instagram.com/official710garage/
https://www.facebook.com/Official710garage-181521332512319/?ref=br_rs
Check out our sponsors:
Our Patreon Page - https://www.patreon.com/user?u=25803488
https://teespring.com/stores/710-garage for all of your automotive attire, and wearable gear!
Tube Buddy ( tubebuddy.com ) for the very BEST tools in the trade to help make the most out of your youtube content. Use our code to get the inside link!
https://www.tubebuddy.com/710garage
Cotes Coatings - @cotescoatings on IG/FB for all of your tire/powder coating needs
Dynamic Laser Fab -@dynamiclaserfab on IG/FB for all of your laser cutting and sheet bending requirements.
-
 19:50
19:50
710Garage
3 years agoS197 Mustang GT Build - Part 3
97 -
 10:12
10:12
710Garage
3 years agoS197 Mustang GT Build - Part 5
69 -
 8:04
8:04
The Stones Life
3 years agoZ-84 Build Part 1
162 -
 31:36
31:36
iforce2d
4 years ago $0.30 earnedHomeslice 6 build part 2
750 -
 23:17
23:17
Banebadboo
4 years ago $0.38 earnedJeep Comanche build part 3
3971 -
 7:16
7:16
Banebadboo
4 years ago $0.01 earnedJeep Comanche build part 2
231 -
 6:30
6:30
Uncle Tim's Farm
3 years agoInsulated Vertical Smoker Build - Part 2
80 -
 27:03
27:03
Dach's Autos
3 years ago1998 Ford Mustang Project: Part 1
164 -
 3:31
3:31
RoyalPanda
4 years ago $0.01 earnedBuild competition 2 part 1
175 -
 8:16
8:16
DaveGatton
4 years ago $0.09 earnedTiny Camper Build Part 2
2572