impossible Restoration Rusty Antique Screw Removal Tool Restoration
Restoring an antique screw removal tool involves careful cleaning, rust removal, and preservation to maintain its historical integrity while making it functional again. Here’s a step-by-step guide to the restoration process:
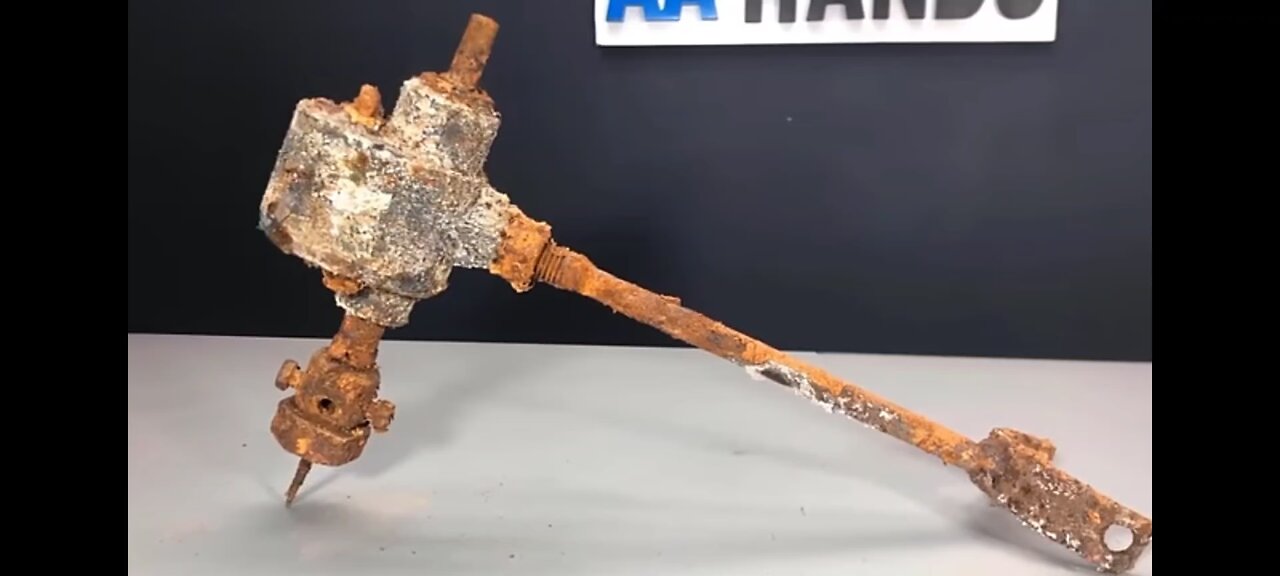
1. Initial Assessment
Inspect the tool for rust, damage, or missing parts.
Determine its age and material (iron, steel, brass, etc.).
Check for markings or engravings that might indicate the manufacturer or origin.
2. Cleaning
Use a soft brush or cloth to remove surface dirt and debris.
Apply a mild solvent or soapy water for grime buildup.
For delicate tools, avoid harsh chemicals that could damage patina or historical markings.
3. Rust Removal
Light Rust: Use fine steel wool or a brass brush.
Moderate Rust: Apply white vinegar or a rust remover solution and scrub gently.
Heavy Rust: Use electrolysis (for iron/steel) or a citric acid bath.
4. Restoring Functionality
If the tool has moving parts, lubricate them with a light machine oil (e.g., 3-in-1 oil).
Check and recondition wooden handles with linseed oil or beeswax.
If threads are worn, gently re-tap or chase them to restore usability.
5. Preservation
Apply a thin coat of protective oil (e.g., mineral oil or Renaissance Wax) to prevent future rust.
Store in a dry, controlled environment to avoid moisture damage.
Would you like recommendations on specific tools or materials for the restoration process?
-
 LIVE
LIVE
Vigilant News Network
9 hours agoDataRepublican Exposes the Shadow Government’s Darkest Secrets - Exclusive Interview | Media Blackout
1,870 watching -
 31:39
31:39
Peter Santenello
1 year agoStories From Vegas' Golden Era 🇺🇸
70K25 -
 LIVE
LIVE
The Why Files
13 hours agoLIVE: The Why Files 24/7 Stream n' Chat
1,455 watching -
 55:15
55:15
Russell Brand
1 day agoThe Truth About Big Pharma & COVID with Dr. Aseem Malhotra
184K11 -
 1:19:48
The Rubin Report
13 hours agoWhat the Trump Administration Must Do Instead of Revenge | Peter Thiel
138K170 -
 1:59:00
Steve-O's Wild Ride! Podcast
3 days ago $38.01 earnedPatrick Bet-David DESTROYS Steve-O's Dad - Wild Ride #252
155K53 -
![[XboxONE] GRINDING 1000g FC24](https://1a-1791.com/video/fwe1/01/s8/1/y/k/I/o/ykIoy.0kob-small-XboxONE-GRINDING-1000g-FC24.jpg) 3:29:15
3:29:15
deathbee
17 hours ago[XboxONE] GRINDING 1000g FC24
103K10 -
 1:08:32
Winston Marshall
1 day agoThe HIDDEN Agenda: Congresswoman Hageman UNCOVERS USAID Fraud, Censorship and Human Trafficking
131K148 -
 8:16
8:16
CarlCrusher
1 day agoThe True Story of Stranger Things and the Montauk Project Origins
79.1K26 -
 10:05
10:05
ariellescarcella
1 day agoNo, You're Not Having A 'Gender Crisis' You're Just Bored
80.4K62