Premium Only Content

How to Create Text with Different Font Colors in Adobe Illustrator
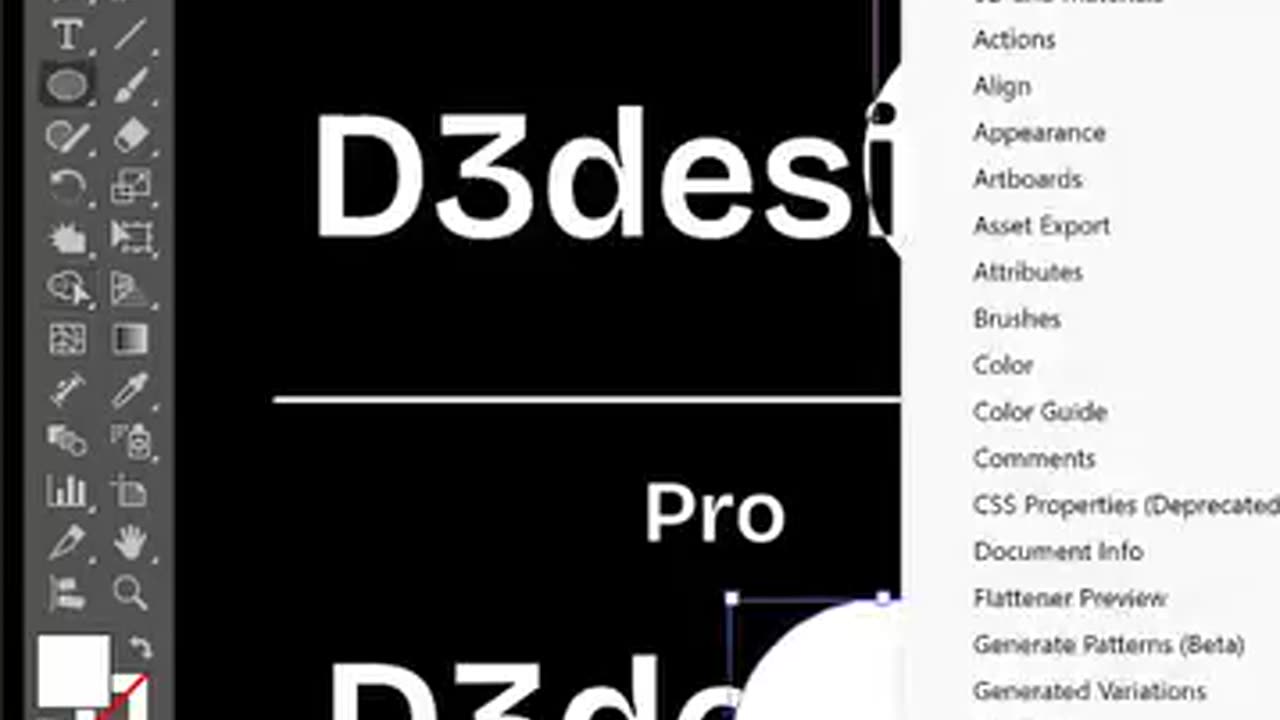
Learn how to style your text with two or more colors using the same font in Adobe Illustrator! This step-by-step guide shows you how to create visually striking designs by applying different colors to separate parts of the same text. Perfect for logos, posters, and creative typography projects. Watch and enhance your design skills today!
Steps to Apply Different Colors to the Same Font:
1. Create Text
Open Adobe Illustrator and create a new document.
Select the Type Tool (T) from the toolbar and click anywhere on the artboard.
Type your desired text.
2. Choose Your Font
Select the text, and in the Properties Panel, choose the font style you want.
3. Convert to Outlines (Optional)
If you want more control over individual parts of the text:
Select the text.
Right-click and choose Create Outlines (Shift + Ctrl + O / Shift + Command + O on Mac).
This converts the text into editable vector shapes.
4. Ungroup Characters
If you created outlines:
Select the outlined text, then go to Object > Ungroup (Shift + Ctrl + G / Shift + Command + G).
Now, each letter is an individual object.
5. Apply Colors
Select the text or individual letters using the Selection Tool (V).
Go to the Fill Color option in the toolbar or Swatches Panel, and apply the desired color.
Repeat this process for each part or letter you want to color differently.
6. Add Gradient (Optional)
For a blended effect, select the text or a part of it.
Open the Gradient Panel (Ctrl + F9 / Command + F9).
Apply a gradient and adjust the colors to achieve the desired look.
7. Final Adjustments
Align and group your text if needed.
Select all the text and go to Object > Group (Ctrl + G / Command + G).
-
 56:15
56:15
Candace Show Podcast
5 hours agoBREAKING: My FIRST Prison Phone Call With Harvey Weinstein | Candace Ep 153
107K69 -
 LIVE
LIVE
megimu32
1 hour agoON THE SUBJECT: The Epstein List & Disney Channel Original Movies Nostalgia!!
183 watching -
 9:06
9:06
Colion Noir
10 hours agoKid With Gun Shoots & Kills 2 Armed Robbers During Home Invasion
16.9K3 -
 54:28
54:28
LFA TV
1 day agoUnjust Man | TRUMPET DAILY 2.27.25 7PM
19.7K2 -
 DVR
DVR
CatfishedOnline
6 hours ago $1.19 earnedGoing Live With Allen Weekly Recap
21.8K -
 20:10
20:10
CartierFamily
7 hours agoAndrew Schulz DESTROYS Charlamagne’s WOKE Meltdown on DOGE & Elon Musk!
36.8K45 -
 1:36:39
Redacted News
5 hours agoBOMBSHELL EPSTEIN SH*T SHOW JUST DROPPED ON WASHINGTON, WHAT IS THIS? | Redacted w Clayton Morris
145K242 -
 2:03:31
Revenge of the Cis
6 hours agoEpisode 1453: Fat & Fit
48.6K8 -
 2:38:12
The White House
7 hours agoPresident Trump Holds a Press Conference with Prime Minister Keir Starmer of the United Kingdom
160K60 -
 1:01:04
In The Litter Box w/ Jewels & Catturd
1 day agoDrain the Swamp! | In the Litter Box w/ Jewels & Catturd – Ep. 751 – 2/27/2025
91.7K35