Premium Only Content

Table Saw Operations_2
Here are additional **table saw operations** to expand your skills and enhance safety and efficiency:
---
### **1. Dado Cuts**
- **Purpose:** Create grooves or slots for joinery.
- **Tools Needed:** Dado blade set or stack.
- **Setup:**
- Replace the standard blade with a dado blade.
- Use a zero-clearance throat plate to support the cut and reduce tear-out.
- **Operation:** Adjust the blade height to match the depth of the groove and the width to match the desired fit. Use a miter gauge for cross dados or the fence for rip dados.
---
### **2. Rabbet Cuts**
- **Purpose:** Create step-like recesses along the edge of the wood for joinery.
- **Setup:** Use a dado blade or standard blade. Adjust the blade height for the depth of the rabbet.
- **Operation:** Set the rip fence to guide the wood, cutting one edge at a time to form the rabbet.
---
### **3. Bevel Cuts**
- **Purpose:** Make angled cuts along the edge or surface of a board.
- **Setup:** Tilt the blade to the desired angle using the bevel adjustment.
- **Operation:** Use the rip fence or miter gauge for guidance. Feed the material steadily to maintain a clean cut.
---
### **4. Taper Cuts**
- **Purpose:** Cut wood at a slight angle, often for furniture legs.
- **Tools Needed:** Tapering jig for precision.
- **Setup:** Secure the material in the tapering jig and adjust the blade angle if needed.
- **Operation:** Guide the jig along the rip fence to ensure consistency.
---
### **5. Cove Cuts**
- **Purpose:** Create curved grooves for decorative edges or molding.
- **Setup:**
- Adjust the rip fence and blade angle to create the curve.
- Make multiple shallow passes instead of a single deep cut.
- **Operation:** Use feather boards or guides to keep the material steady.
---
### **6. Resawing**
- **Purpose:** Cut a board into thinner pieces, often for veneers.
- **Tools Needed:** A tall rip fence for stability.
- **Setup:** Use a rip blade for clean cuts, and ensure the fence is adjusted for precision.
- **Operation:** Feed the wood slowly to maintain accuracy and avoid binding.
---
### **7. Crosscut Sled Operations**
- **Purpose:** Make precise crosscuts safely and consistently.
- **Tools Needed:** Crosscut sled.
- **Setup:** Place the sled in the miter slots, ensuring it’s square to the blade.
- **Operation:** Secure the material on the sled, align the cut line with the blade, and push the sled steadily.
---
### **8. Cutting Small Pieces**
- **Purpose:** Safely cut small materials for detailed work.
- **Tools Needed:** Push sticks, feather boards, and clamps.
- **Setup:** Use jigs or guides to keep hands at a safe distance from the blade.
- **Operation:** Feed the material carefully, maintaining control to prevent kickback.
---
### **9. Kerf Cutting**
- **Purpose:** Create a series of cuts to bend or shape wood.
- **Setup:**
- Adjust the blade height to match the desired depth of the kerf.
- Mark evenly spaced lines for consistent cuts.
- **Operation:** Use the rip fence to guide the material while making evenly spaced cuts.
---
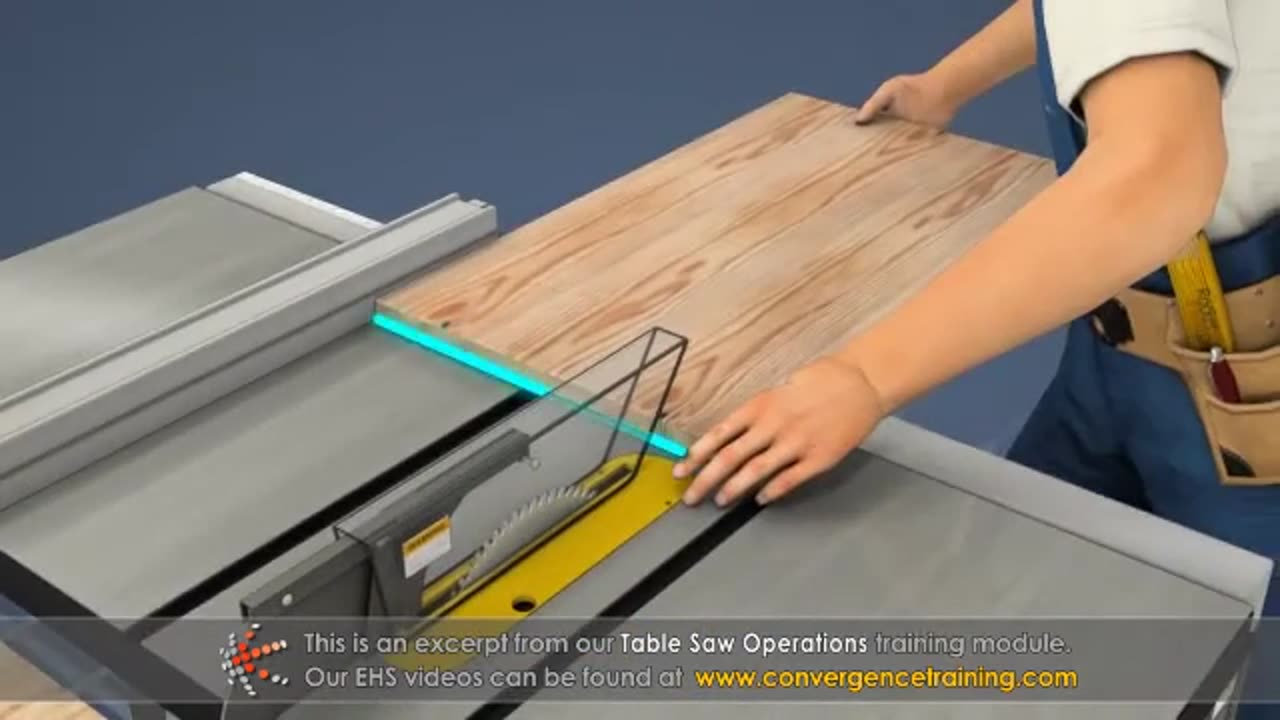
### **10. Panel Cutting**
- **Purpose:** Cut large sheets of material like plywood.
- **Tools Needed:** Panel-cutting sled or large outfeed table.
- **Setup:** Use supports to stabilize the material.
- **Operation:** Guide the panel steadily with both hands while maintaining balance and control.
---
### **Pro Tips for Advanced Operations**
- **Use Feather Boards:** Keep material firmly against the fence or table, especially for dado or taper cuts.
- **Test Cuts:** Always test on scrap material before cutting your workpiece.
- **Clamp Guides:** Use clamps to hold auxiliary fences or guides for precision.
- **Proper Feeding:** Feed material consistently, avoiding sudden movements.
Mastering these operations will elevate your table saw skills, enabling more complex and professional woodworking projects. Always prioritize safety and use the right tools for each task.
-
 9:49
9:49
Tundra Tactical
9 hours ago $15.74 earnedThe Best Tundra Clips from 2024 Part 1.
88.6K7 -
 1:05:19
Sarah Westall
10 hours agoDying to Be Thin: Ozempic & Obesity, Shedding Massive Weight Safely Using GLP-1 Receptors, Dr. Kazer
78.5K20 -
 54:38
54:38
LFA TV
1 day agoThe Resistance Is Gone | Trumpet Daily 12.26.24 7PM EST
57.3K9 -
 58:14
58:14
theDaily302
18 hours agoThe Daily 302- Tim Ballard
57.1K9 -
 13:22
13:22
Stephen Gardner
12 hours ago🔥You'll NEVER Believe what Trump wants NOW!!
106K297 -
 54:56
54:56
Digital Social Hour
1 day ago $10.83 earnedDOGE, Deep State, Drones & Charlie Kirk | Donald Trump Jr.
59.2K5 -
 DVR
DVR
The Trish Regan Show
14 hours agoTrump‘s FCC Targets Disney CEO Bob Iger Over ABC News Alleged Misconduct
64.2K39 -
 1:48:19
The Quartering
14 hours agoElon Calls White People Dumb, Vivek Calls American's Lazy & Why Modern Christmas Movies Suck!
145K112 -
 2:08:42
The Dilley Show
15 hours ago $37.01 earnedH1B Visa Debate, Culture and More! w/Author Brenden Dilley 12/26/2024
125K42 -
 4:55:59
LumpyPotatoX2
18 hours agoThirsty Thursday on BOX Day - #RumbleGaming
114K8