Premium Only Content

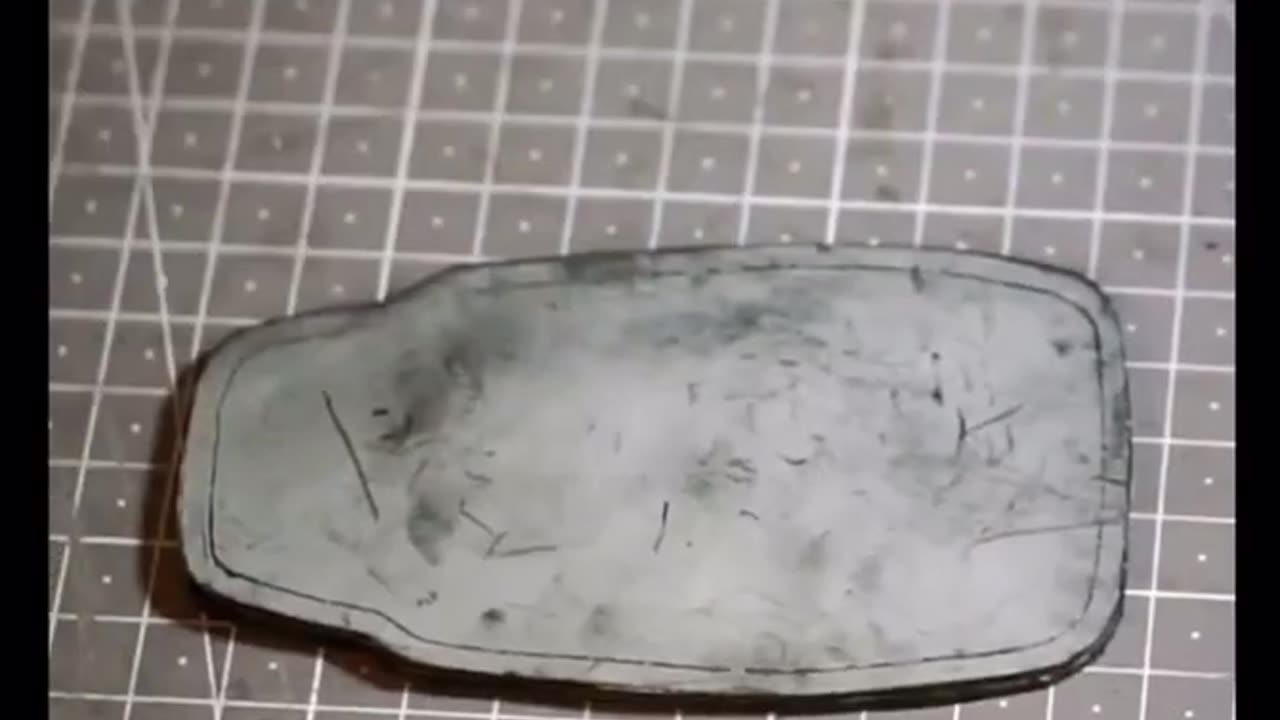
Professionally Make A Leather Medallion
Creating a leather medallion professionally involves a combination of precision, craftsmanship, and the right tools. Whether you're making it for jewelry, as a part of a costume, or for some other purpose, the process typically includes these steps:
Materials Needed:
Leather: Vegetable-tanned leather or leather of your choice (thickness of 2–4 oz is ideal for most medallions)
Cutting tools: Rotary cutter, utility knife, or leather shears
Cutting mat: To protect your work surface
Leather dye/paint: Optional, for color customization
Stamping tools (if desired): To add designs or lettering
Leather finish: To protect the leather and give it a nice sheen
Edge finishing tools: Burnishing tool or bone folder to smooth and round the edges
Hole punch (if necessary): For adding a hole for a cord or chain
Ruler: To measure and mark the leather accurately
Compass or template: To draw perfect circles if needed
Step-by-Step Process:
1. Design Your Medallion
Sketch your design on paper first to visualize your medallion’s size, shape, and any embellishments or text you want to include.
Choose the shape of the medallion, which is typically a circle, but you can experiment with other shapes as desired.
Create a template: Draw your design on a piece of paper, cardboard, or plastic and cut it out to make a reusable template.
2. Prepare the Leather
Select your leather: Vegetable-tanned leather is a good choice because it holds its shape well and can be dyed or stamped.
Cut your leather to the desired shape using a utility knife or rotary cutter. Place your template on the leather, trace around it with a pencil or water-soluble pen, and then cut out the medallion shape.
Thickness: If your leather is too thick, consider thinning it down by using a skiver or leather splitter to create a more flexible and lightweight medallion.
3. Add Decorative Elements
Stamping: If you're adding a design, use leather stamping tools to impress the design into the leather. This could include logos, symbols, or textures.
Burnishing: To smooth the edges of the leather, use a bone folder or edge burnisher. Wet the edges with a small amount of water or edge slicker, and burnish to round and smooth the edges.
Carving or tooling: If you're looking to create a more intricate design, you can use carving tools to carve into the leather before dyeing or painting.
4. Dye or Paint the Leather
Dyeing: If you want to color your medallion, use a leather dye in the shade of your choice. Apply with a sponge or brush, and wipe off excess dye for an even finish. Allow the dye to dry completely.
Painting: Leather paint can also be used if you need more control over colors or want to create detailed, intricate designs. Use acrylic leather paint and ensure it is suitable for flexible surfaces.
5. Finish the Leather
Apply a leather finish: Once the dye or paint is dry, apply a leather finish or sealant to protect the surface. This will add durability and give the leather a nice glossy sheen.
Burnish the edges: This is an optional but professional touch. Using a dedicated edge burnishing tool, apply a little water or edge slicker and burnish the edges to make them smooth and rounded.
6. Create a Hole (if needed)
Punch a hole: If your medallion needs to be worn on a cord, chain, or ribbon, use a leather hole punch to create a hole at the top or the desired position.
Ensure that the hole is large enough for your string, chain, or cord, but not too large that it weakens the structure of the medallion.
7. Assembly and Final Touches
Add the attachment: If you're making a pendant or necklace, thread a cord, leather string, or chain through the hole you created.
Finishing touches: Double-check the edges, ensuring they are smooth. Add any final decorative elements like a metal clasp or rivet if you're going for an even more polished look.
Additional Tips:
Quality tools: Invest in good leatherworking tools to ensure clean cuts, precise stamping, and neat finishing.
Practice: If this is your first time working with leather, practice on scrap pieces before working on your final piece.
Leather conditioner: After your project is complete, use a leather conditioner to maintain the suppleness and health of the leather.
Creating a leather medallion professionally requires attention to detail and patience, but the result can be a beautiful, unique piece of wearable art.
ChatGPT can make mistakes. Check important info.
?
-
 LIVE
LIVE
BrancoFXDC
3 hours ago $1.47 earnedWarzone Rounds - DAY 10 of no Internet
320 watching -
 1:17:17
RiftTV/Slightly Offensive
8 hours ago $7.52 earnedMASSACRE at FSU: Who was Actually RESPONSIBLE? | Slightly Offensive
40K13 -
 3:18:46
SilverFox
4 hours ago🔴LIVE - HUGE UPDATE! LORDS OF THE FALLEN 2.0
25.2K -
 2:03:46
Roseanne Barr
7 hours ago $20.02 earned"God, Go Get em' Honey" W/ Tal Oran | The Roseanne Barr Podcast #95
104K43 -
 5:53:59
BSparksGaming
7 hours agoLords of the Fallen Version 2.0 Gameplay!
16.6K -
 1:04:45
Donald Trump Jr.
10 hours agoThe Left’s Lunacy Knows No Bounds, Plus Taking Your Questions Live! | Triggered Ep234
143K157 -
 4:05:32
Rebel News
14 hours ago $17.28 earnedLIVE: Rebels react as leaders face off in Day 2 English debate
94.3K45 -
 LIVE
LIVE
Phyxicx
8 hours agoMore Halo I guess - 4/17/2025
88 watching -
 37:56
37:56
Michael Franzese
8 hours agoThe Man Who Invented the Mafia: Lucky Luciano
61.8K12 -
 4:28:37
Jokeuhl Gaming and Chat
5 hours agoEmpyrion - Galactic Survival
15K