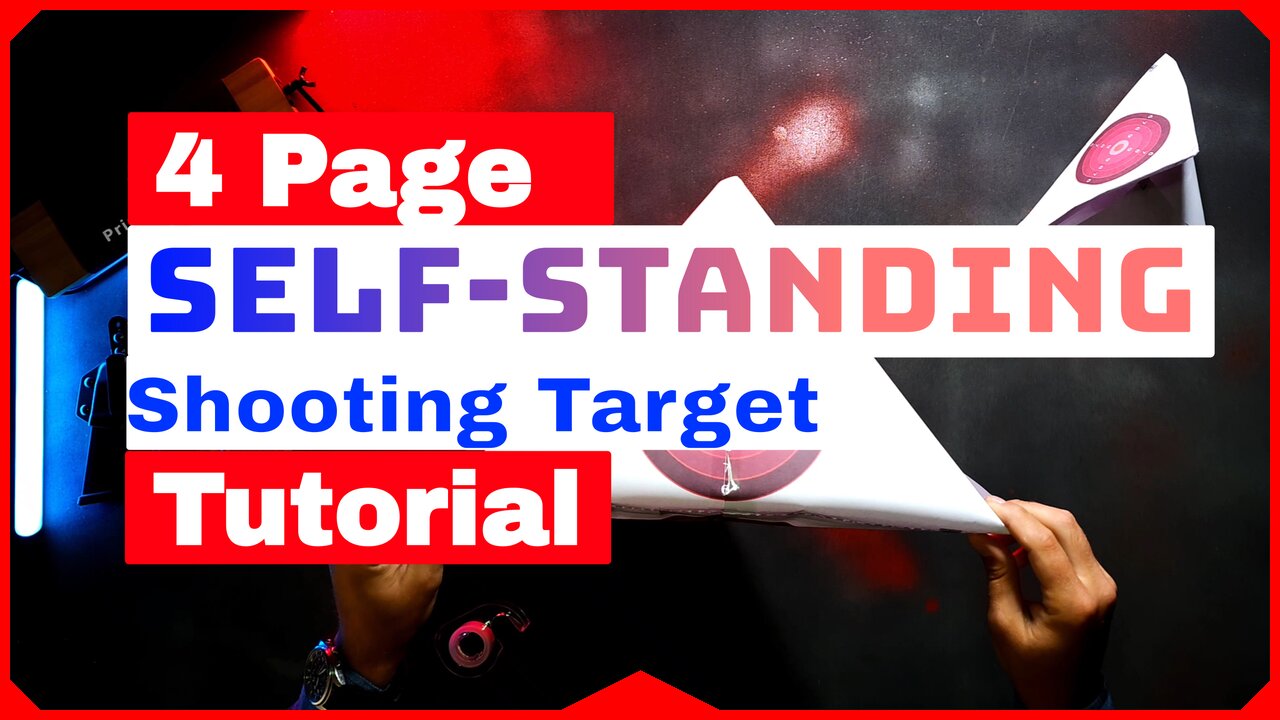
4 Page Self-Standing Target Tutorial - PrintMyTargets
Our 4-Page self-standing foldable paper target is the larger version of the single page self-standing target. It can be assembled similar to the single page self standing target with a few additional steps. We recommend using 8.5x11" printer paper.
Check out our Step-by-Step Guide on Our Website: https://printmytargets.com/tutorials/4-page-self-standing-paper-target-tutorial.html
Like the Target in the Video? Get it here: https://printmytargets.com/product.html?product=1872511281
Browse more of our targets by heading over to our website: https://printmytargets.com
What Materials Are Needed?
4 Page Double-Sided Self-Standing Paper Target & Transparent Tape
Estimated Time to Create Target: 2-5 Minutes
Step 1
Please assemble the target pages in order. The row and page numbers are in the bottom right-hand corner of each page.
Step 2
Next, please fold the paper on the red dotted lines as shown in the example below. While the red dotted lines may not reach the very edge of the paper, please ensure you fold the full length of the paper when folding.
Step 3
Great, now let’s tape the pages together (the bottom row of pages).
Please line the paper up and ensure you tape the top and bottom edges of the paper. We also recommend taping the middle section of the pages to add extra strength to the target.
Step 4
Now repeat the same process for the top row.
Step 5
Great, now let's tape the top row and the bottom row of pages together to form 1 single target. Place the bottom row on top of the top row of pages near the bottom, as shown in the image below.
Step 6
Now, please flip the target upside down and tape two diagonal corners together.
Place 1 corner of the paper in the L shaped border of the opposite corner and then tape it securely in place. (We recommend using two pieces of tape)
In the image below, you'll notice that the two corners are taped together with two pieces of tape. Each corner meets the other corner's L shaped border without going past it.
Remember, if you let the corners cover or go past the L shaped border, then you might have trouble when you try to tape the next set of corners and may need to start over.
Step 7
Now, please do the same for the other two corners of the paper.
Note: For these two corners, you do not need to fully place them within the L shaped border. Simply have the two corners touch and then tape them in place. This should form a pyramid looking paper shooting target that is now double sided.
And remember, you can add more tape for extra strength.
Step 8
Check the target for imperfections. After creating the self-standing target, there will likely be a few accidental folds or dents in the paper. You can gently but firmly pull on the corners of the paper target to pop these folds and dents out of the target.
The back of the target also allows you to place your hand inside of the target and push these dents out with your fingers.
Step 9 (Optional)
Check the target for imperfections. After creating the self-standing target, there will likely be a few accidental folds or dents in the paper. You can gently but firmly pull on the corners of the paper target to pop these folds and dents out of the target.
The back of the target also allows you to place your hand inside of the target and push these dents out with your fingers.
All Done.
-
 UPCOMING
LFA TV
14 hours ago| LIVE FROM AMERICA 3.7.25 11AM
2.59K -

Randi Hipper
1 hour agoDonald Trump makes HISTORY with Strategic Bitcoin Reserve Announcement
6.14K1 -
 49:45
49:45
BonginoReport
4 hours agoTrump’s Cryptic Putin Threat (NEW STUDIO) (Ep.155) - 03/07/2025
69.7K81 -
![🔴[LIVE] Breaking Market News, Powell Conference & Trump Speech || The MK Show](https://1a-1791.com/video/fwe2/c1/s8/1/4/f/p/q/4fpqy.0kob-small-The-MK-Show-Mar.-7th.jpg) LIVE
LIVE
Matt Kohrs
10 hours ago🔴[LIVE] Breaking Market News, Powell Conference & Trump Speech || The MK Show
1,460 watching -
 LIVE
LIVE
Wendy Bell Radio
5 hours agoWho's Your Daddy?
13,869 watching -
 1:38:45
Jeff Ahern
2 hours ago $1.21 earnedFriday Freakout with Jeff Ahern (Dems Keep Losing)
12.9K2 -
 1:11:37
LFA TV
14 hours agoThe MOST PRECIOUS Commodity of ALL!! | WORLD HD 3.7.25 8AM
32.8K1 -
 10:25
10:25
Melonie Mac
22 hours agoThe Last of Us 3 won't be happening by the look of it
49.5K54 -
 14:50
14:50
Mrgunsngear
22 hours ago $6.62 earnedRuger LC Carbine 10mm Review 🇺🇸
50.7K35 -
 15:17
15:17
Degenerate Jay
1 day ago $8.44 earnedThis Batman Keeps Coming Back!
47K16