Premium Only Content

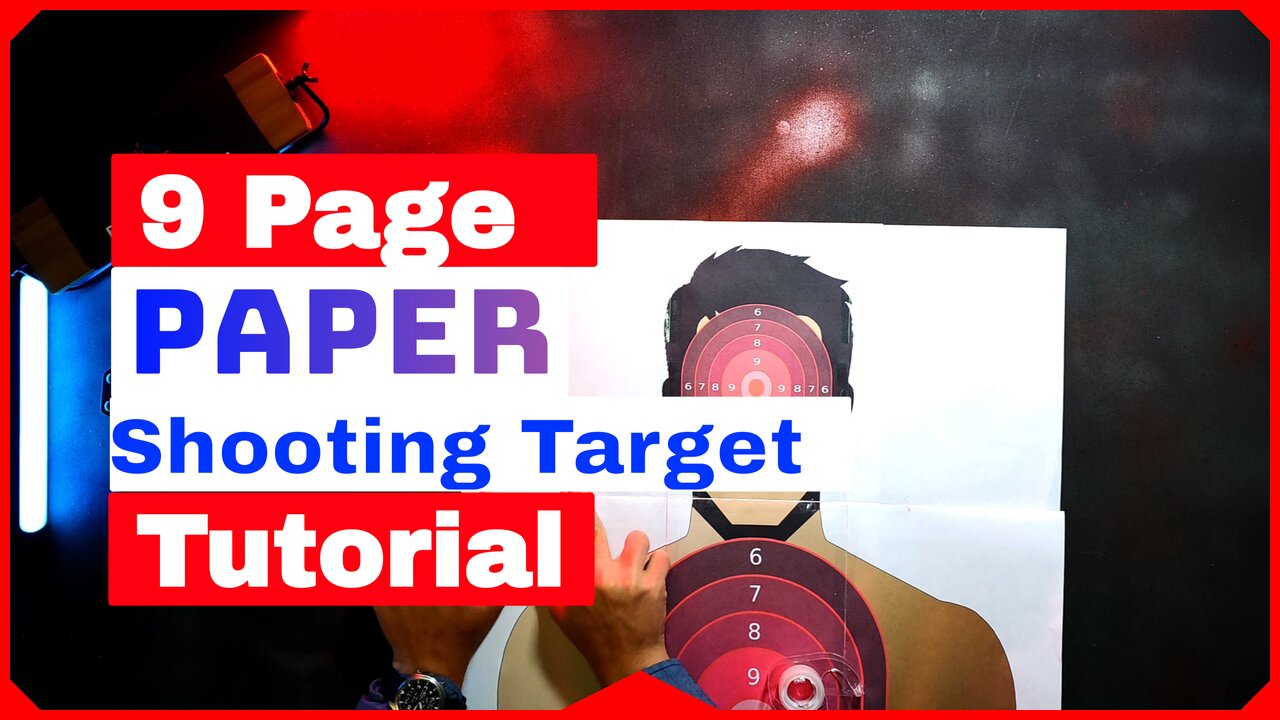
9 Page Target Tutorial - PrintMyTargets
Our 9-Page targets can be printed right at home on a standard printer. These are Large-sized targets and make for an awesome shooting experience. They are our personal favorite target size. They take about ~5 minutes to assemble depending on experience. We recommend using 8.5x11" (US Letter) printing paper.
Check out our Step-by-Step Guide on Our Website: https://printmytargets.com/tutorials/9-page-paper-target-tutorial.html
Like the Target in the Video? Get it here: https://printmytargets.com/product.html?product=766697379
Browse more of our targets by heading over to our website: https://printmytargets.com
What Materials Are Needed?
9 Page Paper Target & Transparent Tape
Estimated Time to Create Target: 4-10 Minutes Depending on Experience
What is needed to assemble the 9 page paper target?
You only need transparent tape and a 9 page target that has been printed out to create this target.
Step 1
Please assemble the target pages in order. The row and page numbers are in the bottom right-hand corner of each page. Start with the bottom row first.Row and page numbers are in the bottom-right corner of each page.
Step 2
Next, please fold the paper on the red dotted lines as shown in the example below. While the red dotted lines may not reach the very edge of the paper, please ensure you fold the full length of the paper when folding.
For rows 3 and 2, make 5 folds each. Row 1 only needs 2 folds. Begin with the bottom row first. The image below shows where to fold row 3.
Be sure to fold the paper fully along the red dotted line.
There should be a total of 5 folds for row 3.Go ahead and fold on the red dotted lines.
Step 3
Great, now let’s tape the pages together (bottom row of pages).
Please line the paper up and ensure you tape the top and bottom edges of the paper. We also recommend taping the middle section of the pages to add extra strength to the target.
Great, now put this completed row to the side for now.
Step 4
Now repeat the same process for row 2.
Step 5
Now, do the same thing for row 1, but this time, you'll only need to make 2 folds since it's the top row.
Step 6
Now that you've taped each row, let's assemble the full target. Place the rows in order and tape them together. Be sure to tape the edges on both the left and right sides, the center of the paper, and where the four pages meet on both sides of the target's center.
All Done.
-
 54:28
54:28
LFA TV
1 day agoUnjust Man | TRUMPET DAILY 2.27.25 7PM
19.7K2 -
 DVR
DVR
CatfishedOnline
7 hours ago $1.19 earnedGoing Live With Allen Weekly Recap
21.8K -
 20:10
20:10
CartierFamily
7 hours agoAndrew Schulz DESTROYS Charlamagne’s WOKE Meltdown on DOGE & Elon Musk!
36.8K45 -
 1:36:39
Redacted News
5 hours agoBOMBSHELL EPSTEIN SH*T SHOW JUST DROPPED ON WASHINGTON, WHAT IS THIS? | Redacted w Clayton Morris
145K242 -
 2:03:31
Revenge of the Cis
6 hours agoEpisode 1453: Fat & Fit
48.6K8 -
 2:38:12
The White House
7 hours agoPresident Trump Holds a Press Conference with Prime Minister Keir Starmer of the United Kingdom
160K60 -
 1:01:04
In The Litter Box w/ Jewels & Catturd
1 day agoDrain the Swamp! | In the Litter Box w/ Jewels & Catturd – Ep. 751 – 2/27/2025
91.7K35 -
 1:11:24
Dr. Drew
8 hours agoNEW: Cardiac Arrest In Healthy Young People After mRNA w/ Nicolas Hulscher – Ask Dr. Drew
72.7K32 -
 4:24:53
Right Side Broadcasting Network
12 hours agoLIVE REPLAY: President Trump and UK Prime Minister Starmer Meet and Hold a Press Conference 2/27/25
166K47 -
 2:12:33
Adam Carolla
2 days agoKamala Harris vs. Trump Wildfire Response + Jillian Michaels on Motherhood/Ayahuasca & Sperm Donors!
57.1K21