Premium Only Content

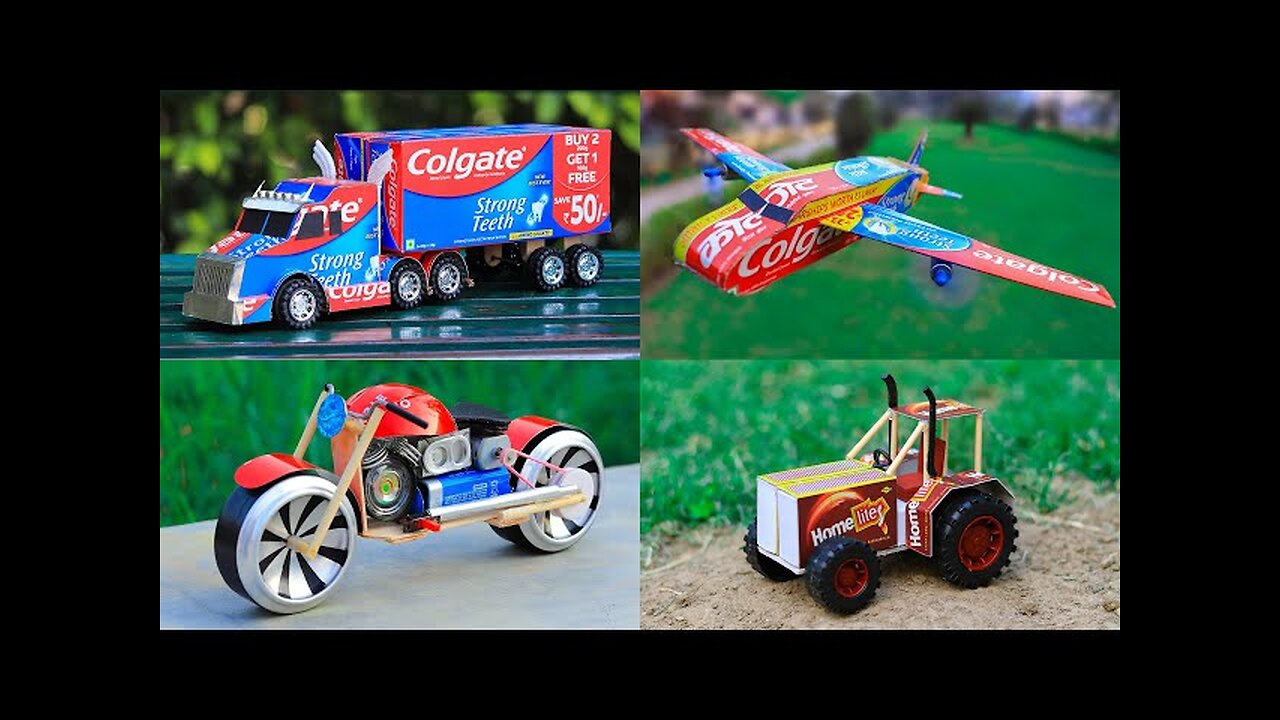
4 Amazing DIY TOYs
To build a simple toy car, you can use household materials and follow these steps:
Materials Needed:
Plastic bottle (like a soda or water bottle)
Bottle caps (for the wheels)
Thin wooden sticks or skewers (for the axles)
Plastic straws
Hot glue or strong liquid glue
Scissors or a cutter
Rubber band (for a pull-back motor)
Colored paper or paint (for decoration)
Steps:
1. Car Body:
Use a small plastic bottle (like a soda or water bottle) as the car’s body. If the bottle is too large, you can cut it to your desired size.
2. Prepare the Wheels:
Take four plastic bottle caps for the wheels. Create a small hole in the center of each cap using a nail or scissors.
3. Make the Axles:
Use two thin wooden sticks or skewers for the axles. Each stick should be slightly longer than the width of the bottle.
Thread the sticks through plastic straws and glue the straws to the bottom of the bottle to act as axles.
4. Attach the Wheels:
Attach the bottle caps (wheels) to both ends of the wooden sticks. Make sure the wheels spin freely.
5. Create a Pull-Back Motor (Optional):
If you want your car to move on its own, you can use a rubber band. Attach one end of the rubber band to the back axle and the other end to the rear of the bottle. When you twist the rubber band and release it, the car will move forward.
6. Decorate the Car:
Decorate the car with paint, colored paper, or other materials to give it a more personalized look.
Result:
Your handmade toy car is ready! You can modify the design by adding more decorations or changing the size to suit your preference.
This channel needs the support of my loved ones. Thank you
-
 6:06
6:06
scoutthedoggie
1 day agoAirsoft Warfare Scotland
95 -
 6:15:31
SpartakusLIVE
11 hours ago#1 BIG BRAIN releases the FULL POWER of his CEREBRAL DOMINANCE
97.3K9 -
 57:19
57:19
Man in America
18 hours ago🚨 Disaster Expert: Weather Warfare Hasn't Stopped Under Trump—Are You Ready for What's Coming?
54.2K128 -
 1:32:38
elwolfpr
10 hours agoHappy Sunday COD Night: Rumble Stream LIVE!
80.6K4 -
 5:40:13
412 Productions
10 hours ago $5.72 earnedSunday night gaming - 7 Days to Die
50.6K4 -
 2:16:02
Nerdrotic
12 hours ago $17.77 earnedUFO Reality Revealed | New Homos | Jacques Vallée Remote Viewing | Forbidden Frontier #094
70.1K18 -
 1:06:38
Cooking with Gruel
1 day agoCooking with Michael Franzese
31.4K5 -
 16:53
16:53
Chris From The 740
15 hours ago $6.56 earnedMec-Gar Glock Mags Review: Don't Believe The Hype!
51.2K19 -
 2:27:16
vivafrei
19 hours agoEp. 255: NO CONSTITUTION IN SEATTLE! Trump Invokes Alien Act! Hail King Carney! Green Card Revoked!
207K220 -
 3:02:01
Pepkilla
14 hours agoCod FEesh
85.8K5