Premium Only Content

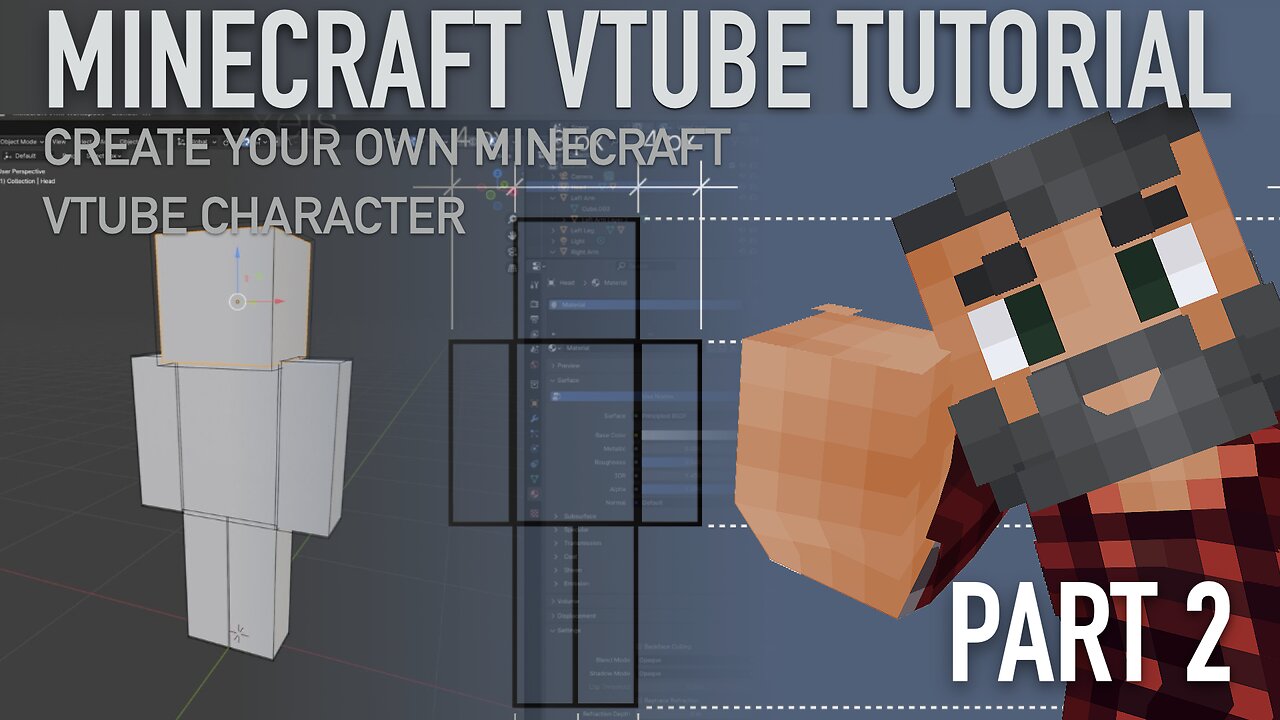
Minecraft Player Character vTuber Creation Tutorial | Part 2 | Blender | VRM | 3tene | Re-upload
Welcome to the second part of our process to create a vTuber based on a Minecraft player character from absolute basics. In this part, we'll be:
- Looking at the Minecraft skin reference template and using it to work out our model’s properties.
- Create a single layer skin version of our player model
- Add the second layer skin to the model
This is a video re-upload correcting the preferred future-safe method of bringing up the Add context menu to add meshes to our models - Shift-A. The right-click method as originally described relies upon the context menu extension supplied with Blender 4.1 being manually activated, but this extension has been removed in Blender 4.2 and later (it’s now available as an externally installed extension).
Key tools and websites in use
-----------------------------
► Blender - https://www.blender.org
► VRM Add-on - https://vrm-addon-for-blender.info/en
► VRoid Hub - https://hub.vroid.com/en
► Official Minecraft skin reference - https://help.minecraft.net/hc/en-us/articles/4408894664461-Minecraft-Java-Edition-Skins
Where to find Untalented Amateur?
--------------------------------------------------------
► Twitter - https://twitter.com/UntalentedAm
► Twitch - https://www.twitch.tv/untalentedamateur
► Youtube - https://www.youtube.com/@untalentedamateur
► Github - https://github.com/UntalentedAmateur/fabpack
► Ko-fi - https://ko-fi.com/untalentedamateur
► Discord - http://discord.gg/sQpSDP4fHR
00:39 Locating the Minecraft reference skin template
01:32 Measuring the default Blender cube
02:14 Analysing the reference skin template
04:13 Skin template regions
06:16 Drafting our initial model
09:47 Building our model in Blender - Layer 1
14:35 Layer 2 - Absolute Positioning method
16:56 Layer 2 - Relative Positioning method
-
 1:56:04
TheDozenPodcast
14 hours agoMass deportations, Islamists, Saving the UK: Nick Tenconi
4.15K8 -
 35:24
35:24
Survive History
18 hours ago $1.53 earnedCould You Survive in a Cavalry Regiment During the English Civil War?
20.3K3 -
 28:15
28:15
Degenerate Plays
13 hours ago $0.91 earnedTwo Birds' Secret Meeting - Gotham Knights : Part 26
27.8K3 -
 12:29
12:29
Mr. Build It
5 days agoWish I Knew This Before I Started Building It
39.2K15 -
 2:03:57
Megyn Kelly
2 days agoNew Trump Derangement Syndrome, and How CNN Smeared a Navy Veteran, w/ Piers Morgan & Zachary Young
139K176 -
 10:05
10:05
DIY Wife
3 years agoHow We Flip Old Furniture For Profit!
73.3K58 -
 2:14:54
TheSaltyCracker
11 hours agoTrump Goes Gangster ReeEEeE Stream 01-26-25
157K334 -
 4:42:13
Due Dissidence
20 hours agoTrump Calls To "CLEAN OUT" Gaza, Swiss ARREST Pro-Palestine Journalist, MAGA's Hollywood Makeover?
72.2K97 -
 2:02:20
Nerdrotic
12 hours ago $20.31 earnedDECLASSIFIED: JFK, MLK UFO Immaculate Constellation Doc | Forbidden Frontier #089
92.8K17 -
 3:00:14
vivafrei
20 hours agoEp. 248: "Bitcoin Jesus" Begs Trump! Rekieta Gets Plea Deal! Pardons, Deportations, Bird Flu & MORE!
211K246