Premium Only Content

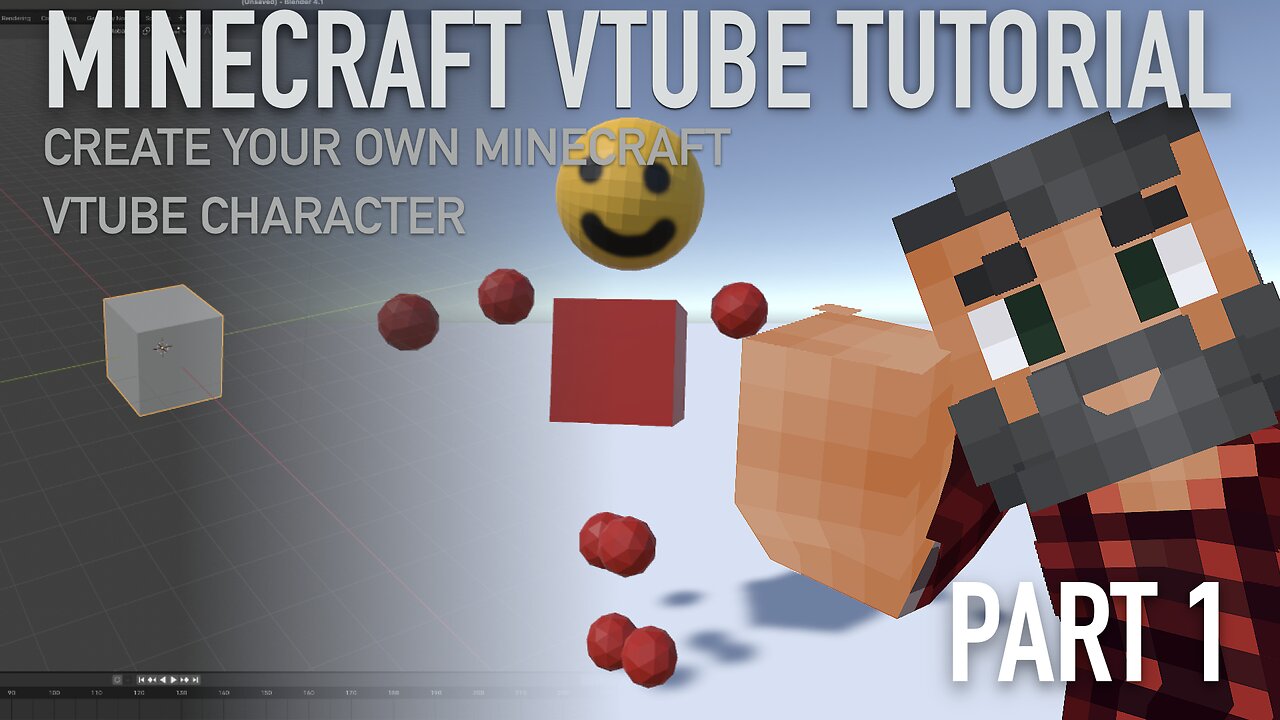
Minecraft Player Character vTuber Creation Tutorial | Part 1 | Blender | VRM | 3tene | Re-upload
Welcome to the first part of our process to create a vTuber based on a Minecraft player character from absolute basics. In this part, we'll be:
- Installing Blender
- Adding support for the Virtual Reality Model (VRM) format
- Setting up a range of third party accounts and tools to preview our exported VRMs
- Creating and testing sample VRMs, including basic cube and basic Humanoid models
This is a video re-upload correcting the preferred future-safe method of bringing up the Add context menu to add meshes to our models - Shift-A. The right-click method as originally described relies upon the context menu extension supplied with Blender 4.1 being manually activated, but this extension has been removed in Blender 4.2 and later (it’s now available as an externally installed extension).
Key tools and websites in use
-----------------------------
► Blender - https://www.blender.org
► VRM Add-on - https://vrm-addon-for-blender.info/en
► Pixiv - https://www.pixiv.net/en/
► VRoid Hub - https://hub.vroid.com/en
► VRoid Studio - https://vroid.com/en/studio
► Live2D Cubism - https://www.live2d.com/en/
► 3tene - https://3tene.com
Where to find Untalented Amateur?
--------------------------------------------------------
► Twitter - https://twitter.com/UntalentedAm
► Twitch - https://www.twitch.tv/untalentedamateur
► Youtube - https://www.youtube.com/@untalentedamateur
► Github - https://github.com/UntalentedAmateur/fabpack
► Ko-fi - https://ko-fi.com/untalentedamateur
► Discord - http://discord.gg/sQpSDP4fHR
00:57 Installing Blender
01:35 Installing the VRM Addon for Blender
02:37 Setting up our pixiv account
03:02 Connecting to VRoid Hub
03:20 A quick look at VRoid Studio, Live2D Cubism, and 3tene
05:56 Creating our first VRM - a cube!
06:19 Creating our second VRM- a basic Humanoid!
-
 LIVE
LIVE
Dr Disrespect
5 hours ago🔴LIVE - DR DISRESPECT - WARZONE - IMPOSSIBLE TRIPLE THREAT CHALLENGE
3,551 watching -
 1:04:05
In The Litter Box w/ Jewels & Catturd
21 hours agoYOU'RE FIRED! | In the Litter Box w/ Jewels & Catturd – Ep. 747 – 2/21/2025
26K17 -
 LIVE
LIVE
Revenge of the Cis
1 hour agoLocals Movie Riff: Soul Plane
340 watching -
 40:04
40:04
SLS - Street League Skateboarding
1 month agoThese 2 Women Dominated 2024! Best of Rayssa Leal & Chloe Covell 🏆
29.1K2 -
 1:48:12
The Quartering
5 hours agoElon Musk Waves a Chainsaw at CPAC, JD Vance SLAMS Illegal Immigration, and more
89.1K20 -
 45:20
45:20
Rethinking the Dollar
2 hours agoGolden Opportunity: Trump's Noise Has Been Great For Gold But....
12.7K4 -
 1:02:04
Ben Shapiro
4 hours agoEp. 2143 - The True Faces Of Evil
78.3K86 -
 1:26:19
Game On!
4 hours ago $1.65 earnedSports Betting Weekend Preview with Crick's Corner!
29.9K1 -
 30:45
30:45
CatfishedOnline
3 hours ago $1.58 earnedMan Plans To Marry His Military Girlfriend Or Romance Scam?
26.1K1 -
 1:58:32
The Charlie Kirk Show
4 hours agoHello Kash, Good-Bye Mitch + AMA | Morris | 2.21.2025
133K53