Premium Only Content

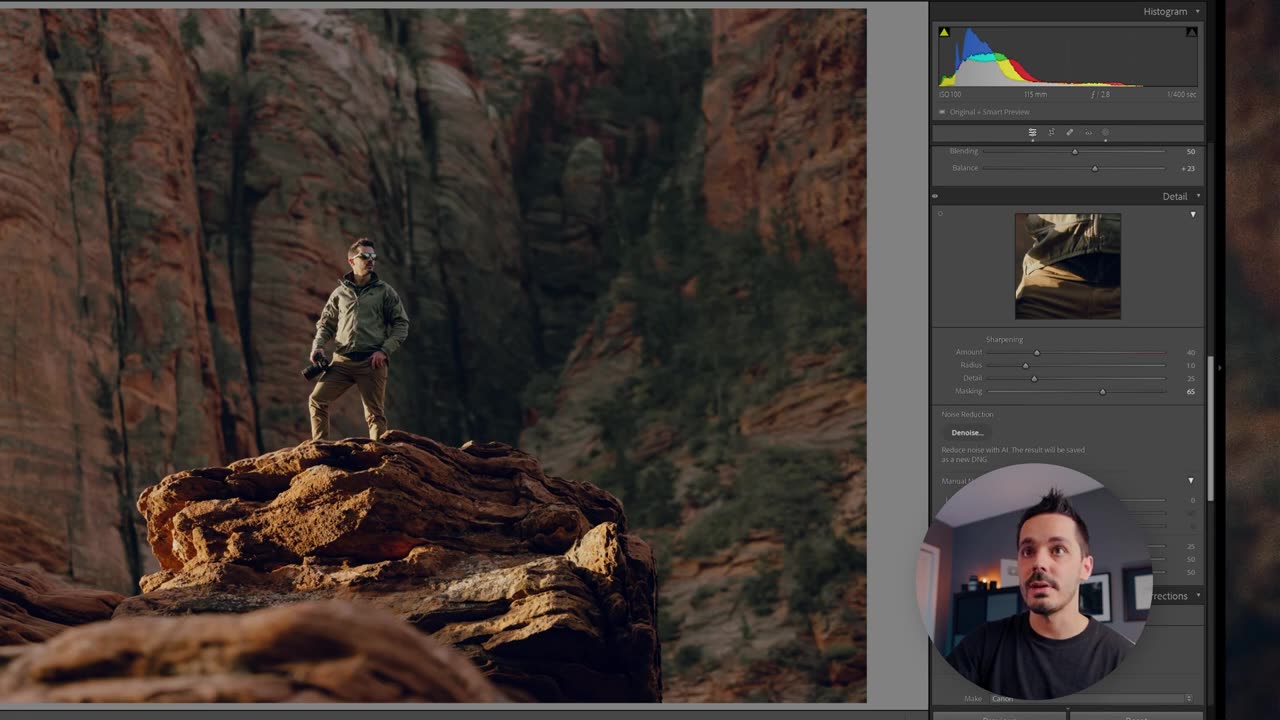
EDITS PHOTO LIKE A PRO || FULL LIGHTROOM TUTORIAL
Step-by-Step Guide to Editing a Photo in Adobe Lightroom
Import Your Photo:
Open Lightroom and click on the 'Library' module.
Click 'Import' and select the photo you want to edit.
Basic Adjustments:
Switch to the 'Develop' module.
Exposure: Adjust the 'Exposure' slider to make your photo brighter or darker.
Contrast: Move the 'Contrast' slider to increase or decrease the contrast between light and dark areas.
Fine-Tuning Light:
Highlights: Adjust the 'Highlights' slider to recover details in the bright areas.
Shadows: Use the 'Shadows' slider to bring out details in the darker parts of your photo.
Whites/Blacks: Adjust the 'Whites' and 'Blacks' sliders to define the brightest and darkest points of your image.
Color Adjustments:
White Balance: Use the 'Temp' and 'Tint' sliders to correct the overall color balance.
Vibrance/Saturation: Increase 'Vibrance' for a more subtle boost in color or 'Saturation' for more intense colors.
Additional Adjustments:
Use the 'Tone Curve' for more precise control over the brightness and contrast.
Experiment with 'HSL/Color' to adjust individual color ranges.
Finishing Touches:
Apply any final adjustments, such as sharpening or noise reduction.
Once satisfied, export your edited photo by clicking 'Export' and choosing your desired settings.
-
 54:28
54:28
LFA TV
1 day agoUnjust Man | TRUMPET DAILY 2.27.25 7PM
19.7K2 -
 DVR
DVR
CatfishedOnline
6 hours ago $1.19 earnedGoing Live With Allen Weekly Recap
21.8K -
 20:10
20:10
CartierFamily
7 hours agoAndrew Schulz DESTROYS Charlamagne’s WOKE Meltdown on DOGE & Elon Musk!
36.8K45 -
 1:36:39
Redacted News
5 hours agoBOMBSHELL EPSTEIN SH*T SHOW JUST DROPPED ON WASHINGTON, WHAT IS THIS? | Redacted w Clayton Morris
145K236 -
 2:03:31
Revenge of the Cis
6 hours agoEpisode 1453: Fat & Fit
48.6K8 -
 2:38:12
The White House
7 hours agoPresident Trump Holds a Press Conference with Prime Minister Keir Starmer of the United Kingdom
160K60 -
 1:01:04
In The Litter Box w/ Jewels & Catturd
1 day agoDrain the Swamp! | In the Litter Box w/ Jewels & Catturd – Ep. 751 – 2/27/2025
91.7K35 -
 1:11:24
Dr. Drew
8 hours agoNEW: Cardiac Arrest In Healthy Young People After mRNA w/ Nicolas Hulscher – Ask Dr. Drew
72.7K31 -
 4:24:53
Right Side Broadcasting Network
12 hours agoLIVE REPLAY: President Trump and UK Prime Minister Starmer Meet and Hold a Press Conference 2/27/25
166K47 -
 2:12:33
Adam Carolla
2 days agoKamala Harris vs. Trump Wildfire Response + Jillian Michaels on Motherhood/Ayahuasca & Sperm Donors!
57.1K21