Premium Only Content

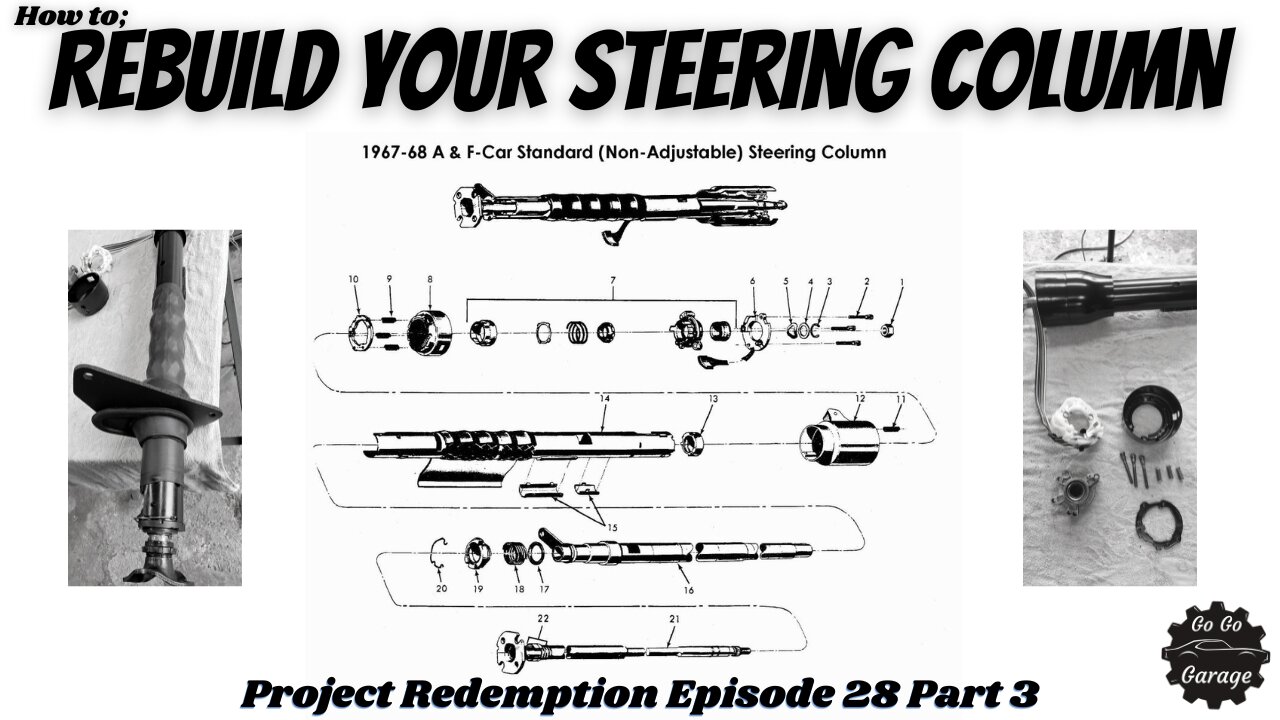
How to reassemble the steering column on a 1967 Chevy Camaro for Beginners
After disassembling two steering columns, stripping them down, and painting them, I was able to reassemble one.
This is by far one of the most detailed videos I've ever made, and it's also the first video I have ever done with a voice over.
With that in mind, check out this video to see how I reassembled the steering column on a 1967 Chevy Camaro!
* Subtitles *
Subtitles are available in this video
"Use the Closed Caption button to turn them on or off"
* Project Redemption *
Episode Twenty-Eight - Steering Column P3
Episode Subtitle ----- How to reassemble the steering column on a 1967 Chevy Camaro for Beginners
Video Speed ---------- 300x to 500x
Started Recording ---- 04/23/2022
Finished Recording --- 04/23/2022
* Chapters *
00:00 Video Intro
00:10 Let the unwrapping begin
00:45 Using a Heat shrink tube as a replacement for the Column Crush Cover
01:37 Inserting the Inner Plastic Bearing to Guide the Shifter Tube
01:47 Installing the Shifter Bowl on the Upper portion of the Steering Column
02:15 Inserting the Washer, Spring and Lower Bearing into the Steering Column
02:32 Installing the Lower Shifter Cover onto the Steering Column
02:37 Installing the Lower Rubber Firewall Boot and an Aftermarket External Boot
02:56 Adding Lithium Grease and Installing the Tolerance Ring kit on the Steering Shaft
03:06 Inserting the Steering Shaft into the Steering Column
03:12 Getting Ready to Install the Upper Steering Wheel Housing
03:14 Attaching the Upper Steering Column Bearing to the Turn Signal Assembly
03:30 Inserting the Assembly into the Housing while trying to neatly route the Wires
04:14 Installing the Screw to hold the assembly together along with the springs and lock plate
05:12 The Assembly is now ready to be installed into the Steering Column
05:16 Installing the Assembly and routing the harness while locking the unit down by twisting in place
05:28 Now that the Assembly is locked in place I will Tightening the screws down
05:30 Just in case I Added Some Lithium Grease to the Upper Bearing
05:54 Installing the Wave Washer, Thrust Washer, and the Retaining Ring on the Steering Shaft
06:12 Making Sure that the Retaining Ring is securely Seated
06:32 Double Check the Shaft to make sure that it spins freely
06:36 Installing the Harness Wire Covers and Clips on the Steering Column
06:42 Installing the Steering Column to Dash Bracket
07:02 Adding washers and Tightening the Steering Column to Dash Bracket down
07:17 Taking a Closer Look at the Steering Column Fully Assembled
07:27 Please Subscribe if you want to see more videos like this, Thanks for watching!
* Subscribe *
https://www.youtube.com/channel/UC6aV8koe8jaADDFTOUGbXqw?sub_confirmation=1
* Shout Out *
Go Go Garage wants to Thank those for their Support!
Please check out;
@aMAYSing Metal Works
https://www.youtube.com/c/aMAYSingMetalWorks
* Products *
Most of the Steering components were purchased here;
https://www.heartbeatcitycamaro.com/
* Software *
Audacity
Affinity Photo
Filmora Version Pro
* Gear *
DJI Osmo Pocket
OnePlus 5 Android Phone
Canon 5D Mark IV Camera
Shure MV7X XLR Podcast Microphone
Focusrite Scarlett Solo 3rd Gen
♫ Music ♫
1983-SynthWave-RetroWave-by-RetroWave-Kingdom
© Music provided by DreamWave Kingdom ©
Watch the original movie here: https://www.youtube.com/watch?v=0XmYLhco4VU
* Production *
Go Go Garage
All Rights Reserved 2021-2022
* Hashtags *
#gogogarage #gogogarageclub #camaro #67Camaro #67camarorestoration #projectredemption
-
 LIVE
LIVE
Akademiks
57 minutes agoDay 1/30. Lebron checks stephen a Smith. TOry Lanez talking CRAZY asf. Lil Ronnie K*Ilers Caught
2,759 watching -
 LIVE
LIVE
FreshandFit
1 hour agoCall-In Show
1,446 watching -

Nerdrotic
5 hours ago $26.43 earnedDaredevil Born Again REVIEW, Harry Potter Show DOA, DC HACKED! | Friday Night Tights 344 Paul Chato
63K16 -
 1:15:15
Glenn Greenwald
2 hours agoWeek in Review: Lee Fang and Leighton Woodhouse on Ukraine War and NYT Piece Revealing Tensions within Trump Admin; PLUS: Lee Fang Takes Audience Questions on DOGE and Big Tech | SYSTEM UPDATE #420
26.2K17 -
 1:03:30
Sarah Westall
4 hours agoMassive Government Overhaul: FBI, CIA, IRS and more to be Gutted w/ Sam Anthony
24.5K3 -
 LIVE
LIVE
IsaacButterfield
4 hours agoAustralia Under Attack | Trump's State of the Union | All LGBTQ Cast (W Guest Frenchy)
226 watching -
 LIVE
LIVE
Edge of Wonder
4 hours agoIs Your Car Collecting Your Biodata? Whistleblower Exposes Dark Agenda
533 watching -
 LIVE
LIVE
Quite Frankly
7 hours ago"News Round-Up, Celebrity Stories, Friday Extras" ft. J Gulinello 3/7/25
1,302 watching -
 55:49
55:49
LFA TV
1 day agoGermany Started Two World Wars and Now Wants Nuclear Weapons | TRUMPET DAILY 3.7.25 7PM
20.6K14 -
 1:34:38
2 MIKES LIVE
3 hours ago2 MIKES LIVE #189 Open Mike Friday (Sort Of)
16K