Premium Only Content

Making The Coolest Small Parts Organizer - Woodworking
Creating a small parts organizer can be both a practical and enjoyable woodworking project. A well-designed organizer helps keep your workspace tidy and ensures that small items like screws, nails, bolts, and other hardware are easy to find. Here’s a step-by-step guide to making a cool small parts organizer:
Materials and Tools Needed
Materials:
Plywood or hardwood (1/2" thick for the main structure)
Plywood or MDF (1/4" thick for drawers)
Small drawer knobs or handles
Wood glue
Wood screws or brad nails
Drawer slides (optional)
Paint, stain, or finish (optional)
Tools:
Table saw or circular saw
Miter saw or hand saw
Drill and drill bits
Clamps
Measuring tape or ruler
Square
Sandpaper or sander
Wood glue applicator
Brad nailer (optional)
Paintbrush (if finishing)
Steps to Make a Cool Small Parts Organizer
1. Design and Plan
Decide on the dimensions and number of drawers or compartments you want in your organizer. For this example, let's create an organizer with a main box and several small drawers.
2. Cut the Main Box Pieces
Back Panel: Cut a piece of plywood to the desired height and width of the organizer (e.g., 24" x 18").
Top and Bottom Panels: Cut two pieces for the top and bottom (e.g., 24" x 6").
Side Panels: Cut two side panels to match the height of the back panel and the depth of the top and bottom panels (e.g., 18" x 6").
3. Assemble the Main Box
Join Panels:
Apply wood glue to the edges of the top and bottom panels.
Attach them to the side panels using wood screws or brad nails. Ensure everything is square.
Attach the back panel to the assembled frame using wood glue and screws or nails.
4. Create Drawer Compartments
Internal Dividers: Cut internal divider pieces to create compartments within the main box. The size and number of dividers depend on your design (e.g., 1/4" thick pieces cut to fit horizontally and vertically within the box).
Install Dividers:
Measure and mark the positions for the dividers inside the main box.
Attach the dividers using wood glue and clamps. Ensure they are evenly spaced and perpendicular to the panels.
5. Make the Drawers
Drawer Fronts: Cut pieces for the drawer fronts (e.g., 1/2" thick plywood, cut to fit the width and height of the drawer openings).
Drawer Sides: Cut pieces for the drawer sides and back (e.g., 1/4" thick plywood, cut to fit the depth of the drawers).
Drawer Bottoms: Cut pieces of 1/4" plywood or MDF to fit the bottom of the drawers.
Assemble Drawers:
Apply wood glue to the edges of the side pieces and attach them to the drawer fronts and back pieces using brad nails or screws.
Attach the bottom piece to the drawer using wood glue and brad nails or screws.
6. Install Drawer Knobs or Handles
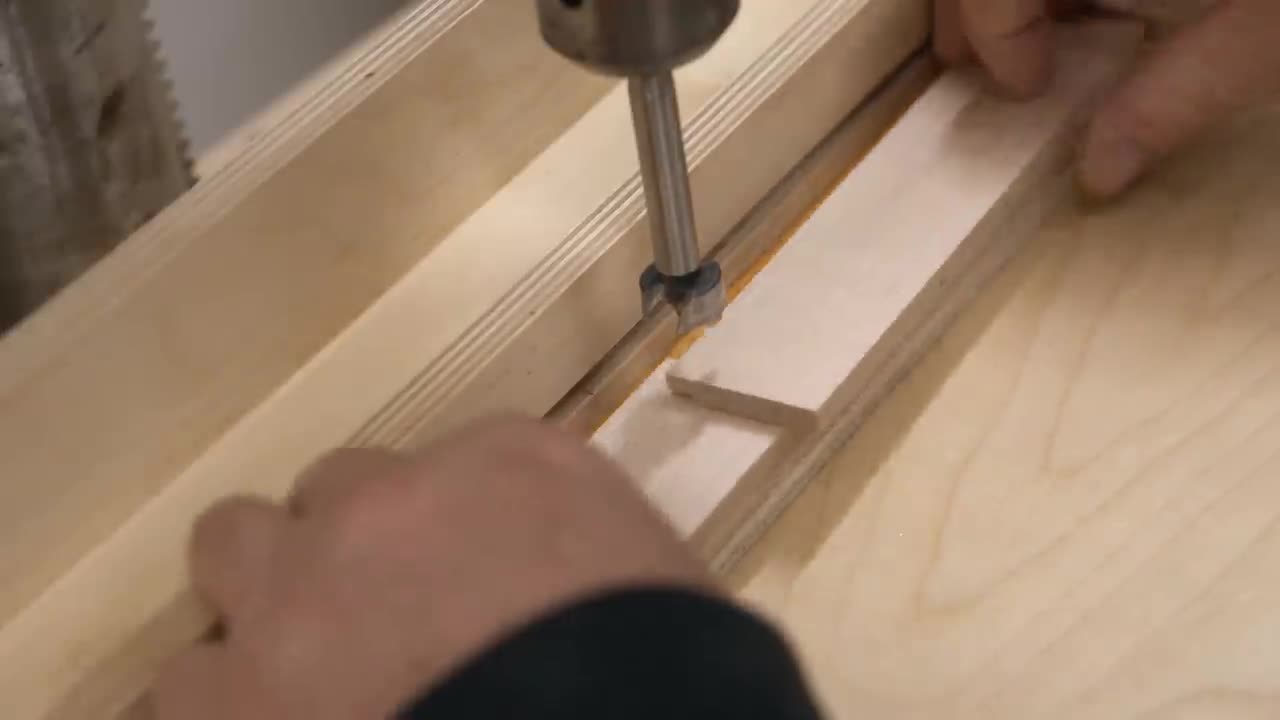
Drill Holes: Drill holes in the center of each drawer front for the knobs or handles.
Attach Knobs/Handles: Attach the knobs or handles using screws provided with them.
7. Optional: Install Drawer Slides
Attach Slides: If using drawer slides, attach them to the sides of the drawers and the inside of the organizer’s compartments according to the manufacturer's instructions.
8. Sand and Finish
Sand: Sand all surfaces of the organizer and drawers to smooth any rough edges.
Finish: Apply paint, stain, or finish of your choice to the organizer. Allow it to dry completely before use.
Final Assembly and Usage
Insert Drawers: Once everything is dry, insert the drawers into the compartments.
Label Drawers: For added organization, consider labeling the drawers to indicate their contents.
By following these steps, you'll create a cool and functional small parts organizer that keeps your workspace tidy and your small items easily accessible. This project not only enhances your organization but also adds a custom piece of furniture to your workshop.
-
 4:01:56
The Sufari Hub
5 hours ago🔴ELDEN RING MODDED - ROAD TO #1 GAMER ON RUMBLE - #RumbleGaming
24.2K -
 LIVE
LIVE
thatsnotkyle
3 hours agoPUBG | Chicken Dinners
358 watching -
 54:47
54:47
Sarah Westall
7 hours agoTranshumanism vs Natural Human Zones, AI consciousness and the Hive Mind Future w/ Joe Allen
56.5K22 -
![[LIVE] The Sunday Surprise! | Testing Halo Star Wars Mods!](https://1a-1791.com/video/fww1/70/s8/1/U/P/W/x/UPWxy.0kob-small-LIVE-The-Sunday-Surprise-A-.jpg) 4:29:06
4:29:06
Joke65
5 hours ago[LIVE] The Sunday Surprise! | Testing Halo Star Wars Mods!
46.8K -
 3:09:00
MaverickLIVE
5 hours agoFirst Rumble Stream!
35.3K2 -
 8:06:12
xTimsanityx
9 hours ago🟢LIVE: COACH ALWAYS TOLD ME, "SHOOTERS SHOOT" | GOONING ON E-DISTRICT
27.2K2 -
 32:19
32:19
SB Mowing
2 days agoThis yard was putting KIDS IN DANGER - Now they can SAFELY play outside again
38.9K25 -
 LIVE
LIVE
Lofi Girl
2 years agolofi hip hop radio 📚 - beats to relax/study to
373 watching -
 47:41
47:41
Tactical Advisor
8 hours agoMake Your AR15 into a Bullpup/New Thermals | Vault Room Live Stream 018
53.7K15 -
 18:07
18:07
Bearing
16 hours agoThe INSANE MENTAL DECLINE of the Democrats 💥 Lefties are NOT Ok
66K143