Premium Only Content

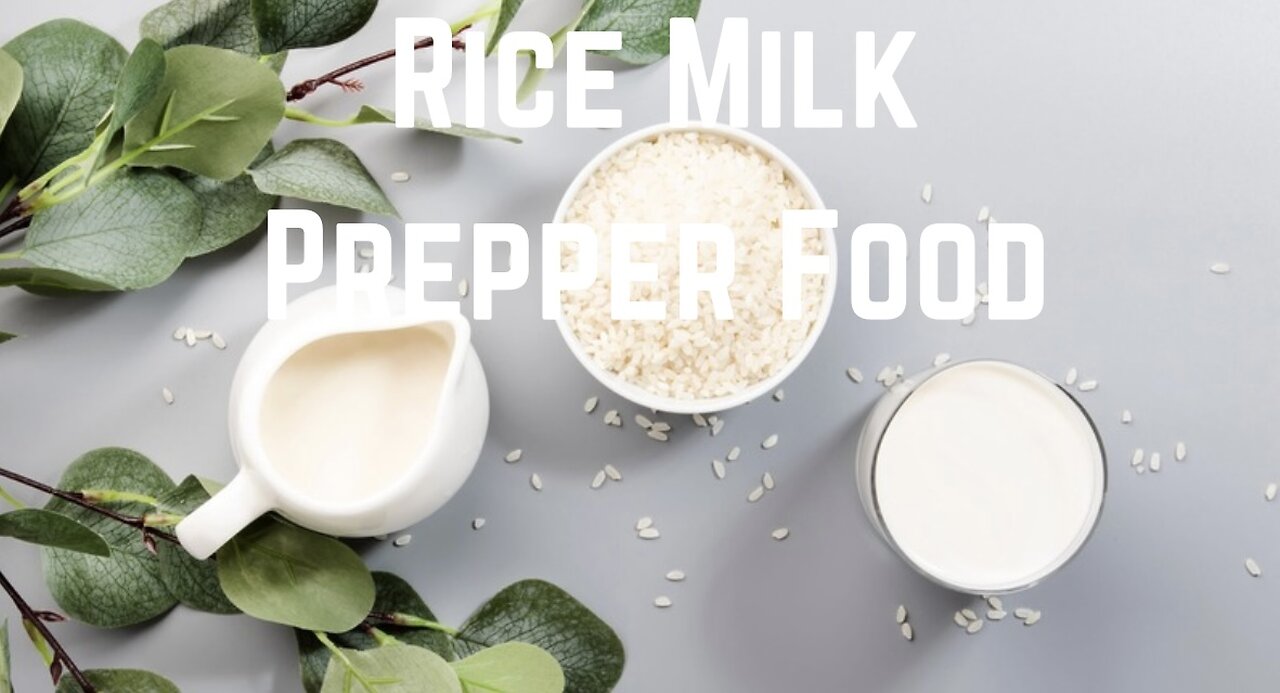
Rice Milk Prepper Food
Ingredients and equipment:
1. 1 cup (340 g) of brown rice of your choice. It can be short grain or long grain (I use long grain jasmine brown rice)
2. A glass jar (I use a quart size or bigger mason jar)
3. A sprouting screen and a band (or a piece of cheesecloth with a rubber band)
4. A container to catch the excess water
5. 4 cups (940 ml) of filtered water.
Note: In the video, I sprouted 2 cups (680 g) of rice and only used half for making the milk. I kept the other half to cook with later.
Instructions:
1. Day 1: In a jar, add the amount of the rice you want to make and cover the jar with the screen. Rinse the rice thoroughly a few times, add filtered water and soak it overnight.
2. Day 2: Dump the water and rinse well. Tilt the jar in a container, and cover it with kitchen towels to keep it dark.
Let it sprout for 2 more days., and repeat the rinsing each day
3. Day 3-4: Repeat the rinsing process.
4. Day 5: You can see tiny sprouts on all of the rice--even the broken parts. Rinse well and let the excess water drain.
5. In a blender, add the sprouted rice with 4 cups (940 ml) of filtered water and blend on high speed until smooth.
Strain it through a cheesecloth and squeeze as much milk as you can. You can add your sweetener while blending or right before drinking it, or drink it plain. I like to use a small amount of Maple Syrup to sweeten mine. If you make more than you can finish at a time, store it in a glass container and keep it refrigerated. It stays fresh up to 3 days.
-
![President Trump Orders Up Military Plans To Retake Panama Canal [EP 4475-8AM]](https://1a-1791.com/video/fww1/ec/s8/1/q/M/x/s/qMxsy.0kob-small-President-Trump-Orders-Up-M.jpg) LIVE
LIVE
The Pete Santilli Show
15 hours agoPresident Trump Orders Up Military Plans To Retake Panama Canal [EP 4475-8AM]
1,762 watching -
 LIVE
LIVE
Jeff Ahern
42 minutes agoFriday Freak out with Jeff Ahern (6am pacific)
174 watching -
 15:33
15:33
Shea Whitney
23 hours ago $6.26 earned13 Healthy Items That Will CHANGE YOUR LIFE!!!
21.1K8 -
 5:14
5:14
Rethinking the Dollar
20 hours agoBanks Are Losing Control of Silver! What Happens Next?
8.54K10 -
 6:12
6:12
Dr. Nick Zyrowski
22 hours agoNatures Botox For Your Face (Chemical Free)
17.3K2 -
 28:08
28:08
BibleUnbound
19 hours agoThe Story of Ruth: A Journey from Death to Life
7.89K1 -
 35:46
35:46
Uncommon Sense In Current Times
17 hours ago $1.60 earnedAmerica’s Foundations & History Behind National Holidays | Scott Powell
18K1 -
 1:00:46
Trumpet Daily
21 hours ago $3.59 earnedWill a Remilitarized Germany Bring Peace? - Trumpet Daily | Mar. 13, 2025
11.6K6 -
 19:31
19:31
The Lou Holtz Show
15 hours agoThe Lou Holtz Show S2 Ep 5 | Aaron Golub on Overcoming Adversity, Leadership & Resilience #podcast
17.3K2 -
 1:05:51
CharLee Simons Presents Do Not Talk
3 days agoALEX NEWMAN & SAM ANTHONY are on DO NOT TALK
10.8K1