Router Lift DIY _ Making a Router lift
Creating a DIY router lift can be a rewarding project, offering both the satisfaction of a custom-built tool and potential cost savings compared to commercial options. Here's a step-by-step guide to help you make a router lift.
Materials Needed:
Router (to be mounted)
Plywood or MDF (for base and carriage)
Threaded rod or lead screw (for lifting mechanism)
Bearings or bushings (for smooth operation)
Nuts and washers
Knobs or handles (for adjustment)
Aluminum or steel plates (for mounting hardware)
Screws, bolts, and other fasteners
Springs (optional, for counterbalance)
Tools Required:
Table saw or circular saw
Drill and bits
Jigsaw
Screwdriver
Wrench set
Measuring tape
Clamps
Square
Sandpaper or file
Step-by-Step Guide:
1. Design and Planning
Measure your router: Determine the size and mounting holes of your router to create a compatible lift.
Design the lift: Sketch a design for the lift mechanism, including the base plate, carriage, and lifting mechanism.
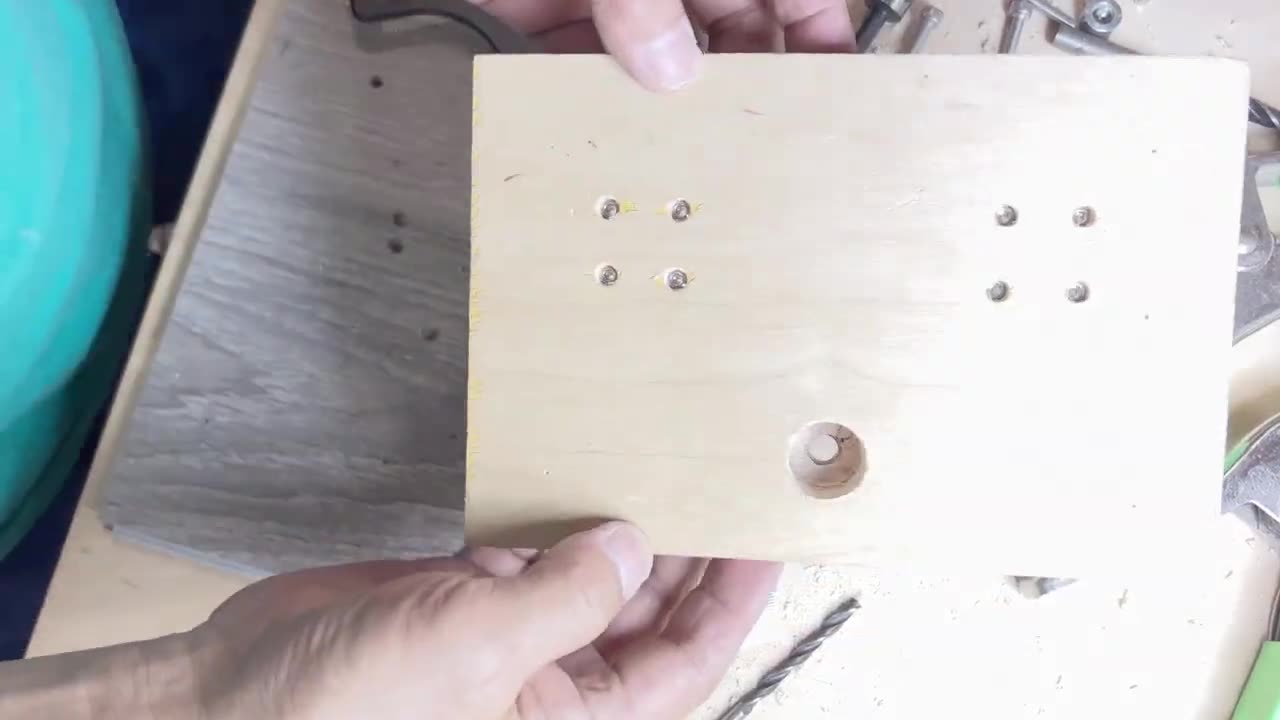
2. Base Plate
Cut the base plate: Cut a piece of plywood or MDF to fit your router table insert or the desired size.
Drill mounting holes: Drill holes to attach the router to the base plate, ensuring alignment with the router's mounting holes.
3. Carriage
Cut the carriage pieces: Cut pieces of plywood or MDF to form the carriage that will hold the router.
Assemble the carriage: Attach the carriage pieces together to create a sturdy structure that can move vertically.
4. Lifting Mechanism
Install threaded rod or lead screw: Secure a threaded rod or lead screw vertically to the base plate. This will be used to raise and lower the router.
Add bearings or bushings: Install bearings or bushings to ensure smooth movement of the carriage along the rod.
Attach nut to carriage: Fix a nut to the carriage that will travel along the threaded rod as it is turned.
5. Adjustment Knob or Handle
Attach handle to threaded rod: Install a handle or knob at the top of the threaded rod to facilitate easy adjustment.
Secure lifting mechanism: Ensure the lifting mechanism is stable and operates smoothly.
6. Final Assembly
Mount the router: Attach your router to the carriage using the previously drilled holes.
Attach the base plate: Secure the base plate to your router table or insert.
Test the mechanism: Operate the lift to ensure it raises and lowers the router smoothly and consistently.
7. Adjustments and Calibration
Fine-tune the mechanism: Make any necessary adjustments to ensure accurate and smooth operation.
Add safety features: Consider adding stops or locks to secure the router at a desired height.
Tips:
Material choice: Use sturdy, stable materials for the base and carriage to ensure durability and accuracy.
Precision: Take your time with measurements and assembly to ensure the lift operates smoothly.
Safety: Always prioritize safety when working with power tools and during the operation of your router lift.
Building a router lift involves precise measurement and careful assembly, but the end result is a customized tool that can enhance your woodworking projects. Good luck with your DIY router lift!
-
 LIVE
LIVE
BonginoReport
3 hours agoLeft Demands Return of MS-13 Gang Member - BR Early Edition w/ Evita (Ep.182) - 04/15/2025
30,795 watching -
![🔴[LIVE] MASSIVE Swings Incoming! || The MK Show](https://1a-1791.com/video/fww1/71/s8/1/F/s/c/C/FscCy.0kob-small-The-MK-Show-Apr.-15th.jpg) LIVE
LIVE
Matt Kohrs
12 hours ago🔴[LIVE] MASSIVE Swings Incoming! || The MK Show
1,724 watching -
 LIVE
LIVE
Wendy Bell Radio
4 hours agoLiberals Love Criminal Illegals More Than They Love America
7,851 watching -
 LIVE
LIVE
Dear America
13 hours agoAustin Metcalf Killer RELEASED, JD Vance Fumbles CFP Trophy + CNN Gets Bullied In The Oval Office!
3,835 watching -
 LIVE
LIVE
Major League Fishing
22 hours agoLIVE Tackle Warehouse Invitationals, Stop 3, Day 1
1,532 watching -
 1:19:29
Game On!
13 hours ago $1.79 earned8,000 Subscriber Celebration Stream!
6.93K -
 28:30
28:30
Degenerate Jay
15 hours ago $2.25 earnedThe Rejected 007 Quantum Of Solace Ending That Would Have Changed James Bond
33.5K6 -
 11:37
11:37
ARFCOM Reviews
14 hours ago $1.05 earnedNew Budget Comp'd Carry || Canik MC9 PRIME
24K4 -
 8:22
8:22
Rethinking the Dollar
17 hours agoSilver vs CBDCs: The Battle for Financial Freedom
14.7K6 -
 55:15
55:15
MTNTOUGH Fitness Lab
18 hours agoTJ Dillashaw: Embracing Fear as a Privilege | MTNPOD #112
8.86K2