Premium Only Content

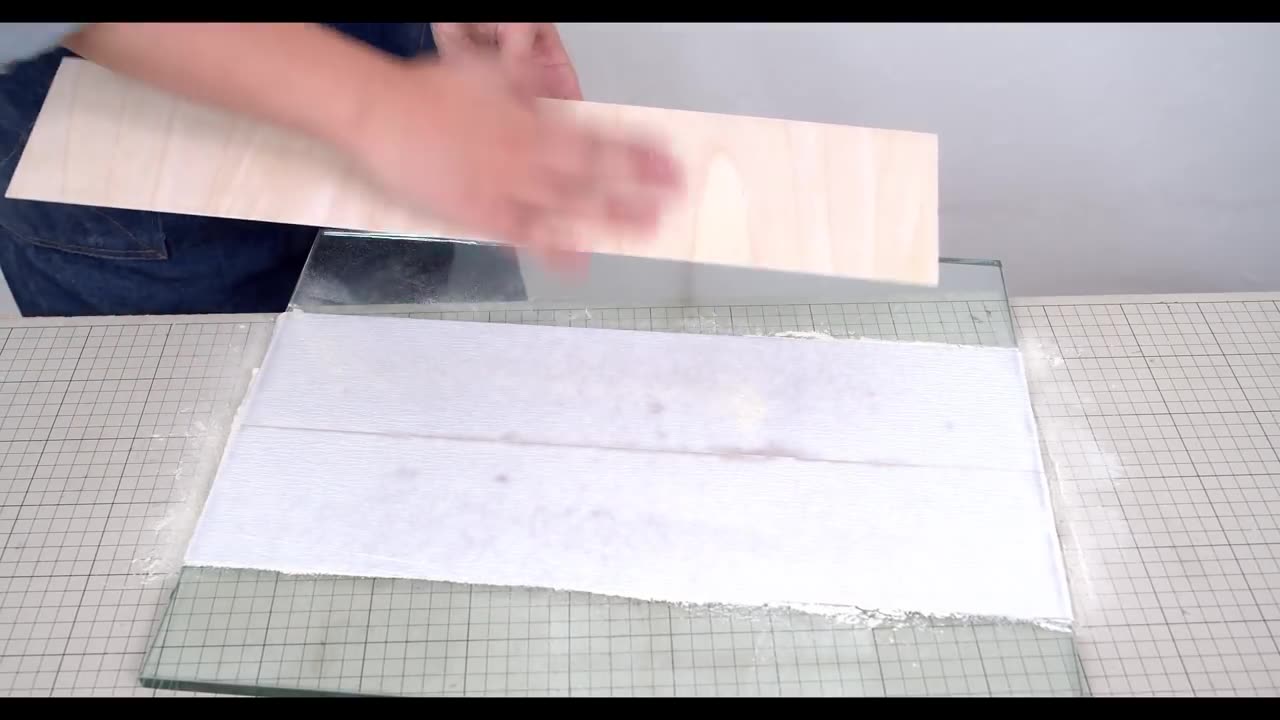
Amazing Benchtop Jointer - How to Make a Jointer - Rig System Part.3
Creating an amazing benchtop jointer as Part 3 of a rig system project can significantly enhance the precision and quality of your woodworking tasks. Here's how you can structure this segment:
Introduction:
Introduce Part 3 of the rig system project, focusing on the construction of a benchtop jointer.
Highlight the benefits of having a homemade jointer, including cost-effectiveness and customization options.
Materials Needed:
List the materials required for this part of the project, such as:
Plywood or MDF for the base and frame
Aluminum or steel rails for the jointer bed
Electric motor or hand-crank mechanism
Cutting blades or cutter heads
Screws, bolts, and nuts
Safety equipment (goggles, gloves, etc.)
Tools Needed:
Provide a list of tools necessary for the construction process, including:
Circular saw or jigsaw for cutting materials
Drill and drill bits for making holes
Screwdriver or wrench for assembly
Measuring tape and pencil for marking
Construction Steps:
Design and Layout:
Discuss the design considerations for the benchtop jointer, including size, bed length, and fence design.
Use sketches or diagrams to illustrate the layout and dimensions of the components.
Building the Base and Frame:
Cut the plywood or MDF according to the design specifications to create the base and frame of the jointer.
Assemble the base and frame using screws or bolts, ensuring stability and rigidity.
Installing the Jointer Bed:
Attach aluminum or steel rails to the base to serve as the jointer bed.
Ensure the rails are aligned parallel to each other and spaced appropriately for the cutting mechanism.
Mounting the Cutting Mechanism:
Install the electric motor or hand-crank mechanism to drive the cutting blades or cutter heads.
Position the cutting mechanism on the jointer bed, ensuring smooth and precise movement.
Adding Safety Features:
Incorporate safety features such as blade guards or emergency stop switches to prevent accidents during operation.
Safety Precautions:
Remind viewers to exercise caution when working with power tools and sharp objects.
Emphasize the importance of wearing appropriate safety gear, such as goggles and gloves, to prevent accidents or injuries.
Conclusion:
Summarize the key steps covered in Part 3 of the rig system project.
Encourage viewers to experiment with their own homemade jointers and share their experiences with the community.
By providing clear instructions and demonstrations, you can create an informative and engaging Part 3 video for your amazing benchtop jointer rig system project, inspiring viewers to explore new possibilities in their woodworking endeavors.
-
 LIVE
LIVE
Awaken With JP
1 hour agoJFK Files to be Released! Trump’s Boss Move - LIES Ep 75
1,436 watching -
 LIVE
LIVE
Dr Disrespect
3 hours ago🔴LIVE - DR DISRESPECT - TRIPLE THREAT CHALLENGE - NOBODY STOPS US
4,857 watching -
 LIVE
LIVE
The Quartering
2 hours agoTrump NUKES The Deepstate, BANS Trans In Military & Terminates Dr. Fauci Protections!
5,184 watching -
 LIVE
LIVE
Nina Infinity
19 hours agoGOOD NEWS - Infinite Hope # 219 | Birthday Stream with Guests!
80 watching -

Benny Johnson
3 hours ago🚨BREAKING: Trump Live Right Now in North Carolina Disaster Area! Real Leader | Trump Visiting LA
93K81 -
 58:14
58:14
Winston Marshall
3 hours agoHollywood Insider SPEAKS OUT On Woke Hollywood & Trump’s A-List Allies | Andrew Klavan
28.4K15 -
 DVR
DVR
Game On!
3 hours ago $0.90 earnedTom Brady's BIG GAMBLE! Pete Carroll new head coach of the Raiders! | Crick's Corner
8.98K -
 17:26
17:26
Tactical Advisor
3 hours agoEverything New From Primary Arms 2025
10.2K2 -
 1:55:32
The Charlie Kirk Show
2 hours agoThe Greatest Pro-Life President + AMA | Gingrich | 1.24.2025
81.4K20 -
 LIVE
LIVE
The Dana Show with Dana Loesch
2 hours agoThe Dana Show LIVE From SHOT Show | Day 3
919 watching