Premium Only Content

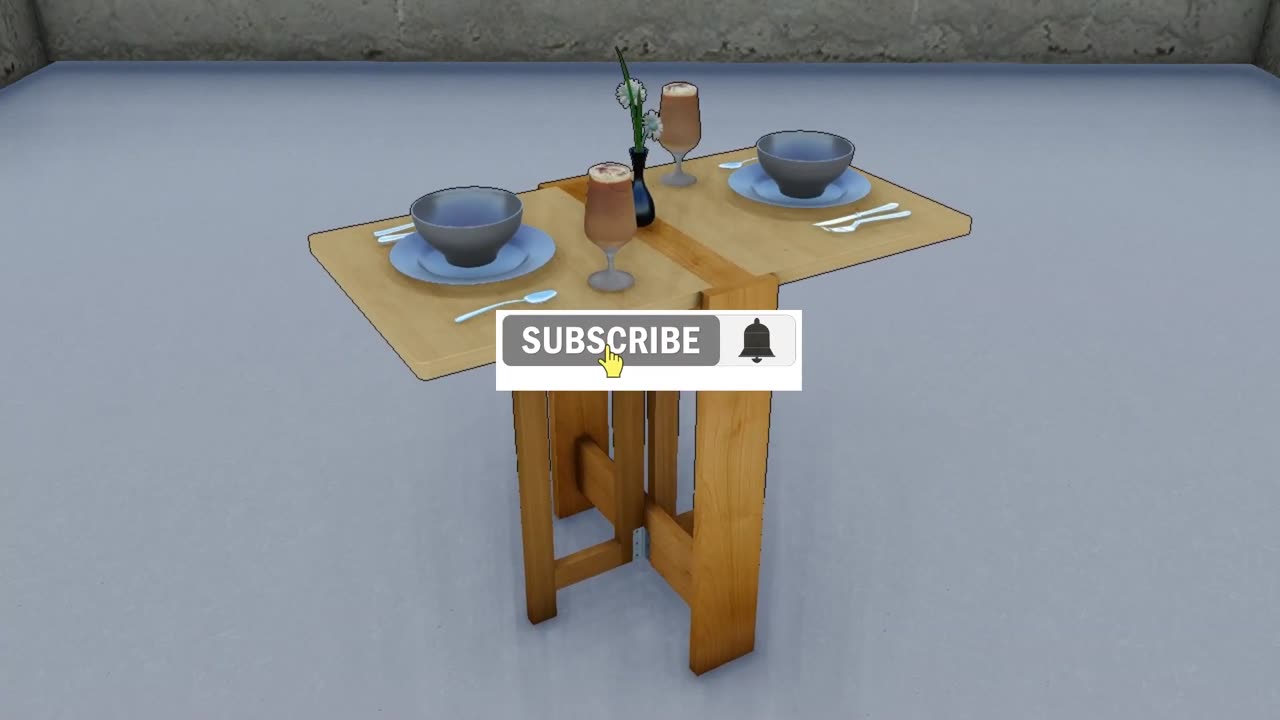
𝐇𝐎𝐖 𝐓𝐎 𝐌𝐀𝐊𝐄 𝐀 𝐌𝐈𝐍𝐈 𝐅𝐎𝐋𝐃𝐈𝐍𝐆 𝐓𝐀𝐁𝐋𝐄 𝐒𝐓𝐄𝐏 𝐁𝐘 𝐒𝐓𝐄𝐏
Gather Materials:
Prepare the materials you'll need, such as wood or plywood for the table surface and legs, hinges, screws, wood glue, and any additional decorations or accessories.
Design and Measurement:
Plan the size and design of your miniature folding table. Measure and mark the dimensions on the wood or plywood for the table surface and legs.
Cutting:
Use a saw to cut the wood or plywood according to your measurements. Be precise to ensure all pieces fit together properly.
Assembly:
Attach the legs to the underside of the table surface using hinges. Position the hinges evenly to ensure stability when the table is unfolded.
Use screws to secure the hinges in place, ensuring they are tight but not too tight to allow movement.
Apply wood glue to strengthen the joints between the legs and the table surface.
Finishing Touches:
Sand the edges and surfaces of the table to smooth out any rough spots and create a polished finish.
Apply paint, stain, or varnish to enhance the appearance of the table and protect the wood from damage.
Add any decorative elements or accessories, such as drawer handles or knobs, to personalize your miniature folding table.
Testing:
Carefully unfold the table to ensure the hinges work smoothly and the table stands sturdily when open.
Test the stability of the table surface by applying gentle pressure to different areas.
Final Adjustments:
Make any necessary adjustments to the hinges or legs to ensure the table folds and unfolds smoothly without wobbling.
Tighten screws or add additional support if needed.
Enjoy Your Creation:
Once you're satisfied with the construction and stability of your miniature folding table, place it in your desired location and enjoy its functionality and charm.
By following these steps, you can create a beautiful and functional miniature folding table using hand tools and your creativity.
-
 LIVE
LIVE
BSparksGaming
16 hours agoDynamic Duo! Marvel Rivals w/ Chili XDD
897 watching -
 7:00:42
NellieBean
7 hours ago🔴 LIVE - trying some COD maybe Pals later
23.3K -
 1:47:46
SpartakusLIVE
5 hours agoThe Master RIZZLER has entered the building, the 95% REJOICE
12.9K -
 29:53
29:53
MYLUNCHBREAK CHANNEL PAGE
1 day agoOff Limits to the Public - Pt 1
67.7K103 -
 16:03
16:03
Tundra Tactical
7 hours ago $6.80 earnedNew Age Gun Fudds
78.2K14 -
 8:22
8:22
Russell Brand
12 hours agoThey want this to happen
165K342 -
 2:06:43
Jewels Jones Live ®
1 day ago2025 STARTS WITH A BANG! | A Political Rendezvous - Ep. 104
90.5K35 -
 4:20:41
Viss
12 hours ago🔴LIVE - PUBG Duo Dominance Viss w/ Spartakus
72.3K8 -
 10:15:14
MDGgamin
15 hours ago🔴LIVE-Escape From Tarkov - 1st Saturday of 2025!!!! - #RumbleTakeover
59.9K2 -
 3:54:19
SpartakusLIVE
11 hours agoPUBG Duos w/ Viss || Tactical Strategy & HARDCORE Gameplay
72.1K1