Premium Only Content

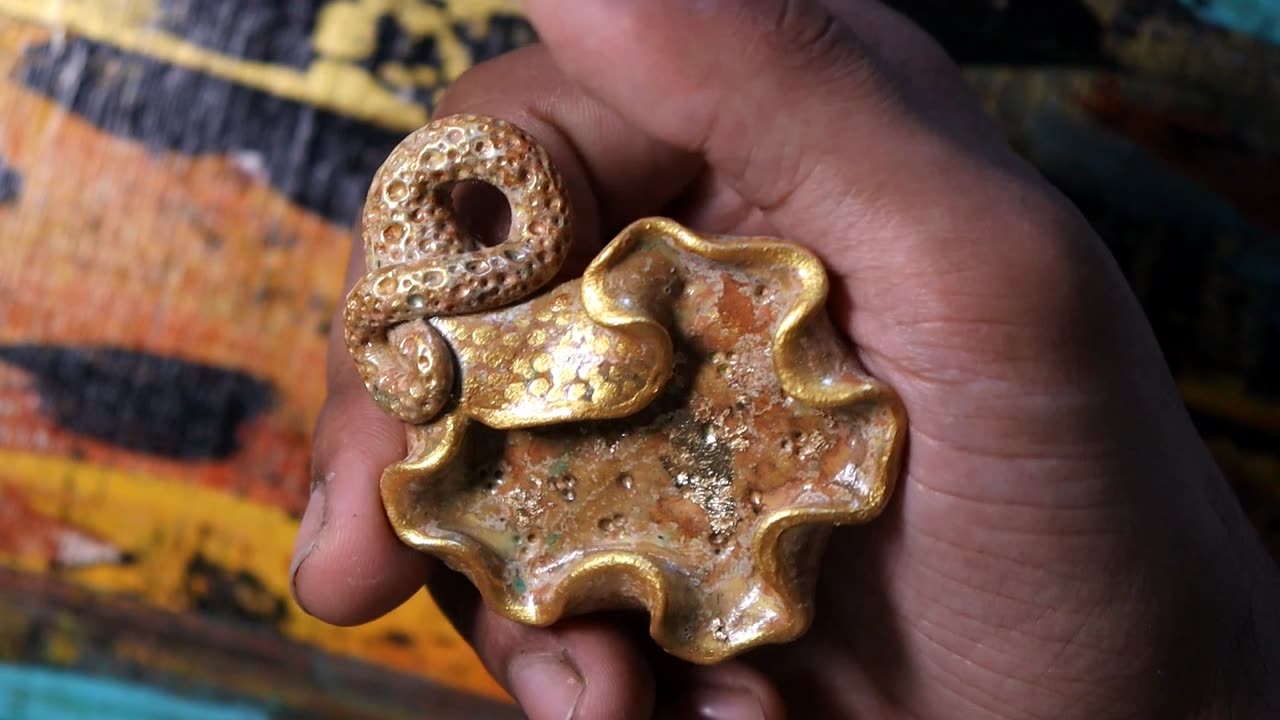
Handmade Diya making tutorial video || mouldit clay simple and easy DIY || home decor project
🕯️ Illuminate your home with the warmth of handmade Diya's! In this step-by-step tutorial, we'll guide you through the process of creating beautiful Diyas using Mouldit Clay. This simple and easy DIY project is perfect for adding a personal touch to your home decor or preparing for festive occasions.
🎨 Materials Needed:
Mouldit Clay
Rolling pin
Diya mold (available at craft stores)
Acrylic paints (assorted colors)
Paintbrushes
Gold/silver metallic paint (optional)
Varnish or sealant spray
Tea light candles
🔨 Step-by-Step Instructions:
1. Prepare Your Workspace:
Ensure you have a clean and spacious workspace. Lay down some newspaper or a plastic sheet to prevent any mess.
2. Knead the Clay:
Take a small portion of Mouldit Clay and knead it until it becomes soft and pliable. This will make it easier to work with.
3. Roll Out the Clay:
Using a rolling pin, roll out the clay to an even thickness. Make sure it's large enough to cover the Diya mold.
4. Press into Mold:
Gently press the rolled-out clay into the Diya mold, ensuring it takes on the shape of the mold. Trim any excess clay with a knife for a neat finish.
5. Remove from Mold:
Carefully remove the clay from the mold, taking your time to maintain the shape. Smooth out any imperfections with your fingers.
6. Let it Dry:
Allow the Diya to air-dry completely. This may take a few hours, depending on the thickness of the clay.
7. Paint Your Diya:
Once dry, it's time to get creative! Use acrylic paints to add vibrant colors to your Diya. Feel free to experiment with different patterns and designs. Let the paint dry completely.
8. Optional Metallic Touch:
For an extra touch of elegance, use gold or silver metallic paint to highlight certain areas of your Diya. This step is entirely optional but adds a lovely finish.
9. Seal with Varnish:
To protect your artwork and give it a polished look, spray the Diya with a coat of varnish or sealant. Allow it to dry completely.
10. Add a Tea Light:
Finally, place a tea light candle in the center of your handmade Diya. Light it up, and watch as your creation brings a warm and cozy atmosphere to your home.
🎥 Don't forget to watch the full video tutorial for a detailed visual guide! If you enjoyed this DIY project, give it a thumbs up, subscribe for more creative ideas, and share your handmade Diya creations with us in the comments below. Happy crafting! 🌟✨ #HandmadeDiyas #HomeDecor #CraftingTutorial #DiwaliCrafts
-
 40:01
40:01
CarlCrusher
17 hours agoSkinwalker Encounters in the Haunted Canyons of Magic Mesa - ep 4
31.1K2 -
 59:44
59:44
PMG
1 day ago $3.32 earned"BETRAYAL - Johnson's New Spending Bill EXPANDS COVID Plandemic Powers"
43.9K11 -
 6:48:50
Akademiks
16 hours agoKendrick Lamar and SZA disses Drake and BIG AK? HOLD UP! Diddy, Durk, JayZ update. Travis Hunter RUN
166K28 -
 11:45:14
Right Side Broadcasting Network
9 days agoLIVE REPLAY: TPUSA's America Fest Conference: Day Three - 12/21/24
350K28 -
 12:19
12:19
Tundra Tactical
16 hours ago $12.92 earnedDaniel Penny Beats Charges in NYC Subway Killing
69K12 -
 29:53
29:53
MYLUNCHBREAK CHANNEL PAGE
1 day agoUnder The Necropolis - Pt 1
158K52 -
 2:00:10
Bare Knuckle Fighting Championship
3 days agoCountdown to BKFC on DAZN HOLLYWOOD & FREE LIVE FIGHTS!
59.7K3 -
 2:53:01
Jewels Jones Live ®
1 day agoA MAGA-NIFICENT YEAR | A Political Rendezvous - Ep. 103
153K37 -
 29:54
29:54
Michael Franzese
19 hours agoCan Trump accomplish everything he promised? Piers Morgan Article Breakdown
138K80 -
 2:08:19
Tactical Advisor
23 hours agoThe Vault Room Podcast 006 | Farwell 2024 New Plans for 2025
200K11