Premium Only Content
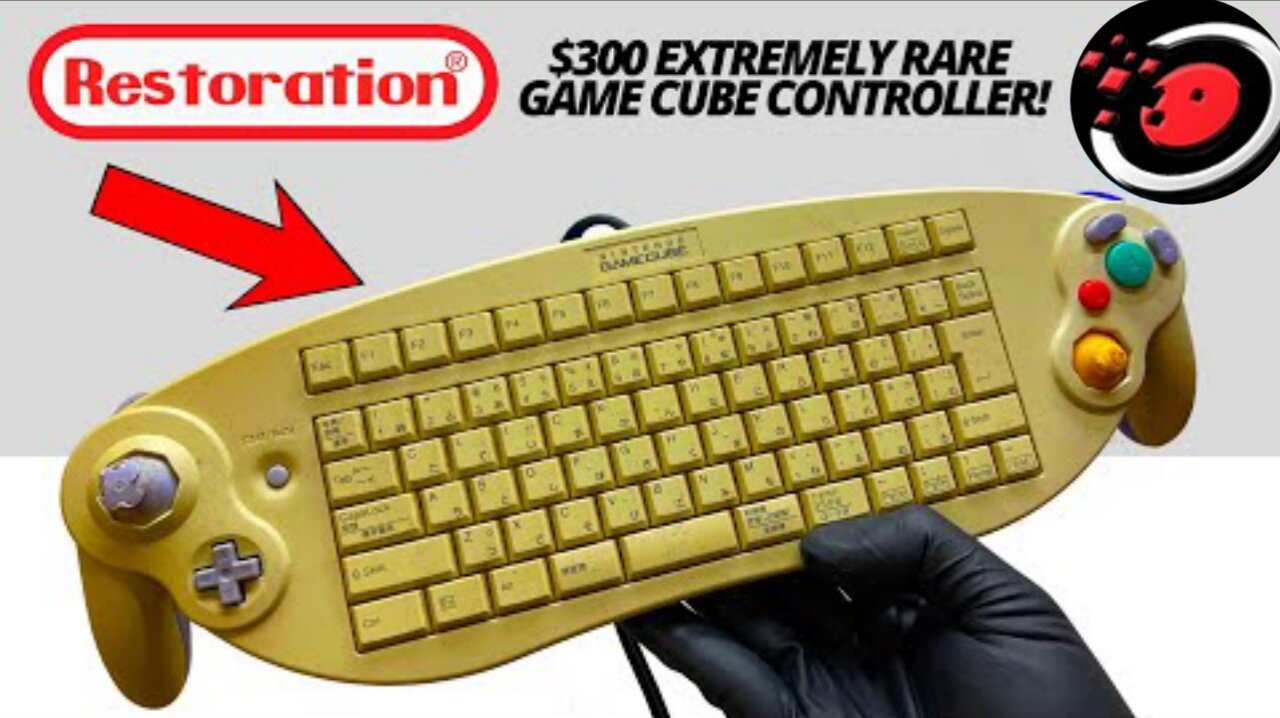
Gamecube Keyboard Restoration - Yellowed Plastic Retrobright
ABOUT THE RESTORATION
This was my first plastic restoration. Overall I'm really proud of the way this restoration turned out considering its initial state. I hope that you and all of the people who watched were entertained. If you're reading this right now I want to thank you and let you know that I appreciate you watching my content.
THANK YOU SO MUCH FOR WATCHING :-)
Please Subscribe if you want to see more of my upcoming projects!
I would also like to ask that you give this video a thumbs up to help me out with the YouTube algorithm.
If you have any questions about this video please feel free to ask me in the comments, I read every one and try my best to respond to all of you!
FOLLOW MY OTHER SOCIAL MEDIA ACCOUNTS FOR UPDATES AND OTHER CONTENT-------------------
INSTAGRAM:
/ satisfyingrestoration_
TIKTOK:
/ satisfyingrestoration_
TWITTER:
/ satisfy_restore
PINTEREST:
/ satisfyingrestoration
FACEBOOK:
/ satisfying-restoration-111652048052574
Timestamps-----------------------------------------------------------------------------------------------------------------------------------------
0:00 Intro
0:06 unboxing
0:33 please help me translate this note into English
0:42 controller reveal and inspection
01:45 testing
03:12 disassembly
06:01 cleaning
07:11 Retrobright bleaching to remove yellowed color
07:47 re-assembly
09:48 and it's done
10:08 Testing Round 2
11:13 Typing with the keyboard
11:50 Subscribe
12:00 if you're reading this, say "i loved this video" in the comments
--------------------------------------------------------------------------------------------------------------------------------------------------------------
#restoration #asmr #satisfying #yellowed #satisfyingvideo #asmr #Satisfying #tools #satisfyingrestoration #mymechanics #RescueandRestore #TysyTube Restoration #odd tinkering #Awesome Restorations #restorations #retrobright #yellowedplastic #oddtinkering
-
 32:32
32:32
Old Is Gold
1 month agoVintage Push Reel Mower Restoration: A Timeless Garden Tool Reborn
64 -
 2:12:50
Adam Carolla
10 hours agoDouble Murder Convict to be executed by Firing Squad + Comedian Elon Gold + Comedian Carol Leifer
16.9K3 -
 46:08
46:08
Kimberly Guilfoyle
5 hours agoBad Day to be a Bad Guy: FBI Taking Down World’s Worst Criminals, Live with John Nantz | Ep.203
54.6K27 -
 DVR
DVR
Redacted News
4 hours agoWhat's REALLY going on in Syria? | Redacted with Natali Morris
87.7K54 -
 54:18
54:18
Candace Show Podcast
5 hours agoHarvey Speaks: Jessica Mann & The Five Year Affair | Ep 3
78.8K23 -
 56:53
56:53
Grant Stinchfield
3 hours ago $3.10 earnedFreeze Spending & Kick the Can Down the Road... Why Republicans Should do Just That!
34.3K6 -
 56:48
56:48
VSiNLive
4 hours agoFollow the Money with Mitch Moss & Pauly Howard | Hour 1
30.1K -
 3:28:27
Barry Cunningham
5 hours agoTRUMP DAILY BRIEFING: INTERNET UNDER ATTACK! X & RUMBLE DOWN! EXECUTIVE ORDER SIGNING!
58.1K23 -
 5:53:56
Scammer Payback
8 hours agoCalling Scammers Live
54.1K5 -
 1:36:15
In The Litter Box w/ Jewels & Catturd
1 day agoABOLISH NGOs | In the Litter Box w/ Jewels & Catturd – Ep. 758 – 3/10/2025
76.8K45