Premium Only Content

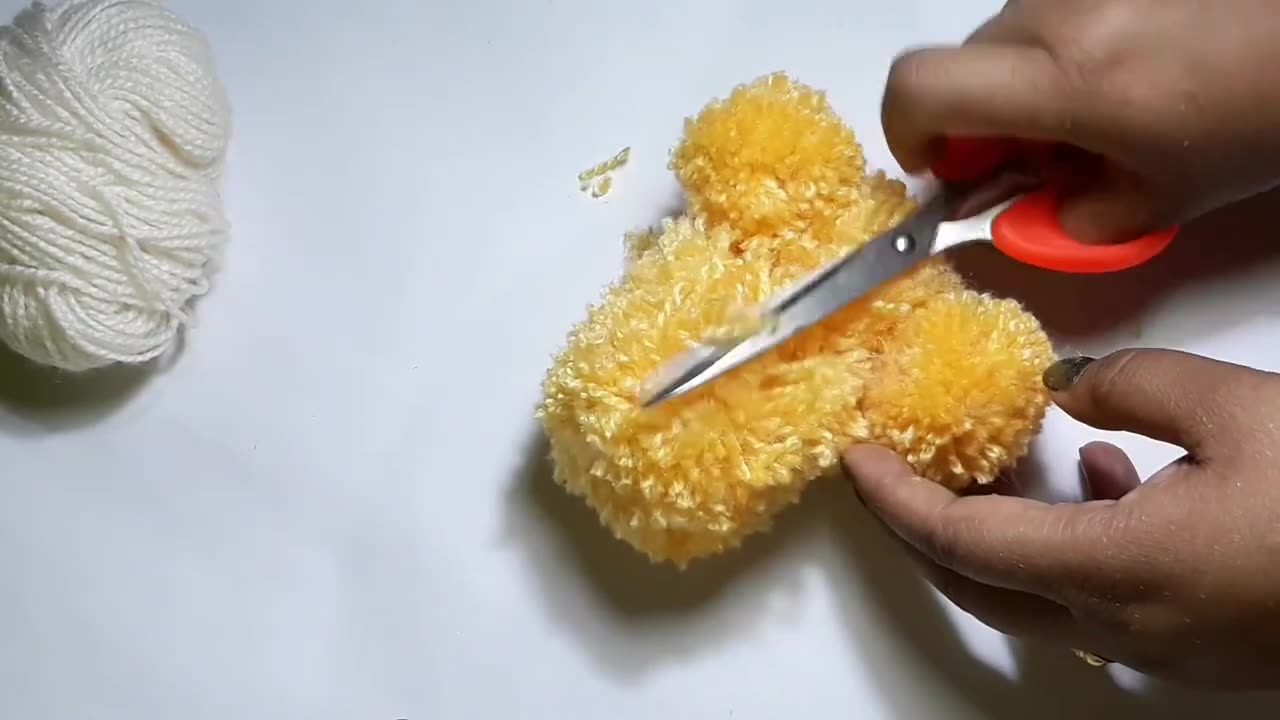
How to make a Pom Pom Teddy Bear at Home || Teddy Bear Making
Making a Pom Pom Teddy Bear at home is a delightful and creative project that can result in a cute and cuddly companion. Here's a step-by-step description to guide you through the process:
Materials Needed:
Yarn (color of your choice)
Cardboard
Scissors
Googly eyes
Felt fabric (for nose and mouth)
Craft glue
Ribbon or fabric for accessories (optional)
Small pom poms (for ears and nose, optional)
Instructions:
Prepare the Cardboard Templates:
Draw two identical bear shapes on cardboard to create the front and back of your teddy bear. These shapes will serve as the base for your pom poms.
Wrap Yarn Around the Cardboard:
Take your yarn and start wrapping it around the cardboard templates. The more you wrap, the fuller your pom pom will be. Be generous with the yarn.
Tie the Yarn:
Once you've wrapped the yarn to your desired thickness, carefully slide a piece of yarn between the two cardboard pieces and tie a tight knot around the center. This secures the yarn in place.
Cut the Yarn:
Use sharp scissors to cut along the edges of the cardboard. Cut through all the loops on both sides.
Shape and Trim:
After cutting, your pom pom will look a bit unruly. Give it a little trim to shape it into a neat, round ball. Be cautious not to cut the tying yarn, as this is what holds the pom pom together.
Add Features:
Glue googly eyes onto the pom pom to create your teddy bear's eyes. Cut a small triangle from felt to make the nose and a smiling mouth. Attach them using craft glue.
Create Ears and Nose (Optional):
Make two smaller pom poms for the ears and one even smaller one for the nose. Attach them to the bear's head using glue.
Accessorize (Optional):
If you like, you can tie a ribbon or use a piece of fabric around the bear's neck as a cute accessory.
Let It Dry:
Allow your teddy bear to dry completely before giving it a big, fluffy hug.
This DIY Pom Pom Teddy Bear is not only a fun craft project but also a wonderful handmade gift or decoration. Get creative with colors and accessories to personalize your adorable creation! 🐻✨
-
 LIVE
LIVE
Matt Kohrs
9 hours agoBreaking Market News, Markets Breakout & Live Trading $1M || The MK Show
1,403 watching -
 35:50
35:50
BonginoReport
4 hours agoMy Dad's Senate Hearing - Kids, Chaos, and Everything! (Ep.120) - 01/16/2025
62.5K49 -
 LIVE
LIVE
Vigilant News Network
14 hours agoBUSTED: O’Keefe Exposes Secret Pentagon Plot to Sabotage Trump’s Return | The Daily Dose
1,379 watching -
 LIVE
LIVE
2 MIKES LIVE
11 hours agoTHE MIKE SCHWARTZ SHOW with DR. MICHAEL J SCHWARTZ 01-16-2025
251 watching -
 43:10
43:10
PMG
11 hours agoHannah Faulkner and Jeff Younger | Father fights for his son!
6.62K1 -
 1:24:14
Game On!
14 hours ago $5.00 earnedTaylor Swift SHOCKS Chief fans! Does NOT want Travis Kelce to retire!
39.3K8 -
 4:27
4:27
Reforge Gaming
14 hours agoTHIS will not save Ubisoft.
54K4 -
 7:35
7:35
Tactical Advisor
1 day agoNEW Springfield Prodigy Compact (FIRST LOOK)
67.8K7 -
 16:45
16:45
IsaacButterfield
1 day ago $7.09 earnedWoke TikToks Are DESTROYING The World
37.1K33 -
 1:09:27
State of the Second Podcast
19 hours agoThis is Why We Don’t Trust Politicians (ft. @stones2ndsense)
31.2K4