Mastering the Timeline_ Organizing and Arranging
"Mastering the Timeline: Organizing and Arranging"
The timeline in video editing is the canvas where storytelling unfolds, and mastering its intricacies is crucial for creating seamless and impactful visual narratives. In this exploration of Premiere Pro's timeline, we delve into the art of organizing and arranging clips, empowering editors to craft compelling stories with precision and creativity.
1. **Clip Arrangement:**
The timeline is where the magic happens, and arranging clips effectively is fundamental. Drag and drop clips onto the timeline to establish the chronological order of your story. Use the Track Select Forward and Backward tools to easily select and manipulate entire tracks.
2. **Cutting and Trimming:**
Precision editing is achieved through cutting and trimming clips on the timeline. Utilize the razor tool to make precise cuts, and employ the selection tool to trim clips, ensuring seamless transitions and a cohesive flow.
3. **In and Out Points:**
Set in and out points in the timeline to define the specific portions of clips you want to include in your project. This feature streamlines your editing process, allowing you to focus on the essential elements of each clip.
4. **Layering and Stacking:**
The timeline supports multiple video and audio tracks, enabling editors to layer and stack content. Experiment with placing clips on different tracks to create visual depth, incorporate overlays, or overlay multiple audio tracks for a rich audio experience.
5. **Markers and Labels:**
Markers and labels are invaluable tools for organization. Use markers to highlight key moments or specific actions within the timeline. Labels allow you to color-code clips, making it easy to identify different types of content and streamline your editing workflow.
6. **Nested Sequences:**
Premiere Pro offers the ability to create nested sequences, allowing editors to treat multiple clips as a single unit. This feature is particularly useful for complex projects, enabling a more streamlined and organized approach to editing.
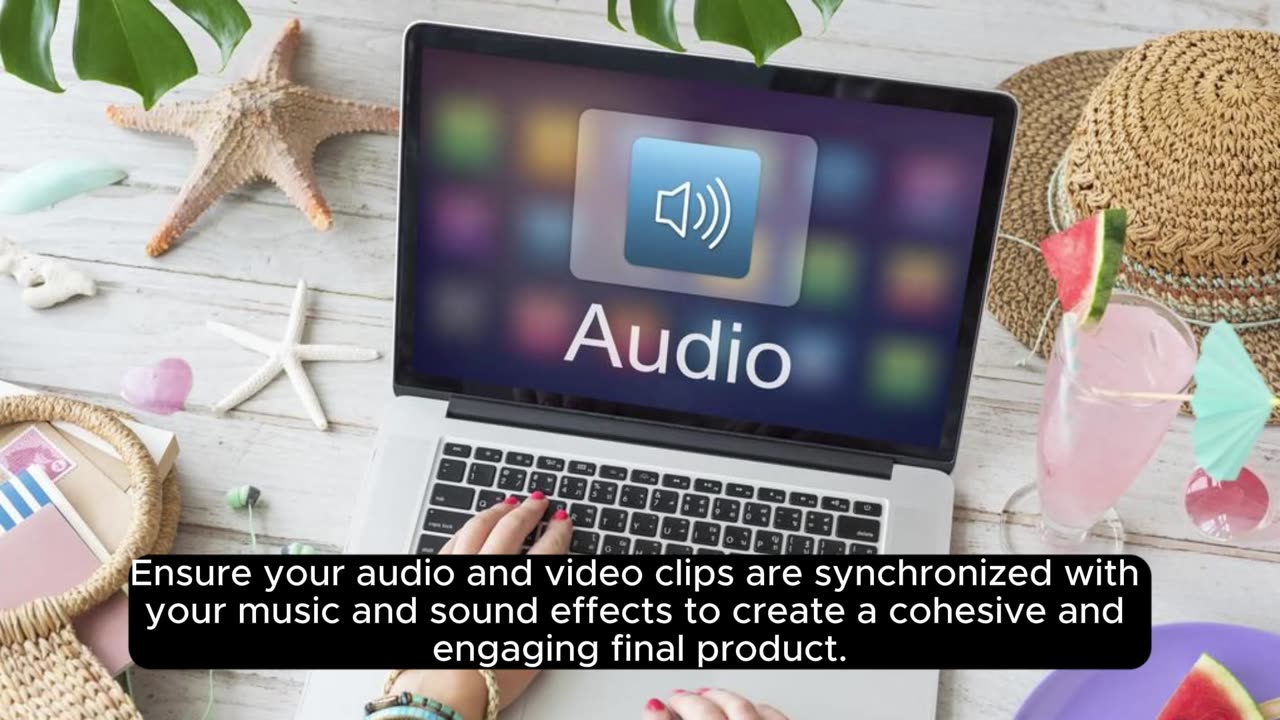
7. **Audio Adjustments:**
Managing audio on the timeline involves adjusting volume levels, adding keyframes for precise control, and incorporating audio transitions. A mastery of audio arrangement enhances the overall viewing experience and contributes to a polished final product.
8. **Transitions and Effects:**
Arrange transitions and effects on the timeline to enhance the visual appeal of your project. Whether it's smooth crossfades, dynamic transitions, or cinematic effects, the timeline is where you bring these elements together for a cohesive and engaging edit.
9. **Dynamic Keyframing:**
Keyframing allows for dynamic changes in properties such as scale, position, and opacity over time. Mastering keyframes on the timeline adds a layer of sophistication to your edits, allowing for creative storytelling and visual effects.
10. **Timeline Navigation:**
Efficient navigation of the timeline is essential for a fluid editing experience. Utilize zoom controls, the timeline scroll bar, and shortcuts to seamlessly move through your project, ensuring precision as you arrange and refine your content.
By mastering the art of organizing and arranging on the timeline, editors unlock the full potential of their storytelling capabilities. Premiere Pro's timeline serves as the canvas where creativity meets structure, and a nuanced understanding of these techniques transforms raw footage into a captivating visual narrative.
-
 1:00:56
The Tom Renz Show
8 hours agoThe War On DOGE Is ALSO A War On The Economy
4.95K5 -
 1:30:16
Steve-O's Wild Ride! Podcast
5 days ago $0.84 earnedAri Shaffir Exposes The Dark Side of Podcasting - Wild Ride #252
11.3K1 -
 1:56:29
The Quartering
6 hours agoAirplane FLIPS and CRASHES, Sean Duffy Slams Pete Buttigieg, & What Happened with Patriarchy Hannah
66.8K29 -
 37:08
37:08
Standpoint with Gabe Groisman
23 hours agoDOGE The UK?! With Liz Truss
26.5K12 -
 56:39
56:39
SLS - Street League Skateboarding
6 days agoHIGHEST SCORING KNOCKOUT ROUND OF ALL TIME! Felipe Gustavo, Dashawn Jordan, Filipe Mota & more...
21.7K1 -
 14:26
14:26
Breaking Points
1 day agoWOKE VS BASED?: Saagar And Ryan Play A Game
24.2K6 -
 5:29:58
SoundBoardLord
8 hours agoThe Red Dead Journey Continues!!!
23.1K1 -
 1:17:31
The Officer Tatum
4 hours agoLIVE: Delta Airlines CRASH BLAMED On Trump, Ashley St. Claire Had Elon's BABY? + More | Ep 63
29.7K37 -
 1:38:08
vivafrei
6 hours agoAOC goes Full Criminal Lover? Mehdi Hasan Goes Full Terrorist? Another Plane Crash & MORE! Viva Frei
71.8K35 -
 1:52:19
Russell Brand
5 hours agoLIVE FROM MAR A LAGO: US, Russia & China to Negotiate While UK Ramps Up in Ukraine – SF539
141K50