Premium Only Content

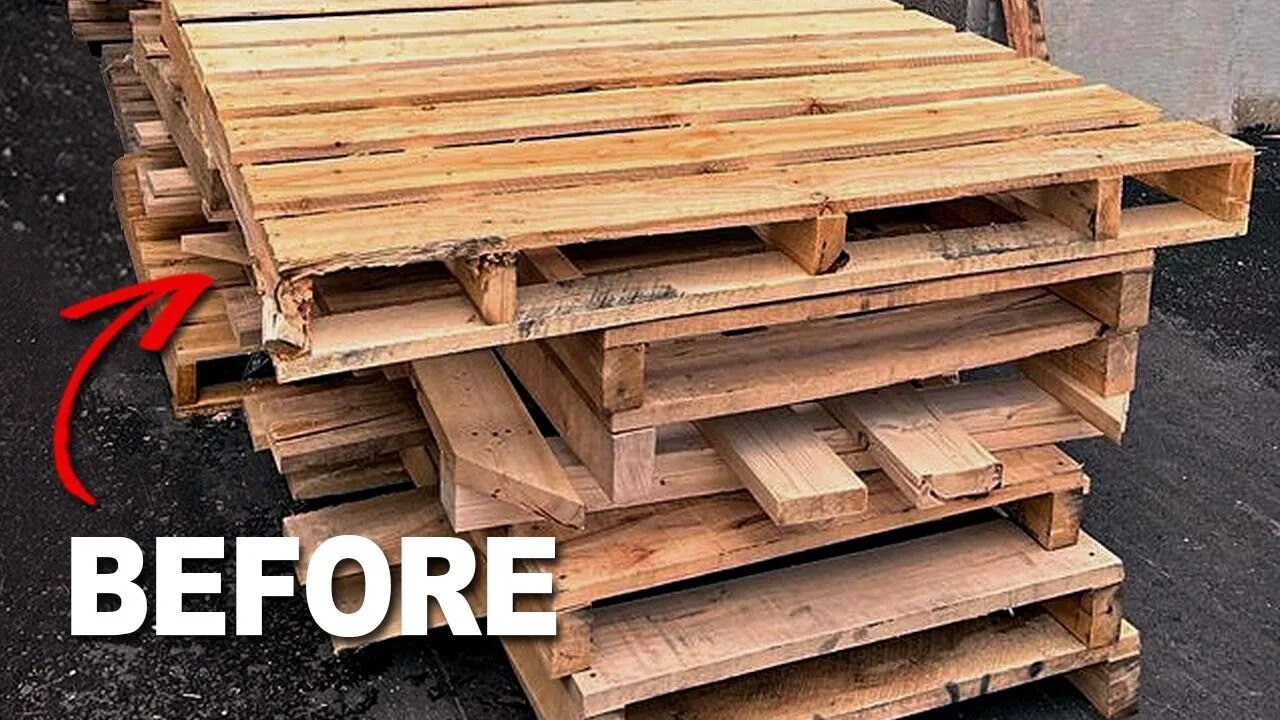
Turning Free Pallets into an Epoxy Table | Furniture Makeover
Use the exclusive code "BFYTB" to get $30 off your Flexispot E7/E7pro/C7. You still have a chance to win a free order!
US: https://bit.ly/3rLKTkS
CA: https://bit.ly/46IMNBG
----------
For a long time, I've wanted to attempt an epoxy table. I wanted to throw in a twist though, and I figured what better way than to take some free pallet wood to dump some very expensive epoxy onto. Being my first epoxy table, there were some inevitable mistakes made along the way.
Some things I should have done differently:
1. The individual planks had some warping, especially after burning. I should have tied the boards together with some inlays on the bottom or domino joints to create one flat board prior to burning. This would have made it easier to control the warping.
2. I planed off too much depth with the router when I was flattening the table. This put a lot of strain on the router bit, and I also accidentally cut into a part of the table where the wood was sticking up higher than the rest.
3. Ideally, I should have done a coat of table top epoxy on top of the deep pour epoxy. This would create a more durable outer coat.
This was definitely a challenging project for me, but I learned SO much. I'd love to know what you think about this kind of project, since it is a different concept than my usual furniture makeover/restoration videos.
If you liked this video, please give it a like, it helps me a lot!! :)
- Andy
----------
Products used in this video:
Deep Pour Epoxy: https://amzn.to/475Wwm6
Resin Dye Powder: https://amzn.to/40sp46A
Alcohol Ink: https://amzn.to/3Qsyomo
Butane Torch: https://amzn.to/3MAx1kC
Surfacing Router Bit: https://amzn.to/3MAxzXv
Router: https://amzn.to/3FLpBqV
Polishing Compound: https://amzn.to/3FMYk7x
Buffer Polisher: https://amzn.to/46dvLef
----------
Merch: https://modernmade.shop/
Instagram: https://www.instagram.com/modern.makeovers/
Facebook: https://www.facebook.com/TheRealModernMakeovers
-
 17:38
17:38
Modern Makeovers
11 months agoMy Greatest Creation - Odd Art Deco Vanity Makeover
71.3K15 -
 2:51:00
Fresh and Fit
7 hours agoWomen Claim To Give Better Dating Advice So We Did THIS...
115K63 -
![[F EM UP Friday] Take # 2 [Destiny 2] Lets Kick Some A$$! #RumbleTakeOver](https://1a-1791.com/video/s8/1/c/W/7/1/cW71u.0kob-small-F-EM-UP-Friday-Take-2-Desti.jpg) 5:16:50
5:16:50
CHiLi XDD
8 hours ago[F EM UP Friday] Take # 2 [Destiny 2] Lets Kick Some A$$! #RumbleTakeOver
37.3K1 -
 5:13:43
ItsMossy
14 hours agoHALO WITH THE RUMBLERS (: #RUMBLETAKEOVER
34.2K1 -
 1:54:08
INFILTRATION85
7 hours agoHi, I'm INFILTRATION
34.2K9 -
 7:51:03
GuardianRUBY
9 hours agoRumble Takeover! The Rumblings are strong
72.3K3 -
 4:28:45
Etheraeon
16 hours agoWorld of Warcraft: Classic | Fresh Level 1 Druid | 500 Follower Goal
51.1K -
 3:17:21
VapinGamers
8 hours ago $3.73 earned🎮🔥Scrollin’ and Trollin’: ESO Adventures Unleashed!
34.9K2 -
 LIVE
LIVE
a12cat34dog
9 hours agoGETTING AFTERMATH COMPLETED :: Call of Duty: Black Ops 6 :: ZOMBIES CAMO GRIND w/Bubba {18+}
317 watching -
 8:23:18
NubesALot
12 hours ago $5.29 earnedDark Souls Remastered and party games
30.3K