Premium Only Content

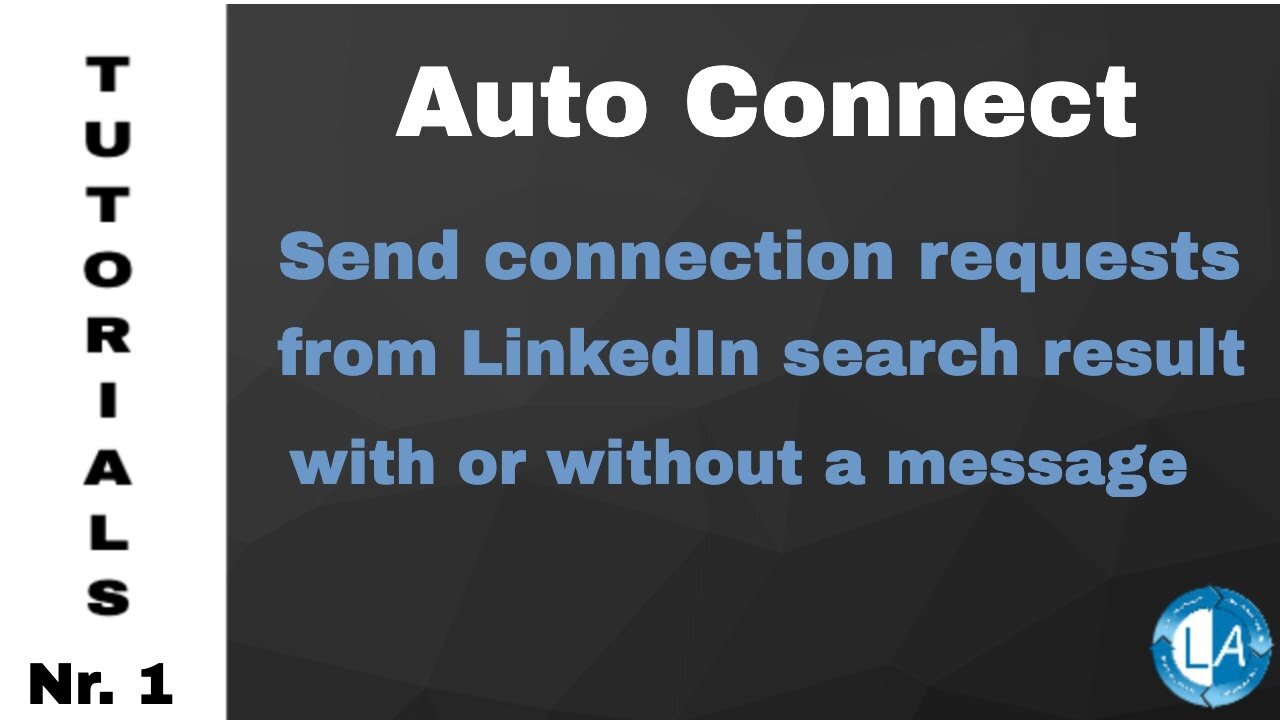
Auto Connect From LinkedIn Search Result With Or Without A Message
Auto Connect From LinkedIn Search Result With Or Without A Message
In this video, I’m going to walk you through the steps and best practices of using the Linked Assist´s LinkedIn Connect Message Feature. This feature will help you connect with people that can turn into leads, clients, customers or partners…
This is a great way to generate leads without running paid ads on Google, Facebook or other platforms.
The power of LinkedIn is that the people who are hungry for business are spending time there.
The first step is to find the group of people you want to target. Let’s try “Marketing Agencies” for this example. You’ll enter the search keyword “Marketing Agencies”” here at the search box. To define your targeted group further, use these other parameters of the filters to narrow it down more to get better conversions.
You want to make sure you select 2nd connections. Click on the Linked Assist icon in the Chrome browser… Click on the Select Feature dropdown… and choose LinkedIn Connect Message.
Next, you can enter the number of Users you want to connect with. The number you choose here largely depends on how often you use LinkedIn right now and how many interactions are on your profile.
The LinkedIn algorithm will flag your profile as a “bot” if you go from little interaction to a high-level of interaction too quickly. That’s why it’s essential to start a little slower and then build up from there.
The best practice here is to start with fewer users to connect with and then each week add 5-10 more until you hit 50 (or more) requests per day. For this example, I’ll enter 30 per day and then next week, I would do 40 per day, 50 per day the following week and so on and on /..etc.
This next option is the Time Interval Between each connection request in seconds… Linked Assist automatically defaults to 5 seconds here, but you can extend that range. For example, if you entered 15 seconds. Linked Assist would run every 30-45 seconds.
The next step is to select a message. This is the message that will be sent to each of the connection requests. To create saved messages that will appear in this section, go to Linked Assist and click on Settings… Messages/Signature… (obscure my messages and signature/hide messages and signature/not readable)
Then you can name the message… enter the message body… then click “Add”... You can also create or modify your standard signature and then click “update.”
When all those fields are set-up, you’ll click the “Start Linked Assist button,” and you’ll see it begin to send the connection requests in real-time down here in the bottom right corner of your screen.
Once the program is finished, you’ll get an automatic .csv download of your connection requests. This will include the First Name, Last Name, Job Title and a link to their profile.
And that’s it.
Let us know if you have any questions.
Link to our Tutorials Playlist:
https://www.youtube.com/playlist?list=PLqWkwwE79qRalb063DDiYGW4K5xSfcyX5
Visit our LinkedIn Marketing Blog for more LinkedIn Hacks & Tips:
https://www.linked-assist.com/blog/
Visit our Website:
https://www.linked-assist.com/
Download Linked Assist:
https://chrome.google.com/webstore/detail/linked-assist/jlnbkamgambebndfodgebpgpbeibbdpi
Follow us on Social Media:
https://www.facebook.com/linkedin.automation.bot
https://pinterest.com/linkedassist
https://twitter.com/assist_linked
Subscribe to our LinkedIn Marketing Podcasts for FREE and stay updated:
Spotify:
https://open.spotify.com/show/1Yuv8GhuVU1InbjJLoXSeV
#linkedinautomation #leadgeneration #moreleads
-
 LIVE
LIVE
megimu32
1 hour agoON THE SUBJECT: The Epstein List & Disney Channel Original Movies Nostalgia!!
193 watching -
 9:06
9:06
Colion Noir
10 hours agoKid With Gun Shoots & Kills 2 Armed Robbers During Home Invasion
16.9K3 -
 54:28
54:28
LFA TV
1 day agoUnjust Man | TRUMPET DAILY 2.27.25 7PM
19.7K2 -
 20:10
20:10
CartierFamily
7 hours agoAndrew Schulz DESTROYS Charlamagne’s WOKE Meltdown on DOGE & Elon Musk!
36.8K46 -
 1:36:39
Redacted News
5 hours agoBOMBSHELL EPSTEIN SH*T SHOW JUST DROPPED ON WASHINGTON, WHAT IS THIS? | Redacted w Clayton Morris
145K244 -
 2:03:31
Revenge of the Cis
7 hours agoEpisode 1453: Fat & Fit
48.6K8 -
 2:38:12
The White House
7 hours agoPresident Trump Holds a Press Conference with Prime Minister Keir Starmer of the United Kingdom
160K60 -
 1:01:04
In The Litter Box w/ Jewels & Catturd
1 day agoDrain the Swamp! | In the Litter Box w/ Jewels & Catturd – Ep. 751 – 2/27/2025
91.7K35 -
 1:11:24
Dr. Drew
8 hours agoNEW: Cardiac Arrest In Healthy Young People After mRNA w/ Nicolas Hulscher – Ask Dr. Drew
72.7K32 -
 4:24:53
Right Side Broadcasting Network
12 hours agoLIVE REPLAY: President Trump and UK Prime Minister Starmer Meet and Hold a Press Conference 2/27/25
166K47