Premium Only Content

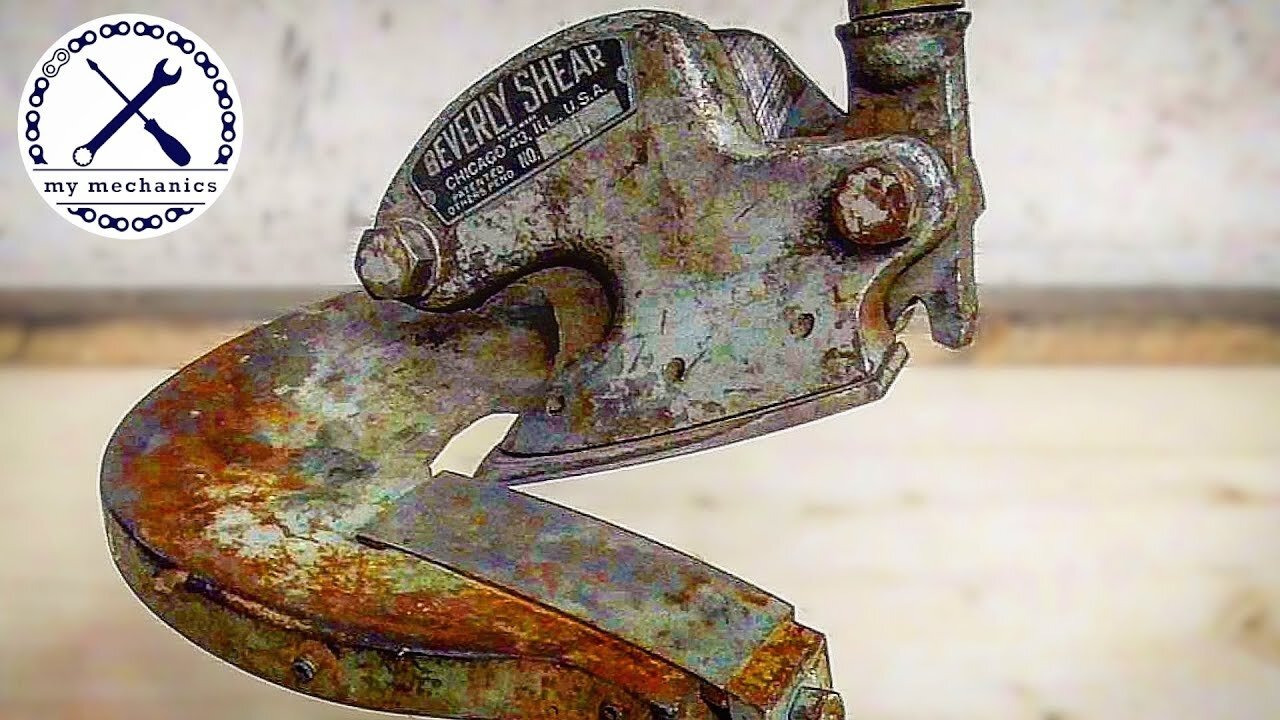
1930s Rusty Metal Shear - Perfect Restoration
SUBSCRIBE and check out my new Channel:
https://www.youtube.com/channel/UCM65z7cJmZUOpWUXVwHOc7g
1930s Rusty Metal Shear - Perfect Restoration
In this video I'm restoring a Beverly Shear model B1
My friend found this Beverly Shear in the steel waste at the recycling station. When I first saw this Beverly Shear I had no idea why it has such an unique shape. After a bit of research I quickly found out that this is a very well known tool. So I decided to restore it and bought it for $30. The Beverly Shear is a tool to cut sheet, because of it's unique shape it enables you to cut curved shapes and that's what makes the Beverly Shear so special. The Beverly Shear was invented by Kurt Nebel in 1931 in Chicago. There are 3 different sizes available: model B1, model B2 and model B3 which is the biggest one. They have made some changes over the years, but since 1947 the shears have remained virtually unchanged. For the color I decided to use a darker grey than the original and choose anthracide, I also added two washers. To make the parts black I used a bluing liquid called „Birchwood Casey - Super Blue“ and it worked very well. It's easy to handle and the big advantage over heating and quenching in oil is that you can do it without heating the parts up. So you won't change the structure of the steel and you can use it on hardened parts as well. Because I have no tools and experience in sharpening such blades, I decided to ask my friend Philipp Elsner from Elsener Messerschmied to do it. He's a professional knifemaker here in Rapperswil Switzerland. Check out his website, linked below. Overall I'm very happy how the Beverly Shear came out and as it is such a unique tool I'll keep it for myself.
I hope you like my work and the video.
Timestamps:
00:00 preview
00:38 testing
00:57 disassembling
03:45 showing all the parts
03:58 washing the parts
04:21 Removing paint with paint stripper
04:50 protecting the parts from rusting with Motorex MX50 oil spray
05:02 restoring the main part
06:49 restoring the front plate
08:18 restoring the back plate
09:09 restoring the two big bolts
09:50 restoring the nut
10:24 restoring the special washer
10:42 restoring the blade holding plate
11:21 making a new screw for the blade holding plate
12:32 polishing the new washer
12:44 assembling test
13:24 restoring and sharpening the blades
14:36 restoring the handle holder
15:39 restoring the handle and making a sleeve for it
17:54 restoring the screw for the handle
18:20 making a special washer on the lathe
19:18 restoring the sign
19:44 showing the two new rivets for the sign
19:52 restoring the small screws
20:15 making the parts black with Birchwood Casey - Super Blue
21:04 masking the parts with aluminum tape for sandblasting
21:46 sandblasting
22:51 filling the holes with 2K filler
23:18 masking the parts for painting
23:27 applying 2K primer
23:36 applying 2K anthracide coat
24:07 showing all the parts before reassembling
24:23 reassembling
26:29 adjusting the blade distance
26:40 showing the finished product
27:36 final testing
27:57 cut comparison before/after
My camera:
Panasonic HC-V180
If you have any questions about the process, machines I'm using or other stuff, just ask me in the comments. I read them all and I try to reply as soon as possible.
Sorry for my bad English, it's not my language. I try my best to improve my technical English.
Subscribe for more of my content. I'm uploading videos about mechanical stuff, as new creations and buildings and also restorations.
Thank you for watching
My Patreon Page:
https://www.patreon.com/mymechanics727
-
 LIVE
LIVE
TheSaf3Hav3n
2 hours agoCALL OF DUTY: BLACK OPS 6 | A QUIET PLACE: THE ROAD AHEAD | #RumbleTakeOver
587 watching -
 LIVE
LIVE
TheNateVibez
1 hour agoOmni-🤖 - First Rumble Stream.🫡 - VETERAN
914 watching -
 LIVE
LIVE
Tundra Gaming Live
6 hours ago $0.36 earnedThe Worlds Okayest War Thunder Stream//FORMER F-16 MAINTAINER//77th FS//#rumblefam
254 watching -
 LIVE
LIVE
DemolitionDx
2 hours agoSunday night COD with friends.
686 watching -
 2:10:14
vivafrei
12 hours agoEp. 237: More Trump Cabinet Picks! MAHA or Slap in the Face? Canada on Fire! Go Woke Go Broke & MORE
154K194 -
 2:23:21
SOLTEKGG
2 hours ago $1.79 earned🟢 First Day on RUMBLE!
21.6K -
 LIVE
LIVE
Vigilant News Network
6 hours agoCOVID-Vaccinated Hit With Grave New Reality | Media Blackout
2,331 watching -
 1:26:31
Josh Pate's College Football Show
6 hours ago $1.59 earnedSEC Disaster Saturday | Major CFP Earthquake Coming | Officiating Is A Disaster | New Studio Debut
16.1K1 -
 1:43:05
Adam Does Movies
9 hours ago $0.29 earnedGladiator II Spoiler Conversation With Hack The Movies
19.8K -
 24:10
24:10
Bwian
9 hours agoI Don't Know What I'm Doing in Fortnite, But I Still Won...
15.6K1