Premium Only Content

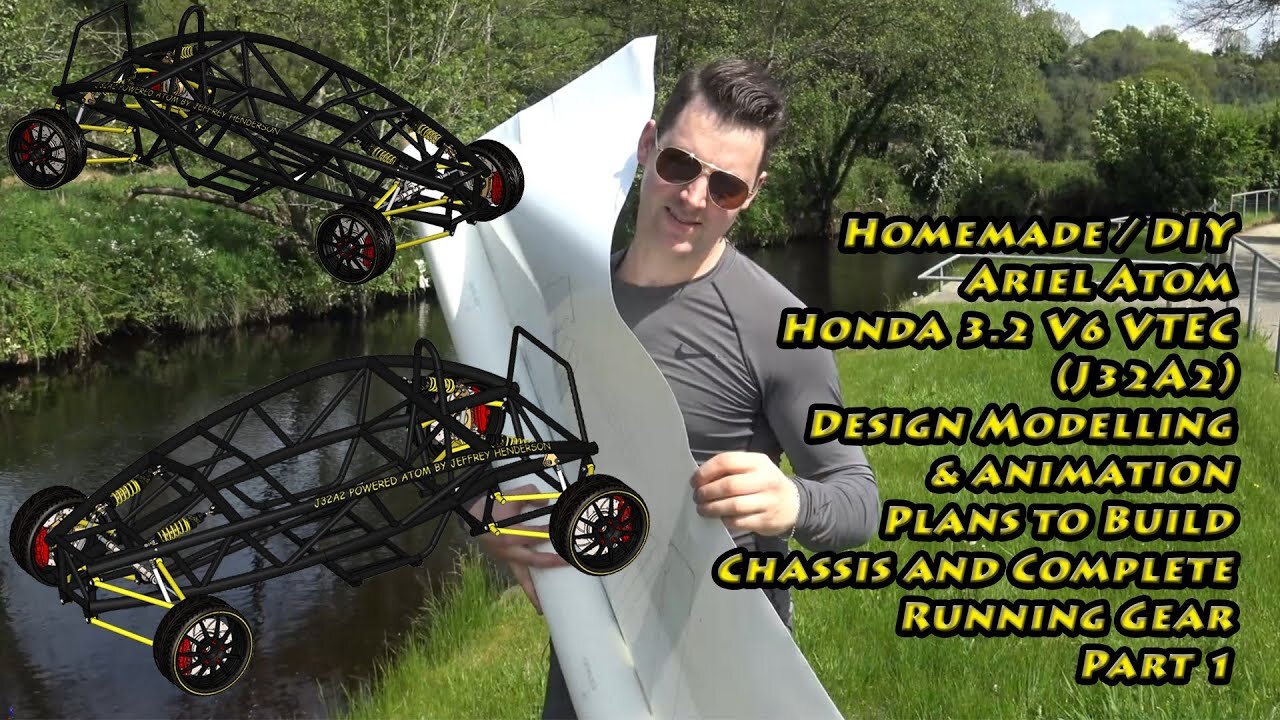
Jeffrey Henderson | Homemade DIY Ariel Atom | Design Modelling & Animation | Plans to Build | Part 1
Hi everyone,
CHANNEL AND PROJECT UPDATE COMBINED ALSO!
Welcome back to my channel. If you haven’t noticed, this has been the longest pause/gap on my YouTube channel since I started producing videos of my projects. The introduction seen in this video was created at the end of April just over 2 months ago (around the 25th). I was planning to put this project out much sooner, but new responsibilities introduced a bit of a delay. I will get into that in a minute. Hence, this video has run away behind its initial due date. However, it’s here now, so enjoy.
This revamped Ariel Atom model follows on from the existing model that I created a couple of years ago. I spent a lot of time and effort creating this improved model, as I was unable to access the garage to work on physical tasks following the birth of my son Joshua, whilst also taking care of my girlfriend Donna. As a result of this, since the river side introduction seen in this video, I've contributed another 500 hours to the design stage of this project. So, it's been a long and exhaustive journey with the current situation throughout the making of this video, but it’s getting easier now.
I'm going to continue working on this model over the upcoming months, and possibly, I'll be able to begin manufacturing some components soon. I hope to develop this one-of-a-kind project (with my touch) when I finish my PhD. I had not intended to perform all the additional modelling, but because of the current situation, I was able to sit with a computer on my lap to accomplish this instead of doing actual project work in the garage.
So, in this newer model the running gear has been revamped on a large scale. What you see here is a complete working framed car, without the engine, transmission etc. I think this project deserves this extensive video, as there’s been so much hard work put into it throughout thousands of exhaustive hours. A lot of the components have been designed around each other. The model has been overwhelming as you can imagine especially at these challenging times.
In the nearer future I will model the engine and add it to another video. Though, in the meantime, after I finished talking about all the crucial aspects of this car, I added my jewellery polished intake manifold (sub assembly) to the (main assembly) revamped model, to give an idea of where exactly the J-series engine will sit in the engine bay. This jewellery edition manifold can be found on my YouTube channel (https://youtu.be/n3KE01xU3ek) that I designed, and hand crafted for my Honda Integra DC5 project car. I will more than likely use this manifold on this project instead of the DC5 project car as it will be visually seen unlike under the Integra DC5’s bonnet.
The frame engine bay/chassis here was initially designed for the J32A2 engine that will be mid mounted in the rear end seen in the final video clip. The engine I have is for my project car that I’m meant to be building, but I have been extremely busy with my studies and all other projects across my channel. I will more than likely purchase another J32A2 engine for this project when my PhD is complete and then I can start manufacturing or building both cars.
Although the chassis/frame was a highly complex beginning point, I have not delved into higher depths as there was so much to talk about throughout the video. Not taking anything away from the chassis here, but it was considerably more difficult to get the car's running gear to work as well as it does, and I have gone over that in detail in the latter stages.
I have also created a table of discussions, so I didn’t miss anything out, over the consuming, speedy, and detailed discussions.
I hope everyone enjoys.
Thank you, Jeffrey
#creative #innovation #engineering #engineeringstudent #uniqueart #UniqueGifts #uniquedesign #unique #RealTalent #jealousmuch #threatened #envious
-
 1:56:25
Nerdrotic
6 hours ago $7.15 earnedThe Red Pyramid's Hidden Secrets | Forbidden Frontier #091
35.4K12 -
 2:08:53
vivafrei
14 hours agoEp. 252: Liberals DISQUALIFY Candidate from Race! DOGE Wins & Loses; Rumble Sues BRAZIL! & MORE!
114K198 -
 1:15:12
Josh Pate's College Football Show
5 hours ago $5.05 earnedCFB’s Top 12 Programs | TV Executives & Our Sport | USC Changes Coming | Early Championship Picks
34.6K2 -
 LIVE
LIVE
Vigilant News Network
9 hours agoUK Government BUSTED in Secret Plot to Extract Your Data | Media Blackout
1,318 watching -
 1:03:32
Winston Marshall
3 days ago"War On Children!" The DEMISE Of The West Starts With Schools - Katharine Birbalsingh
96.7K62 -
 48:02
48:02
Survive History
12 hours ago $3.43 earnedCould You Survive as a Sharpshooter in the Napoleonic Wars?
43.7K3 -
 12:03
12:03
Space Ice
12 hours agoSteven Seagal's China Salesman - Mike Tyson Knocks Him Out - Worst Movie Ever
31.4K14 -
 11:37
11:37
Degenerate Jay
12 hours ago $4.91 earnedJames Bond Needs Quality Over Quantity From Amazon
51.4K3 -
 15:23
15:23
Misha Petrov
12 hours agoTrad Wives & Girl Bosses Go to WAR!
46.1K42 -
 2:03:11
TheDozenPodcast
10 hours agoFootball villain fighting the state: Joey Barton
39K1