Premium Only Content

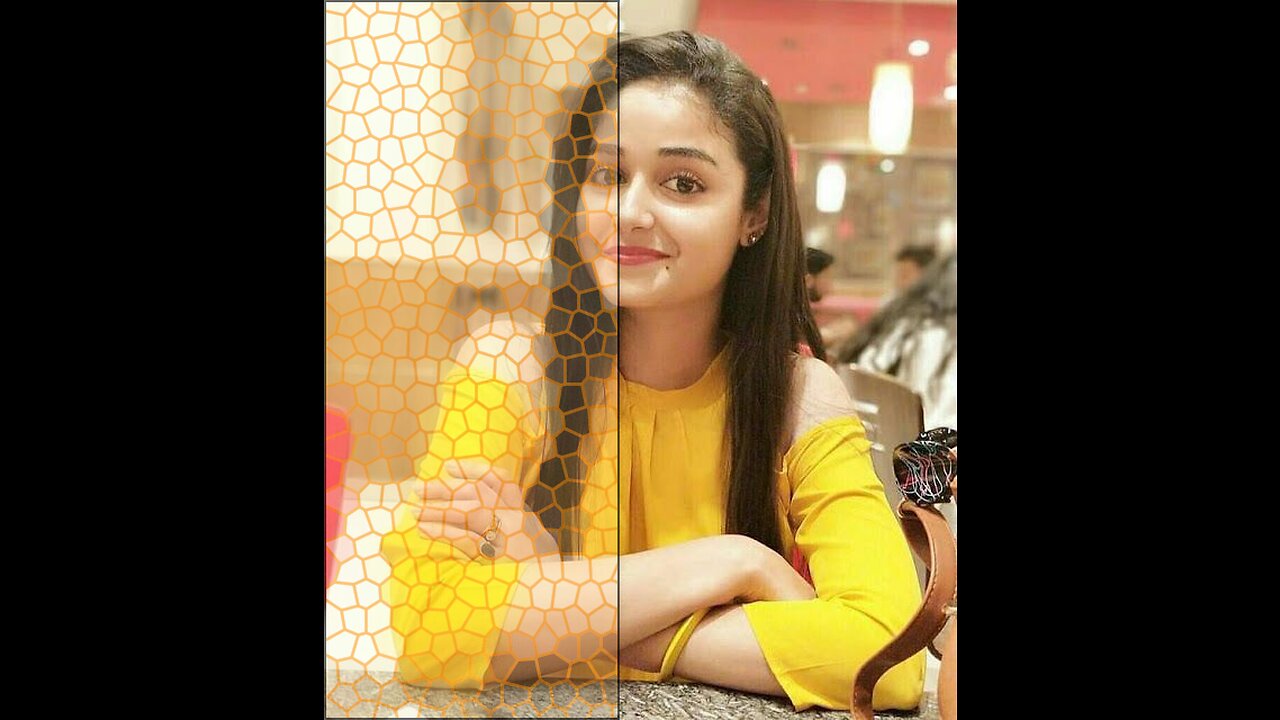
How to make a Glass Effects in photoshop #graphicdesigner
Hi,
I am Awais. I am a professional graphics designer.
Creating a glass effect in Photoshop involves a combination of layer styles, blending modes, and filters. Here's a step-by-step guide on how to achieve a simple glass effect on text:
*Step 1: Create a New Document*
1. Open Photoshop and create a new document of the desired size.
2. Choose a background color that complements the glass effect.
*Step 2: Add Text*
1. Select the Text tool (T) from the toolbar.
2. Choose a font and size for your text.
3. Type the text you want to apply the glass effect to.
*Step 3: Apply Base Layer Styles*
1. Right-click on the text layer in the Layers panel and select "Blending Options."
2. In the Layer Style dialog, apply the following settings:
- *Bevel & Emboss:*
- Style: Inner Bevel
- Technique: Chisel Hard
- Size: Adjust as per your text size
- *Gradient Overlay:*
- Blend Mode: Screen or Overlay
- Gradient: Choose a white-to-transparent gradient
- *Satin:*
- Blend Mode: Multiply or Overlay
- Color: Choose a light color similar to glass (e.g., light blue)
- *Stroke:*
- Size: 1-2 pixels
- Position: Inside
- Color: White or a light color
*Step 4: Apply Glass Texture*
1. Create a new layer above the text layer.
2. Fill the new layer with a light blue color using the Paint Bucket tool.
3. Download or create a glass texture image and place it on the new layer.
4. Resize and position the texture to cover the text.
*Step 5: Adjust Blending Modes*
1. Change the blending mode of the glass texture layer to "Overlay" or "Screen" to blend it with the text and underlying layers.
2. If the effect is too strong, reduce the layer opacity to tone it down.
*Step 6: Add Highlights and Shadows*
1. Create a new layer above all other layers.
2. Use the Brush tool (B) with a soft brush and a white color to paint highlights on the edges and corners of the text to simulate glass reflections.
3. Create another new layer and use a soft black brush to paint shadows on the areas that would be shaded on a glass surface.
*Step 7: Final Adjustments*
1. Fine-tune the opacity of the highlight and shadow layers to achieve a realistic effect.
2. Adjust the overall opacity of the glass texture layer if necessary.
3. Play around with other adjustments, such as Levels, Curves, and Color Balance, to enhance the overall look of the glass effect.
Remember, the key to achieving a convincing glass effect is to pay attention to lighting, shadows, and reflections. Experiment with different settings and elements to find the best combination for your specific project.
-
 LIVE
LIVE
TimcastIRL
1 hour agoEPSTEIN Files DROP, FBI GOES ROGUE, AG Says They COVERED UP Epstein Case w/Amber Duke | Timcast IRL
18,905 watching -
 LIVE
LIVE
Kim Iversen
1 hour ago"Canada's Trump" Is Trudeau’s Worst Nightmare: Is Maxime Bernier the Future of Canada?
1,591 watching -
 DVR
DVR
Bannons War Room
10 days agoWarRoom Live
2.58M436 -
 16:06
16:06
The Rubin Report
8 hours agoProof the Islamist Threat in England Can No Longer Be Ignored | Winston Marshall
34.3K24 -
 2:07:07
Robert Gouveia
5 hours agoFBI Files Coverup! Bondi FURIOUS; SCOTUS Stops Judge; Special Counsel; FBI Does
40.5K32 -
 56:15
56:15
Candace Show Podcast
5 hours agoBREAKING: My FIRST Prison Phone Call With Harvey Weinstein | Candace Ep 153
107K69 -
 LIVE
LIVE
megimu32
1 hour agoON THE SUBJECT: The Epstein List & Disney Channel Original Movies Nostalgia!!
205 watching -
 9:06
9:06
Colion Noir
10 hours agoKid With Gun Shoots & Kills 2 Armed Robbers During Home Invasion
16.9K3 -
 54:28
54:28
LFA TV
1 day agoUnjust Man | TRUMPET DAILY 2.27.25 7PM
19.7K2 -
 20:10
20:10
CartierFamily
7 hours agoAndrew Schulz DESTROYS Charlamagne’s WOKE Meltdown on DOGE & Elon Musk!
36.8K45