Premium Only Content

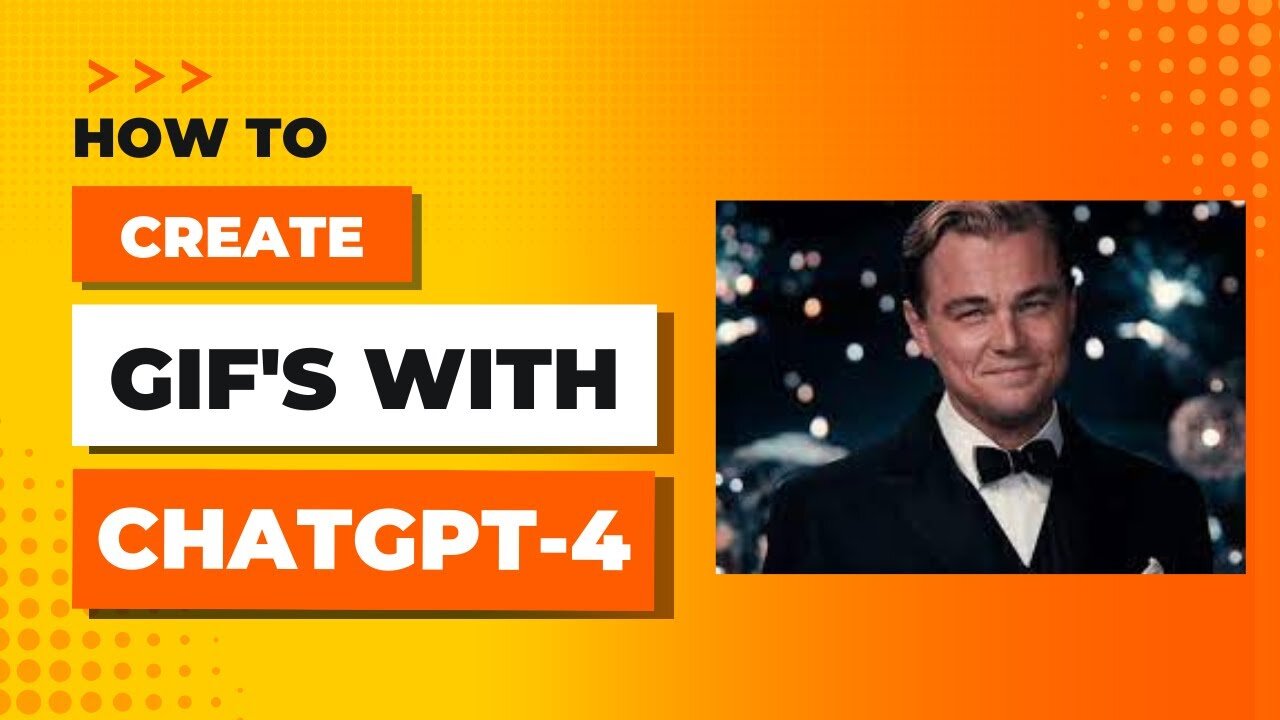
How To Create (One-Click) GIF'S With ChatGPT-4 - Code Interpreter
Welcome back to another informative video, everyone! In today's video, we're delving into the exciting features of the paid subscription of ChatGPT-4 / ChatGPT Plus. We are specifically focusing on how to create your own GIFs within the program itself, no external software needed!
🎬Video Timeline:
00:00 - 00:18: Introduction to the topic and brief overview of what we're about to achieve, using a zoom-in GIF of Margot Robbie as a practical example.
00:18 - 00:35: Starting from scratch, I illustrate how to initiate a new chat and select GPT-4, a crucial part of the process.
00:35 - 00:53: Explaining the importance of enabling the 'code interpreter' option, currently in Beta, but soon to be officially released.
00:54 - 00:56: Kick-starting the actual process.
00:56 - 01:14: Detailed explanation of how to set the parameters for the GIF, such as the duration, resolution, and frame rate.
01:14 - 01:16: Before hitting 'go', we take an essential detour.
01:16 - 01:36: Here, I demonstrate how to upload the image file for your GIF, then click on the 'go' button to begin the creation process.
01:36 - 02:00: As the code interpreter works, I explain how to understand the process by revealing the Python code involved in the GIF creation.
02:01 - 02:18: After the GIF is complete, I show how to download the file, then navigate to the folder where it's stored.
02:18 - 02:27: Wrapping up by showing the final product and summarizing the overall process.
Make sure you try out this super handy feature on your own and let us know how it goes! Don't forget to give this video a thumbs up if you found it helpful, and consider subscribing to our channel for more tips and tutorials like this one.
-
 56:15
56:15
Candace Show Podcast
5 hours agoBREAKING: My FIRST Prison Phone Call With Harvey Weinstein | Candace Ep 153
107K72 -
 LIVE
LIVE
megimu32
1 hour agoON THE SUBJECT: The Epstein List & Disney Channel Original Movies Nostalgia!!
193 watching -
 9:06
9:06
Colion Noir
10 hours agoKid With Gun Shoots & Kills 2 Armed Robbers During Home Invasion
16.9K3 -
 54:28
54:28
LFA TV
1 day agoUnjust Man | TRUMPET DAILY 2.27.25 7PM
19.7K2 -
 20:10
20:10
CartierFamily
7 hours agoAndrew Schulz DESTROYS Charlamagne’s WOKE Meltdown on DOGE & Elon Musk!
36.8K45 -
 1:36:39
Redacted News
5 hours agoBOMBSHELL EPSTEIN SH*T SHOW JUST DROPPED ON WASHINGTON, WHAT IS THIS? | Redacted w Clayton Morris
145K243 -
 2:03:31
Revenge of the Cis
7 hours agoEpisode 1453: Fat & Fit
48.6K8 -
 2:38:12
The White House
7 hours agoPresident Trump Holds a Press Conference with Prime Minister Keir Starmer of the United Kingdom
160K60 -
 1:01:04
In The Litter Box w/ Jewels & Catturd
1 day agoDrain the Swamp! | In the Litter Box w/ Jewels & Catturd – Ep. 751 – 2/27/2025
91.7K35 -
 1:11:24
Dr. Drew
8 hours agoNEW: Cardiac Arrest In Healthy Young People After mRNA w/ Nicolas Hulscher – Ask Dr. Drew
72.7K32