Premium Only Content

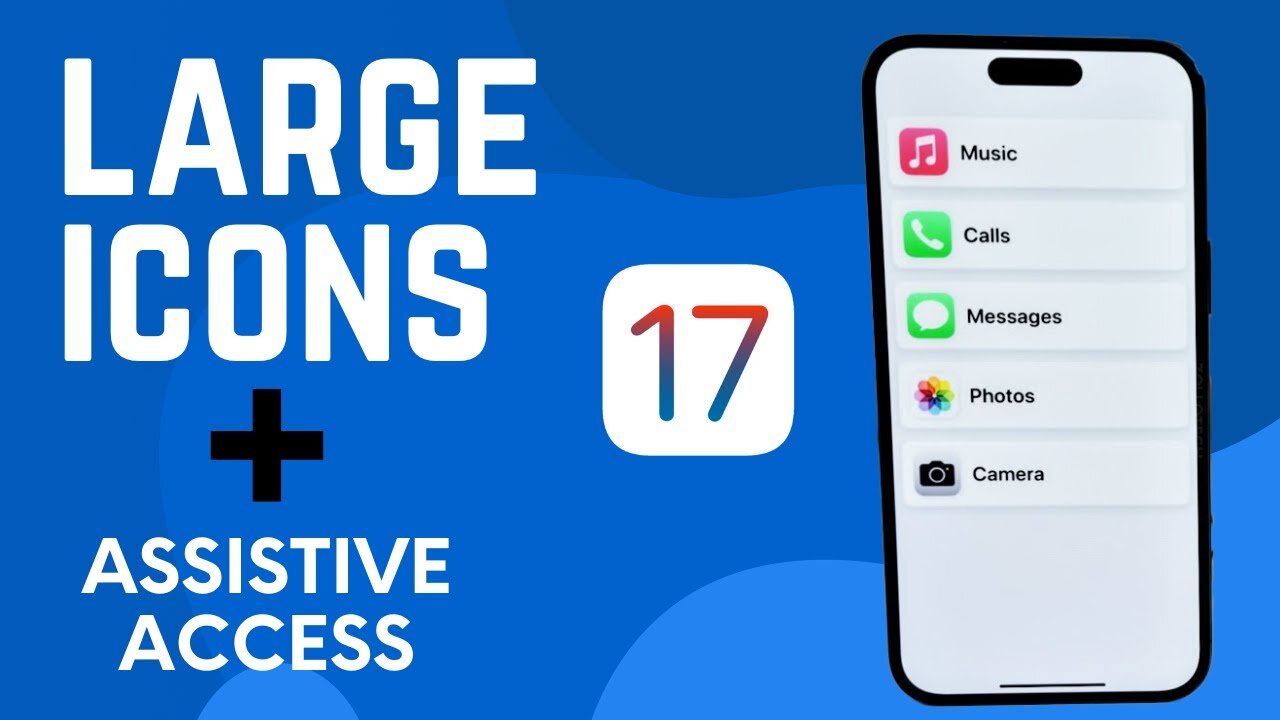
Step-by-Step - How To Make Icons Larger (Assistive Access) For iPhone and iOS 17
Welcome back to another comprehensive iOS 17 tutorial! In this video, we explore Assistive Access, a new feature introduced with iOS 17 that aims to declutter the user interface and enlarge your icons.
Assistive Access is a helpful feature for individuals experiencing visual impairment or any cognitive challenges. The step-by-step walkthrough provided in the video helps you set up the feature without a hitch.
Timestamps:
00:00 - Curtis' intro and brief overview of Assistive Access
00:22 - Importance of Assistive Access for different users
00:37 - Detailed step-by-step instructions to enable Assistive Access in Settings
00:55 - Introduction to the Assistive Access screen and starting the setup process
01:10 - Choosing the layout: Rows or Grids
01:27 - Selecting and customizing apps for Assistive Access
01:42 - Important note about Camera settings within Assistive Access
01:59 - Additional app selection and customization for Assistive Access
02:14 - Further customization for individual needs
02:31 - Adding more apps to Assistive Access
02:48 - Notifying about important Assistive Access functionalities
03:07 - Confirming password and wrapping up the setup process
03:23 - End of setup process, showing screenshots due to screen recording limitations
Remember, the choice of apps and layout depends on your personal preference and you can change it anytime. I hope this tutorial was helpful. Please drop your questions or comments below. Make sure to give a thumbs up if this video was useful and subscribe for more such iOS tutorials!
-
 LIVE
LIVE
megimu32
1 hour agoON THE SUBJECT: The Epstein List & Disney Channel Original Movies Nostalgia!!
205 watching -
 9:06
9:06
Colion Noir
10 hours agoKid With Gun Shoots & Kills 2 Armed Robbers During Home Invasion
16.9K3 -
 54:28
54:28
LFA TV
1 day agoUnjust Man | TRUMPET DAILY 2.27.25 7PM
19.7K2 -
 20:10
20:10
CartierFamily
7 hours agoAndrew Schulz DESTROYS Charlamagne’s WOKE Meltdown on DOGE & Elon Musk!
36.8K45 -
 1:36:39
Redacted News
5 hours agoBOMBSHELL EPSTEIN SH*T SHOW JUST DROPPED ON WASHINGTON, WHAT IS THIS? | Redacted w Clayton Morris
145K243 -
 2:03:31
Revenge of the Cis
6 hours agoEpisode 1453: Fat & Fit
48.6K8 -
 2:38:12
The White House
7 hours agoPresident Trump Holds a Press Conference with Prime Minister Keir Starmer of the United Kingdom
160K60 -
 1:01:04
In The Litter Box w/ Jewels & Catturd
1 day agoDrain the Swamp! | In the Litter Box w/ Jewels & Catturd – Ep. 751 – 2/27/2025
91.7K35 -
 1:11:24
Dr. Drew
8 hours agoNEW: Cardiac Arrest In Healthy Young People After mRNA w/ Nicolas Hulscher – Ask Dr. Drew
72.7K32 -
 4:24:53
Right Side Broadcasting Network
12 hours agoLIVE REPLAY: President Trump and UK Prime Minister Starmer Meet and Hold a Press Conference 2/27/25
166K47