Premium Only Content

Adobe After Effects Tutorial: Finding the Missing Camera And Renderer Views
00:00:00:00 - 00:00:18:14
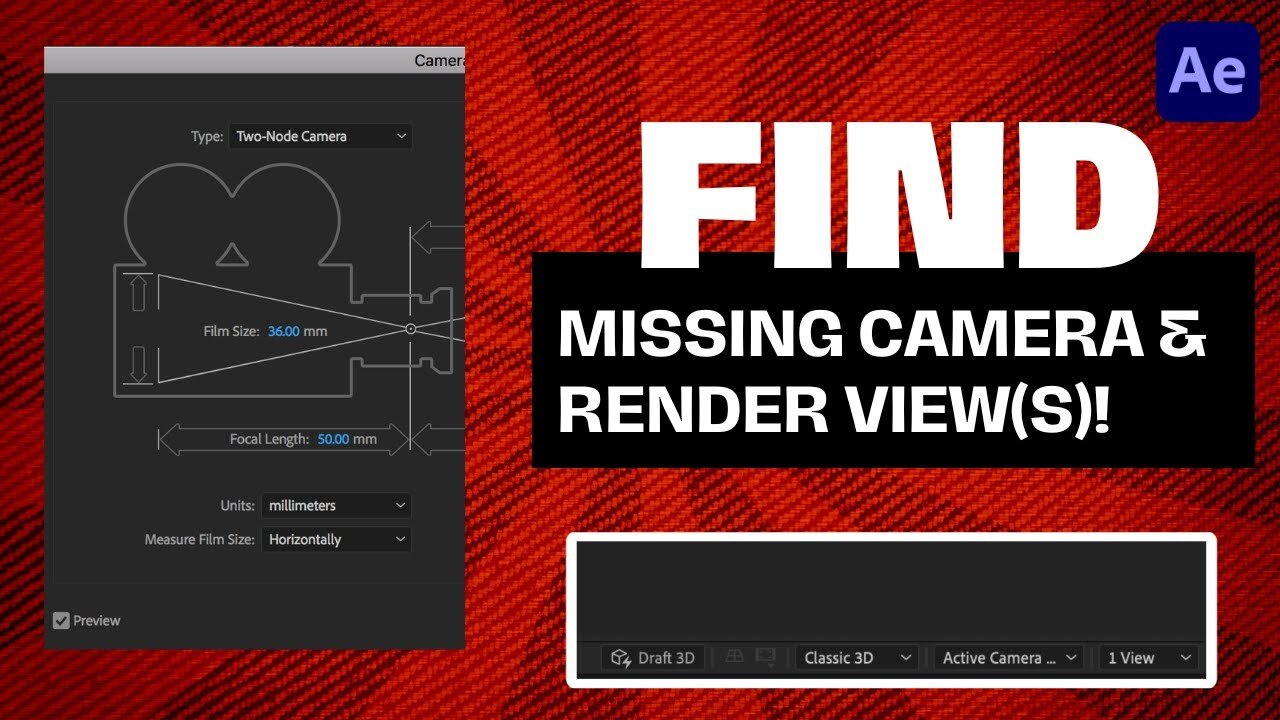
The video begins with a cordial greeting from the speaker, welcoming viewers back to another Adobe After Effects tutorial. The aim of this particular tutorial is to guide viewers on how to locate a missing camera view or option, a task which may seem complex to beginners but is, in fact, quite straightforward. The speaker elaborates on their issue by providing an example: a digital image of their puppy dog, seemingly suspended in space. After adding a 'wiggle' effect to the image, the speaker explains they were unable to locate the camera view.
00:00:18:14 - 00:00:35:22
The speaker then dives into the solution. In order to regain visibility of the camera's distance, they instruct viewers to go to the left side of the software interface and click on the option to 'expand or collapse the layers, swatches, switches, paint, switch swatches'. Following this step, it's crucial to ensure at least one layer is set to 3D mode. The speaker highlights this on their own project, drawing attention to their 3D layer.
00:00:35:25 - 00:00:50:21
After setting a layer (or multiple layers) to 3D, additional options will appear on the right side of the interface, including the active camera and multiple camera views. The speaker emphasizes this point, explaining that the 3D setting is mandatory for these features to be available. If the 3D layer is deactivated, the camera view options will disappear.
00:00:50:23 - 00:00:58:02
The speaker reiterates the core lesson: activating the 3D mode on at least one layer will reveal the missing active camera and multiple camera views options. They succinctly conclude that this is all there is to the process before thanking the viewers for watching their tutorial.
-
 56:15
56:15
Candace Show Podcast
5 hours agoBREAKING: My FIRST Prison Phone Call With Harvey Weinstein | Candace Ep 153
107K69 -
 LIVE
LIVE
megimu32
1 hour agoON THE SUBJECT: The Epstein List & Disney Channel Original Movies Nostalgia!!
191 watching -
 9:06
9:06
Colion Noir
10 hours agoKid With Gun Shoots & Kills 2 Armed Robbers During Home Invasion
16.9K3 -
 54:28
54:28
LFA TV
1 day agoUnjust Man | TRUMPET DAILY 2.27.25 7PM
19.7K2 -
 DVR
DVR
CatfishedOnline
7 hours ago $1.19 earnedGoing Live With Allen Weekly Recap
21.8K -
 20:10
20:10
CartierFamily
7 hours agoAndrew Schulz DESTROYS Charlamagne’s WOKE Meltdown on DOGE & Elon Musk!
36.8K45 -
 1:36:39
Redacted News
5 hours agoBOMBSHELL EPSTEIN SH*T SHOW JUST DROPPED ON WASHINGTON, WHAT IS THIS? | Redacted w Clayton Morris
145K242 -
 2:03:31
Revenge of the Cis
6 hours agoEpisode 1453: Fat & Fit
48.6K8 -
 2:38:12
The White House
7 hours agoPresident Trump Holds a Press Conference with Prime Minister Keir Starmer of the United Kingdom
160K60 -
 1:01:04
In The Litter Box w/ Jewels & Catturd
1 day agoDrain the Swamp! | In the Litter Box w/ Jewels & Catturd – Ep. 751 – 2/27/2025
91.7K35