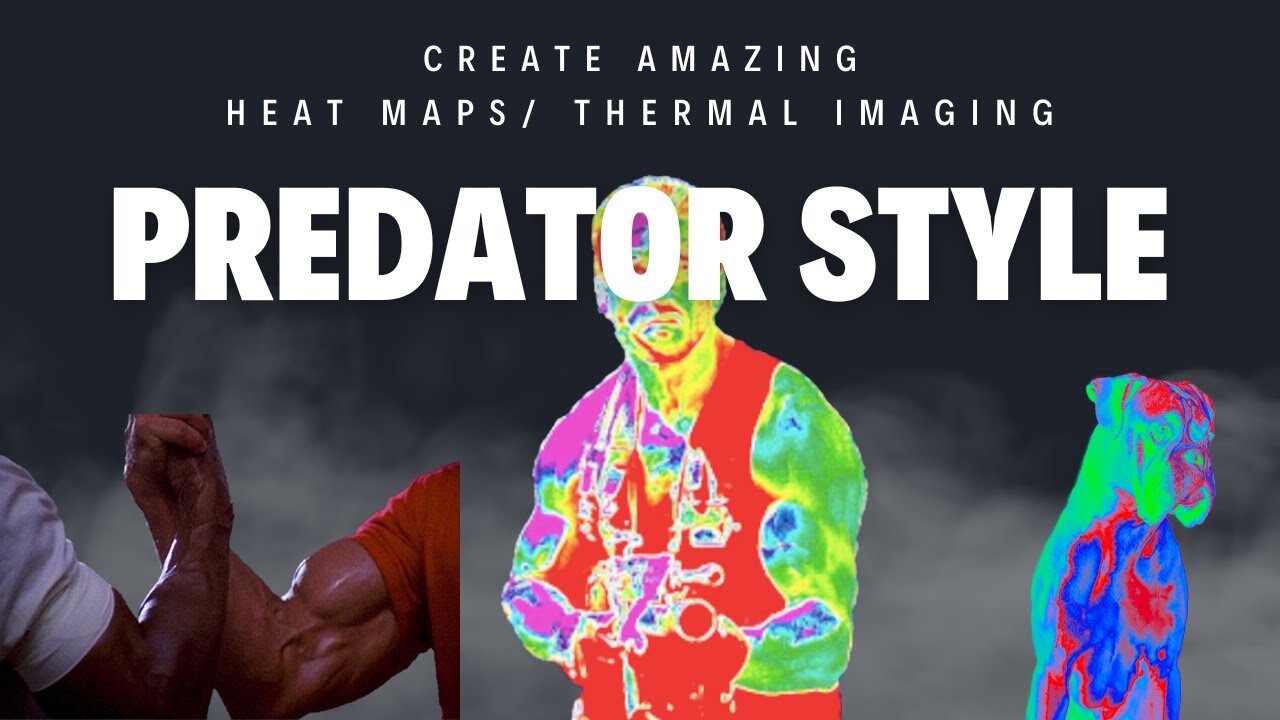
How to Make a Predator-Style Thermal Image Heat Map in Photoshop
Thermal Imaging Effect in Photoshop: Predator Heat Map Tutorial 🔥
👋 Hello, Photoshop enthusiasts! Welcome back to another exciting tutorial. Ever wondered how you can replicate the iconic thermal imaging style from the Predator movie? Look no further! In today's video, we dabble in thermal mapping techniques to transform an ordinary photo into an eye-popping thermal image! It's all about getting that heat map effect. Follow along to learn how you can do this in just 2 minutes!
🕒 Timestamps:
00:00 - Introduction
00:18 - What we're working on today
00:30 - Step 1: Load your image
00:38 - Step 2: Quick Selection Tool
00:46 - Step 3: Select Subject
01:22 - Step 4: Creating a layer via copy
01:34 - Step 5: Turning on gradient map
02:02 - Step 6: Create New Fill/Adjustment Layer
02:11 - Step 7: Reverse the coloring
02:37 - Step 8: Choose your gradient
02:55 - Step 9: Setting up color stops
03:49 - Step 10: Additional color adjustments
04:39 - Step 11: Final adjustments
05:13 - Conclusion: Final Thoughts
05:29 - Outro
🛠 What You'll Learn:
How to use the Quick Selection Tool to focus on specific parts of your image.
How to work with layers and layer via copy.
How to create and customize gradient maps.
How to reverse colorings for added effect.
The art of color adjustments and color stops to perfect your thermal image.
-
 3:14:51
Barry Cunningham
12 hours agoTRUMP WEEKEND BRIEFING: THIS IS THE REAL THREAT TO AMERICA! (FYI...IT'S NOT WHO YOU THINK!)
52.3K66 -
 2:04
2:04
Sean Unpaved
18 hours ago $14.82 earnedUnpaved w/Sean Salisbury
100K6 -
 50:39
50:39
The Connect: With Johnny Mitchell
15 hours ago $7.72 earnedInside The War For Tijuana: How Mexican Cartels Turned Tijuana Into World's Most VIOLENT City
45.2K4 -
 12:34
12:34
TimcastIRL
15 hours agoWaPo Staffers QUIT Over Bezos’ Change To Opinion Section, Liberal Media MELTING DOWN
115K62 -
 24:55
24:55
MYLUNCHBREAK CHANNEL PAGE
1 day agoThe Sumerian King's List
120K42 -
 1:37:51
Man in America
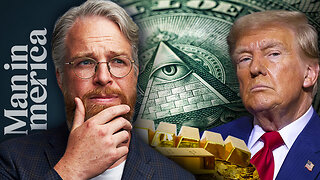
19 hours agoIs Trump Using Gold to Dismantle the City of London Banking Cartel? w/ Eric Yeung
78.8K18 -
 33:50
33:50
The Why Files
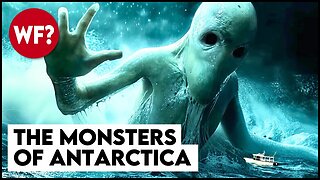
8 days agoCryptids Vol. 3: The Antarctic Cover-up | Predators Beneath the Ice
137K138 -
 27:11
27:11
Stephen Gardner
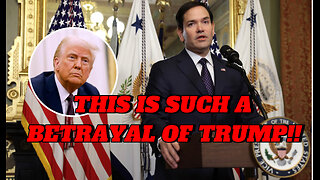
18 hours ago🔥Trump Zelensky Meeting ends in IMPEACHMENT | MUSK shares major dirt on Joe Rogan Podcast
150K322 -
 2:40:23
Jewels Jones Live ®
3 days agoTRUMPARENCY | A Political Rendezvous - Ep. 112
134K35 -
 1:13:14
Michael Franzese
18 hours agoEmergency Livestream: Zelenskyy vs Trump, DOGE, Epstein Files, Elon Musk
146K103