Premium Only Content

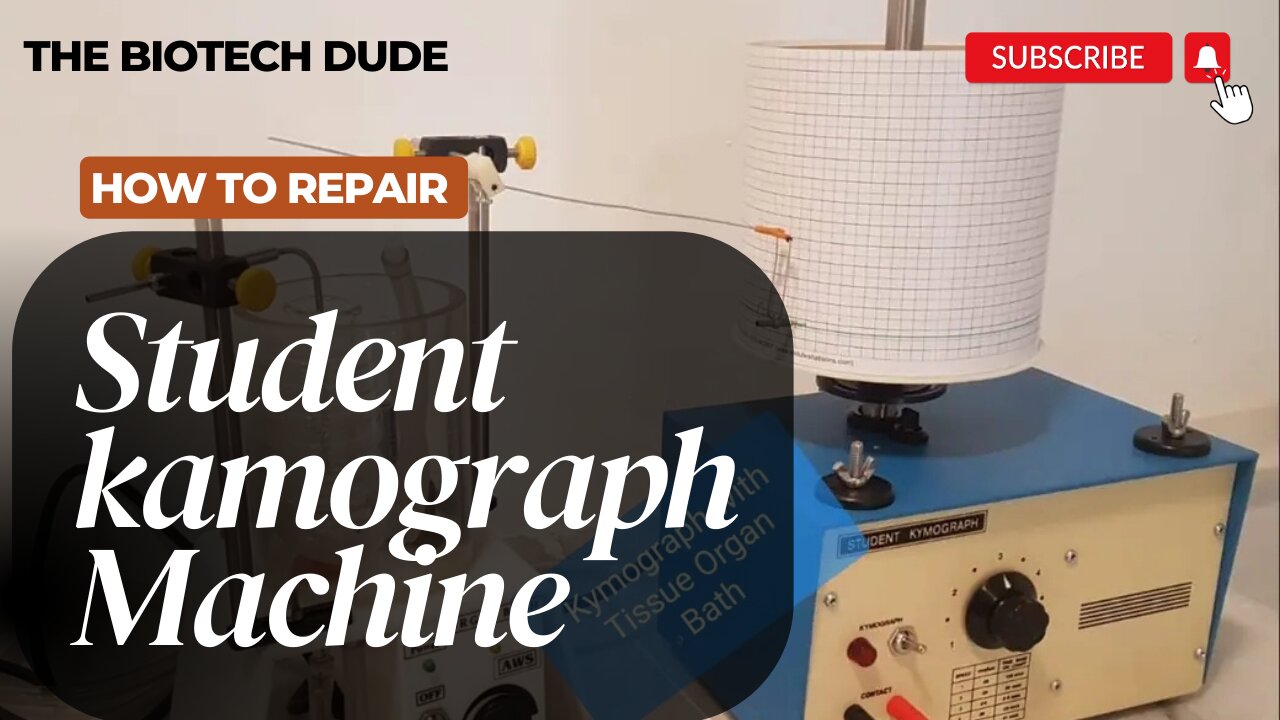
How to repair student kamograph Machine
Welcome to a tutorial on student kamograph machine repair!@theBiotechDude
Facebook:https://www.facebook.com/anwar.bilal.148?mibextid=ZbWKwL
Instagram:https://instagram.com/malikbilal7683?utm_source=qr&igshid=MzNlNGNkZWQ4Mg%3D%3D
In this tutorial, we will show you the basics of kamograph machine repair, which is a skill that is invaluable to any student working in an electronics lab. We will provide an overview of the necessary tools and components used in the machine repair process, as well as an in-depth explanation of the actual kamograph machine repair process.
To start, you will need the following tools and components: a set of hex wrenches, screwdrivers, a wide variety of screws, nuts, and bolts, plus a soldering iron, solder, electrical tape, and safety glasses.
The kamograph machine repair process can be broken down into four steps. First, you will need to disassemble the machine, carefully removing all parts. This will prevent any damage during the repair process. Second, you will need to identify the problem and use the manual to locate the specific parts that need to be replaced or repaired. Third, assemble the new or repaired parts and reassemble the machine. Finally, test the machine and make sure it is operating correctly.
By following these four steps, you can easily and successfully repair any kamograph machine!
Thanks for watching this tutorial on student kamograph machine repair. We hope you found this tutorial helpful and can now successfully repair any kamograph machine!
#studebkamographmachine
#youtube #ytshort ,
#youtubeshorts
#repair
#pharmacology
#kamographmachine
#biomedicalengineer
-
 26:20
26:20
Degenerate Jay
1 day ago $8.46 earnedThe Best Transformers Movie? - Bumblebee Movie Review
54.3K7 -
 10:12
10:12
This Bahamian Gyal
18 hours agoInfluencer hired HITMEN to OFF social media rival
38.6K6 -
 7:05
7:05
Dr. Nick Zyrowski
1 day agoVitamin D Mistakes Most People Make - Never Do This!
33.6K2 -
 2:11:13
Squaring The Circle, A Randall Carlson Podcast
1 day ago#29 Thermonuclear War: Shall We Play A Game? - Squaring the Circle: A Randall Carlson Podcast
53.8K37 -
 45:32
45:32
PMG
14 hours ago $13.61 earned"Are THEY HIDING Jeffrey Epsteins Video Tapes?"
56.5K6 -
 1:32:23
Game On!
20 hours ago $16.13 earnedCongrats to the Kansas City Chiefs and NFL refs on another victory!
91.3K6 -
 2:44:58
Fresh and Fit
18 hours agoCelina Powell & 304 Kicked OFF & Fight Breaks Out!
250K310 -
 18:28
18:28
DeVory Darkins
21 hours ago $80.60 earnedCNN Goes NUCLEAR on Elon Musk with SHOCKING Allegations
251K416 -
 10:49
10:49
IsaacButterfield
1 day ago $1.08 earnedCONTROVERSIAL
19.7K15 -
 8:55
8:55
Ethical Preparedness
22 hours ago $0.74 earnedALERT: Prepper Black Friday Sale - Oupes Mega 1 Solar Generator
15.4K2