Premium Only Content

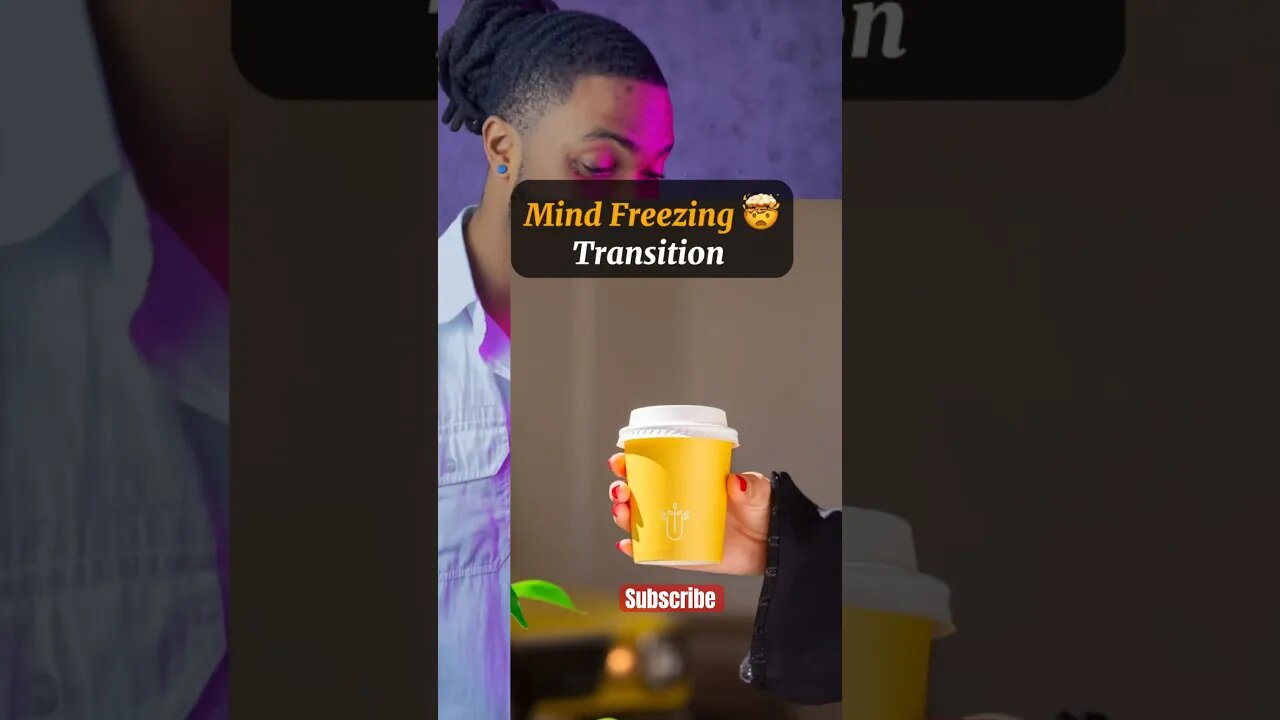
VIRAL Reel TUTORIAL - Part 2 #instagramreelsviralvideoediting #capcuttutorial #shorts
𝗜𝗻𝘀𝘁𝗮𝗴𝗿𝗮𝗺 𝗥𝗲𝗲𝗹𝘀 𝗧𝘂𝘁𝗼𝗿𝗶𝗮𝗹👇🏾|𝗹𝗶𝗸𝗲 𝗳𝗼𝗿 𝗹𝗮𝘁𝗲𝗿 | 𝗦𝘂𝗯𝘀𝗰𝗿𝗶𝗯𝗲
Credit: @pqp.c
𝗔𝗣𝗣: 𝗖𝗮𝗽𝗰𝘂𝘁
𝗦𝗛𝗢𝗢𝗧𝗜𝗡𝗚 ⤵️
𝗦𝗧𝗘𝗣 1:
Hold your chosen object up to the camera, using the grid as guides, position the object in the center and take a photo.
𝗦𝗧𝗘𝗣 2:
Change the background location then follow step one and take multiple pictures.
𝗘𝗗𝗜𝗧𝗜𝗡𝗚 ⤵️
𝗦𝗧𝗘𝗣 1:
Inside of 𝗖𝗮𝗽𝗰𝘂𝘁, adjust all the photos to 0.2 seconds.
𝗦𝗧𝗘𝗣 2:
Hit 𝗢𝘃𝗲𝗿𝗹𝗮𝘆 and import one of the picture, adjust the side to fit and drag it back to the start of the timeline.
𝗦𝗧𝗘𝗣 3:
Tap on 𝗢𝗽𝗮𝗰𝗶𝘁𝘆 and drop it down to 50%. (This allows you to see the pictures underneath)
𝗦𝗧𝗘𝗣 4:
Go to the first picture adjust and resize so both objects line up perfectly. ( this may take some time to get but it’ll determine the result so be patient) Do the same for all the other Photos, delete the photo we overlayed and export your video.
𝗦𝗔𝗩𝗘: for later ✅
𝗙𝗢𝗟𝗟𝗢𝗪: for | transition tutorials | transition reels | Reels tutorials | transition edit | how to edit reels | editing tips and tricks |
Viral transitions | reels | How to edit transitions | Mobile video editing | instagram viral reel editor |
Photography edits | Visual effect | how to edit Instagram reels | viral Instagram reels tutorial on capcut | tutorials like Tyler Tometich | Tutorials like Steven wommack | iamjusthaidi
#capcuttutorial #shorts #instagramreelsviralvideoediting
-
 LIVE
LIVE
Kim Iversen
1 hour ago"Canada's Trump" Is Trudeau’s Worst Nightmare: Is Maxime Bernier the Future of Canada?
1,484 watching -
 DVR
DVR
Bannons War Room
10 days agoWarRoom Live
2.58M435 -
 16:06
16:06
The Rubin Report
7 hours agoProof the Islamist Threat in England Can No Longer Be Ignored | Winston Marshall
34.3K24 -
 2:07:07
Robert Gouveia
4 hours agoFBI Files Coverup! Bondi FURIOUS; SCOTUS Stops Judge; Special Counsel; FBI Does
40.5K32 -
 56:15
56:15
Candace Show Podcast
5 hours agoBREAKING: My FIRST Prison Phone Call With Harvey Weinstein | Candace Ep 153
107K69 -
 LIVE
LIVE
megimu32
1 hour agoON THE SUBJECT: The Epstein List & Disney Channel Original Movies Nostalgia!!
184 watching -
 9:06
9:06
Colion Noir
10 hours agoKid With Gun Shoots & Kills 2 Armed Robbers During Home Invasion
16.9K3 -
 54:28
54:28
LFA TV
1 day agoUnjust Man | TRUMPET DAILY 2.27.25 7PM
19.7K2 -
 DVR
DVR
CatfishedOnline
7 hours ago $1.19 earnedGoing Live With Allen Weekly Recap
21.8K -
 20:10
20:10
CartierFamily
7 hours agoAndrew Schulz DESTROYS Charlamagne’s WOKE Meltdown on DOGE & Elon Musk!
36.8K45