Premium Only Content

Adding Overhead Lighting to the Soft Top, Part 2
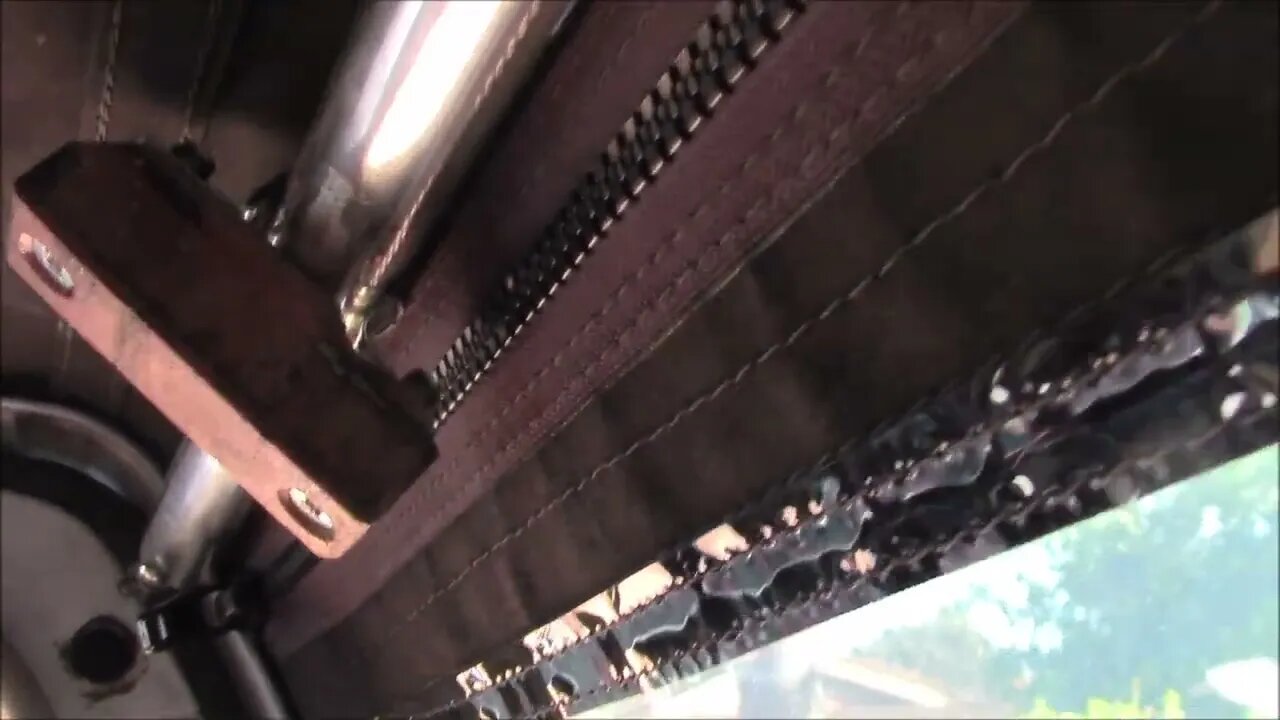
Working on the clamps that will be used to attach the LED rail lights to the support tubes inside the soft top. I didn't want to drill any holes in the thin aluminum tubes. I used some hardwood blocks cut from an old shipping pallet to screw the light end caps into and also to attach the conduit clamps to. It took a lot of back and forth trips from the shop to the soft top to work out how to fit these clamps in place without creating a wear point for the canvas.
Many years ago I had modified the factory deck light to improve it's usefulness. Originally, it had an incandescent festoon bulb and required the vehicle running lights to be on. You could then turn that lamp on with it's built-in switch or from the dash switch, wired up as a 3-way light circuit. I initially re-powered that switch to work off constant 12V power:
https://www.4crawler.com/4x4/CheapTricks/index.shtml#DeckLightMod
Later I changed that to accessory power but I think I'll return to constant power. I also tapped into the bulb wiring and ran that to a 12V power socket that I could plug the 12V LED trouble light into. Over time, that early design trouble light started to break down so I didn't use it a lot. When I pulled to Kayline top off, I removed that old light and looked for a new solution.
I found this linear "rail lights":
18.5" Pivoting LED Rail Light - Integrated Rocker Switch
https://www.superbrightleds.com/
I wanted something that could be attached to the support tubes of the soft top without drilling, be adjustable in angle and have a built-in switch. One will be placed across the back of the bed and connected to the old deck light wiring. The other two will be up front on either side of the bed. My 12V fridge will be placed on the driver's side so one light will be over that. The other one will be over the area behind the passenger seat where I have gear stored below.
I found some 3/4" conduit clamps were the right size and shape to clamp to the support tubes. I added some heat shrink tubing to the center of the clamps to grip the tubes tighter and to help protect the canvas top where it made contact with the clamps.
In the next video, we'll get the lights installed and at least one wired up...
Killer Toy Tops:
https://killertoytops.com/
More to come...
Subscribe for more content like this
Comment, like, share & click the bell icon
And as always, thanks for watching
-
 1:00:12
The Tom Renz Show
18 hours agoComing to America & Coming to Christ
12.1K4 -
 1:12:21
TheRyanMcMillanShow
23 hours ago $0.04 earnedDebbie Lee: Mother of First Navy Seal Killed In Iraq, Marc Lee - RMS 019
2.6K1 -
 38:05
38:05
Uncommon Sense In Current Times
15 hours agoIs Israel Being Forced Into a Bad Deal? David Rubin Exposes the Truth | Uncommon Sense
9.49K7 -

FreshandFit
10 hours agoAfter Hours w/ Girls
118K88 -
 2:33:58
TimcastIRL
12 hours agoDan Bongino ACCEPTS Deputy FBI Director, SECRET NSA CHATS EXPOSED w/Joey Mannarino | Timcast IRL
185K99 -
 1:09:33
Glenn Greenwald
17 hours agoMichael Tracey Reports from CPAC: Exclusive Interviews with Liz Truss, Steve Bannon & More | SYSTEM UPDATE #412
135K95 -
 56:02
56:02
Sarah Westall
13 hours agoBiohacking & Peptides: Weight loss, Anti-Aging & Performance – Myth vs Reality w/ Dr. Diane Kazer
66.5K33 -
 11:22
11:22
Bearing
23 hours ago"Anxious & Confused" Federal Workers FREAK OUT Over DOGE Efficiency Email 💥
100K79 -
 1:31:20
Flyover Conservatives
1 day agoUS STOCK MARKET: Sinking Ship - Dr. Kirk Elliott; How I Fought Back Against Woke Schools & Stopped Gender Bathrooms - Stacy Washington | FOC Show
85.2K5 -
 1:08:09
Donald Trump Jr.
18 hours agoFBI Dream Team, Plus Taking Your Questions Live! | Triggered Ep.219
234K304