Premium Only Content

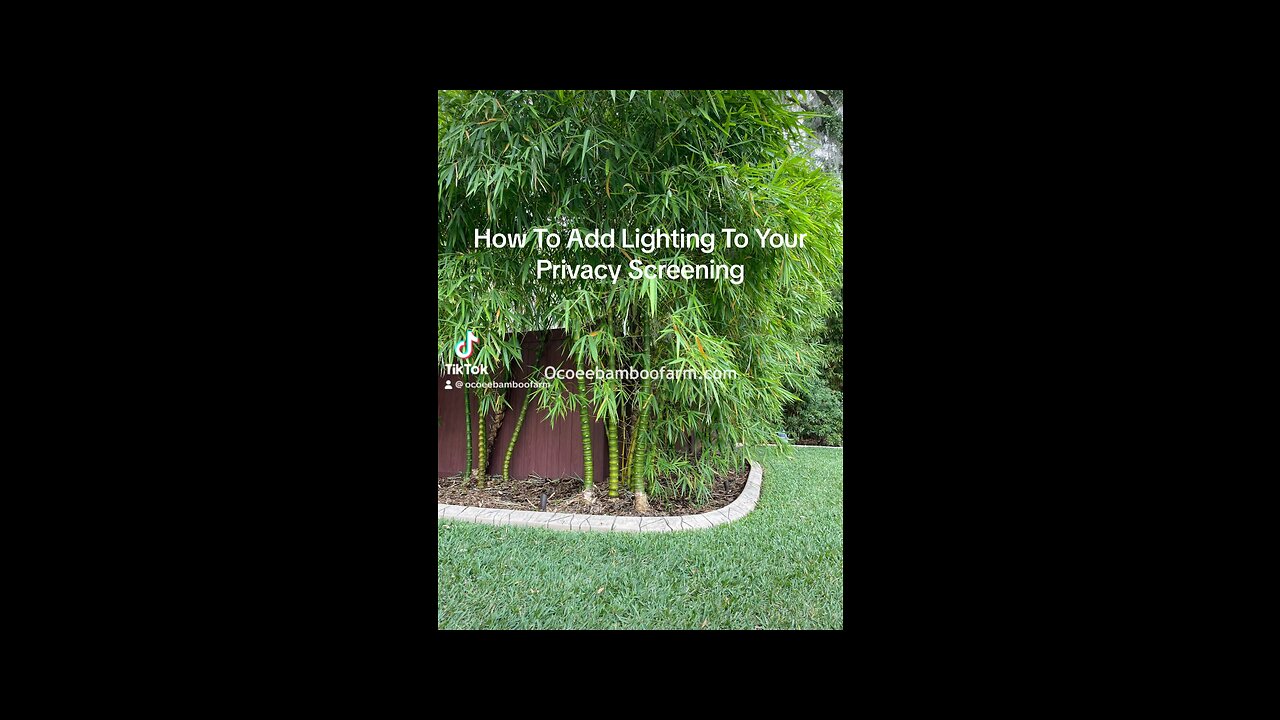
Look At What A Few Cheap Solar Spot Lights Can Do To Your Privacy Screen Project
🌿
If you've been working on a privacy plant screening project and want to take it to the next level, adding solar spotlights can be a fantastic idea. Not only will they illuminate your greenery at night, creating a captivating atmosphere, but they'll also provide an extra layer of security to your property. Let's walk you through the steps to seamlessly integrate solar spotlights into your project:
Step 1: Assess Your Screening Area
Before diving into the installation process, examine your privacy plant screening setup. Identify key areas where solar spotlights would have the most significant impact. Focus on spots where you have taller plants or architectural elements that you'd like to highlight.
Step 2: Choose the Right Solar Spotlights
There are numerous solar spotlight options available in the market, ranging from different brightness levels and beam angles. Opt for spotlights with LED bulbs for energy efficiency and ensure they come with solar panels that receive sufficient sunlight during the day to power the lights at night. Additionally, select weather-resistant spotlights that can endure various environmental conditions.
Step 3: Plan the Solar Panel Placement
Solar spotlights depend on sunlight to recharge their batteries. Hence, it's crucial to position the solar panels in areas that receive ample direct sunlight throughout the day. Make sure there are no obstructions like tall trees or buildings blocking the sunlight from reaching the solar panels.
Step 4: Install the Solar Spotlights
Follow these general steps to install your solar spotlights:
a. Read the manufacturer's instructions thoroughly before beginning the installation process.
b. For ground-mounted solar spotlights: Position the lights in the desired locations and gently push the stakes into the ground. Make sure they are stable and secure.
c. For wall-mounted solar spotlights: Use screws and anchors appropriate for your wall type to attach the lights securely.
d. Connect the solar panels to the spotlights following the provided instructions.
Step 5: Test the Lights
Once you've installed the solar spotlights, test them at night to ensure they are working correctly. If they don't seem to be functioning optimally, double-check that the solar panels are receiving sufficient sunlight during the day and that they are clean and free from dust or debris.
Step 6: Adjust the Spotlight Angles
Experiment with the spotlight angles to get the best lighting effect. You might need to make minor adjustments to highlight specific plants or features effectively.
Step 7: Maintain Your Solar Spotlights
Regularly clean the solar panels to maximize their efficiency. Wipe away any dirt or debris that might accumulate on the surface. Also, consider storing the spotlights indoors during harsh weather conditions like heavy storms or extreme winters to extend their lifespan.
By adding solar spotlights to your privacy plant screening project, you'll not only create a mesmerizing ambiance but also enhance your outdoor space's overall security and beauty. Enjoy the enchanting views of your screening project, day and night! 🌟🏡🌿
-
 3:25:02
BrancoFXDC
7 hours ago $2.35 earnedWarzone Rebirth Rounds
33.8K -
 1:44:14
Glenn Greenwald
14 hours agoRubio's Shift: What is Trump's Foreign Policy? Trump/Musk Attack CIA Fronts USAID & NED: With Mike Benz | SYSTEM UPDATE #401
97.2K91 -
 1:05:47
Donald Trump Jr.
16 hours agoMexico Sends Troops to Border, Plus USAid Scam Exposed, Live with Brooke Goldstein & Rep Brian Mast | TRIGGERED Ep.213
244K305 -
 9:26
9:26
Rethinking the Dollar
11 hours agoUnbelievable Government Waste: 5 Outrageous Biden-Era Spending Sprees
93.8K18 -
 2:37:43
Flyover Conservatives
1 day agoDR. KIRK ELLIOTT | Deep Dive: Tariffs, Tech, and Total Economic Warfare – Who Wins and Who Loses? | In Studio - FOC Show
79.9K4 -
 3:12:37
Danny Polishchuk
13 hours agoTariffs and Trade Wars + Nick Rochefort | Low Value Mail #136
59K3 -
 2:04:40
I_Came_With_Fire_Podcast
15 hours agoCartels vs The United States, Fentanyls 2 Front WAR, and FTOs
34.4K1 -
 4:54
4:54
CryptoWrld
16 hours ago $2.02 earnedCrypto Startup Launches Tokenized US Treasury Bonds
33.3K5 -
 2:29:15
We Like Shooting
22 hours ago $1.28 earnedWe Like Shooting 596 (Gun Podcast)
24.1K -
 54:43
54:43
Kimberly Guilfoyle
15 hours agoThe Trump Effect: Mexico Folds, Live with Dinesh D’Souza & Chuck DeVore | Ep.193
107K36