Premium Only Content
This video is only available to Rumble Premium subscribers. Subscribe to
enjoy exclusive content and ad-free viewing.
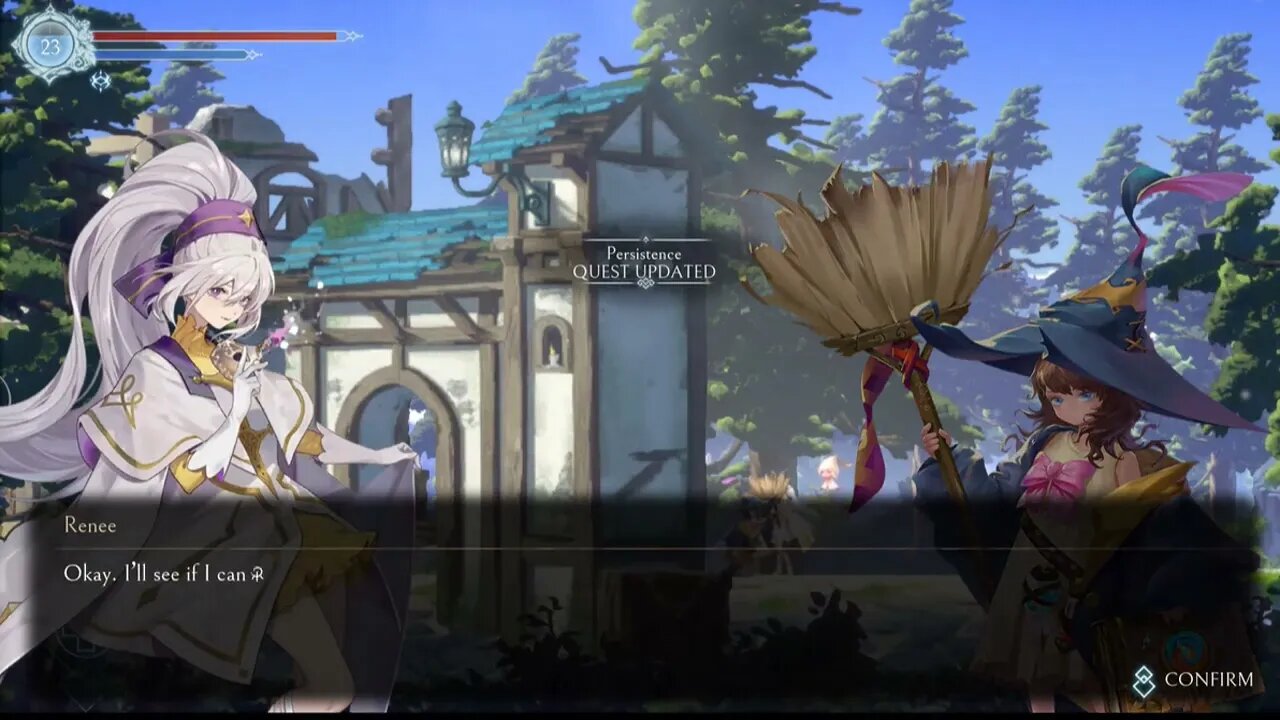
afterimage walkthrough part 4
Loading comments...
-

Iggy Azalea
1 hour ago $0.54 earnedF**K strategy Its boring. Risky moves only tonight...
30.7K14 -
 2:48:37
TimcastIRL
3 hours agoDoD Branch Chief GOES ROGUE, Vows To RESIST Trump, Tulsi Refers Leakers For PROSECUTION |Timcast IRL
129K118 -

Man in America
7 hours agoWAIT!? China's Population is LESS THAN 500M? Expert Reveals SHOCKING Data
25.8K15 -
 LIVE
LIVE
RalliedLIVE
7 hours ago $0.29 earnedWednesday Warzone Special w/ Rallied
520 watching -
 3:19:56
Fragniac
4 hours ago🔴FORTNITE w/ The BRRRAP PACK ( -_•)╦ ╤─💥
1.87K -
 LIVE
LIVE
I_Came_With_Fire_Podcast
10 hours agoLOWERING THE TARIFFS | THE HEGSETH SIGNAL | RUNNING TREN
302 watching -
 9:34:32
Dr Disrespect
12 hours ago🔴LIVE - DR DISRESPECT - WARZONE - HOW TO WIN SOLO GAMES
174K18 -
 LIVE
LIVE
TheNateVibez
3 hours agoRisking it all to save Tamriel and it's people✌ || Agent of the Nine⚔
83 watching -
 24:19
24:19
BlackDiamondGunsandGear
22 hours agoAnderson Frontline / Can it take 1000 Rnds in One Day?
10.9K4 -
 LIVE
LIVE
mrsZWOGs
2 hours ago🟢✨ GAMING WITH MRSZWOGS! - Variety Games | Disney Dreamlight Wonderland Update
52 watching