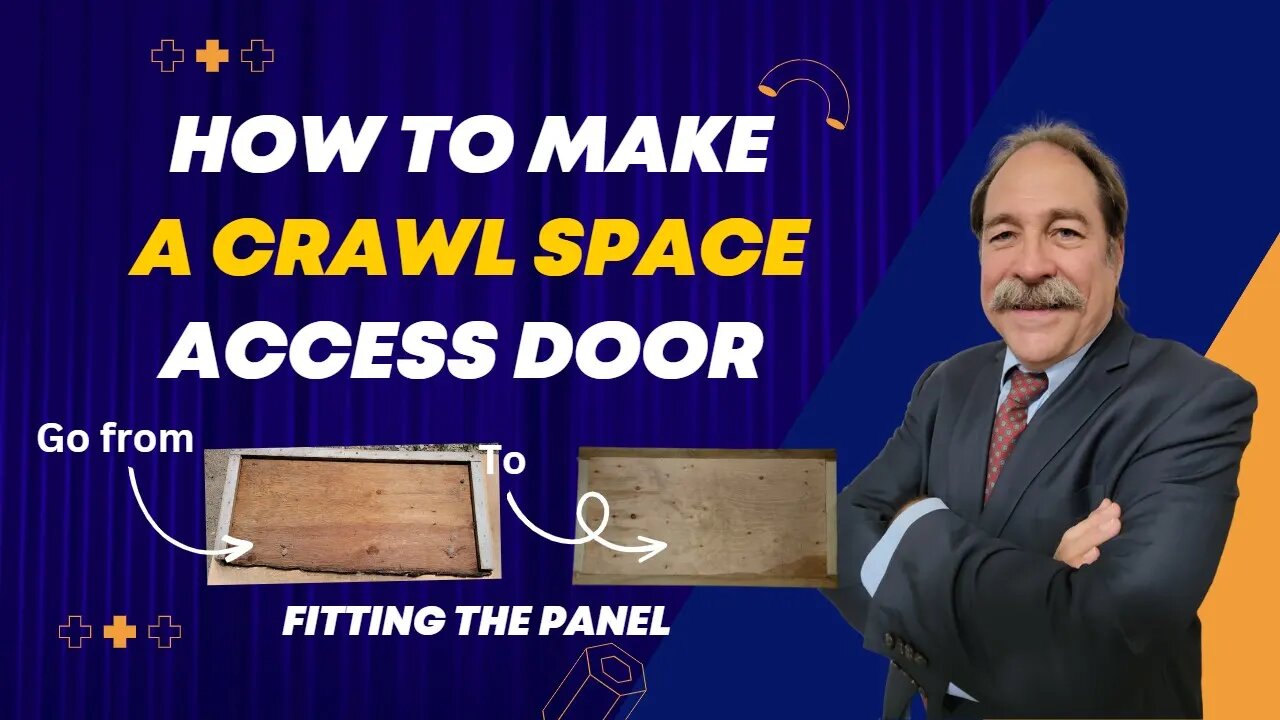
How to make a crawl space access door part 3
How to make a crawl space access door. In part 3 we finish the access door.
🔨 One of the essential techniques I employ in frame assembly is utilizing a 🔄 router to create a mortise that allows for the seamless installation of panels. This process ensures a sturdy and aesthetically pleasing result. Let me walk you through the steps involved in incorporating a mortise into the frame, followed by securing the panel using 📌 brad nails and adhesive.
Step 1️⃣: Selecting the Router and Bit
To begin, I carefully choose a 🔌 router that suits the specific project requirements. Depending on the panel thickness and desired mortise size, I select an appropriate router bit, typically a straight or dado bit. Ensuring the router is securely attached, I'm ready to proceed.
Step 2️⃣: Measuring and Marking
With precise measurements in hand, I mark the frame's desired location for the mortise. It's important to account for the panel's thickness to ensure a proper fit. Using a square or measuring tools, I mark the groove's width and depth, ensuring accuracy and alignment.
Step 3️⃣: Setting Up the Router
Next, I set the router's depth of cut according to the marked measurements. This ensures consistency and precision throughout the mortise-making process. Adjusting the depth control and locking it in place, I'm ready to move forward.
Step 4️⃣: Creating the mortise
Taking utmost care, I guide the router along the marked path, gradually moving it along the frame's edge. The router bit steadily removes material, forming a clean and uniform mortise. I maintain a steady pace, allowing the router to do the work while ensuring I have full control over the tool.
Step 5️⃣: Testing the Panel Fit
After completing the mortise, I test the panel's fit by gently inserting it into the mortise. The panel should snugly fit without being too loose or overly tight. Any necessary adjustments can be made using the router or other tools to achieve the desired fit.
Step 6️⃣: Securing the Panel
Once the panel fits correctly, I proceed to secure it within the frame. Firstly, I apply a suitable adhesive to the mortise's interior surfaces, ensuring adequate coverage. This adhesive not only enhances the panel's stability but also prevents any rattling or movement within the frame.
Step 7️⃣: Brad Nails for Added Support
To reinforce the panel's attachment, I use 📌 brad nails. Carefully selecting the appropriate size, I drive them through the frame and into the panel, strategically spacing them along the mortise. These brad nails provide additional support, preventing any potential shifting or separation between the frame and the panel.
Step 8️⃣: Final Checks and Finishing
Before considering the assembly complete, I conduct a thorough inspection to ensure the panel is securely installed, the frame is sturdy, and all fasteners are properly placed. If necessary, I make any final adjustments or trim any excess material. Finally, we finish the frame assembly by painting to match the color scheme of the house.
By employing a router to create a mortise, followed by using 📌 brad nails and adhesive to secure the panel into the frame, I ensure a robust and visually appealing assembly. This process guarantees a professional outcome while providing the necessary support and stability for the panel within the frame. 🔨🛠️
-
 0:36
0:36
Archery Talk 101 Podcast
1 year ago $0.01 earnedSunrise over the Corn Field, 11-19-2023 #shorts
79 -
 LIVE
LIVE
BonginoReport
1 hour agoEpstein Files Drop Today-But How Much Will They Reveal? (Ep.149) - 02/27/2025
11,270 watching -
 LIVE
LIVE
Wendy Bell Radio
4 hours agoThe Left Is Wrong About Everything
6,921 watching -
 29:05
29:05
CatfishedOnline
17 hours agoThe Real Jennifer Aniston or Another Romance Scam?
481 -
 34:44
34:44
LFA TV
5 days agoMIRACLES DO HAPPEN!
4.07K -
 16:43
16:43
T-SPLY
2 hours agoCNN Panel Member Forgets Donald Trump Runs The Military
403 -
 31:13
31:13
World Nomac
21 hours agoAMERICAN visits IRAN for 10 days (this is what I found) 🇮🇷
521 -
 1:03:55
The Tom Renz Show
8 hours agoBongino In At FBI & Is Factory Meat Made of Cancer?
5.04K2 -
 7:03
7:03
Dangerous Freedom
16 hours agoBest Tiny Budget Red Dot? (Honest Review - Gideon Optics Judge).
601 -
 10:32
10:32
ariellescarcella
12 hours ago"Being Trans Made Me Gay" : Hormone Science Explained
63