Premium Only Content

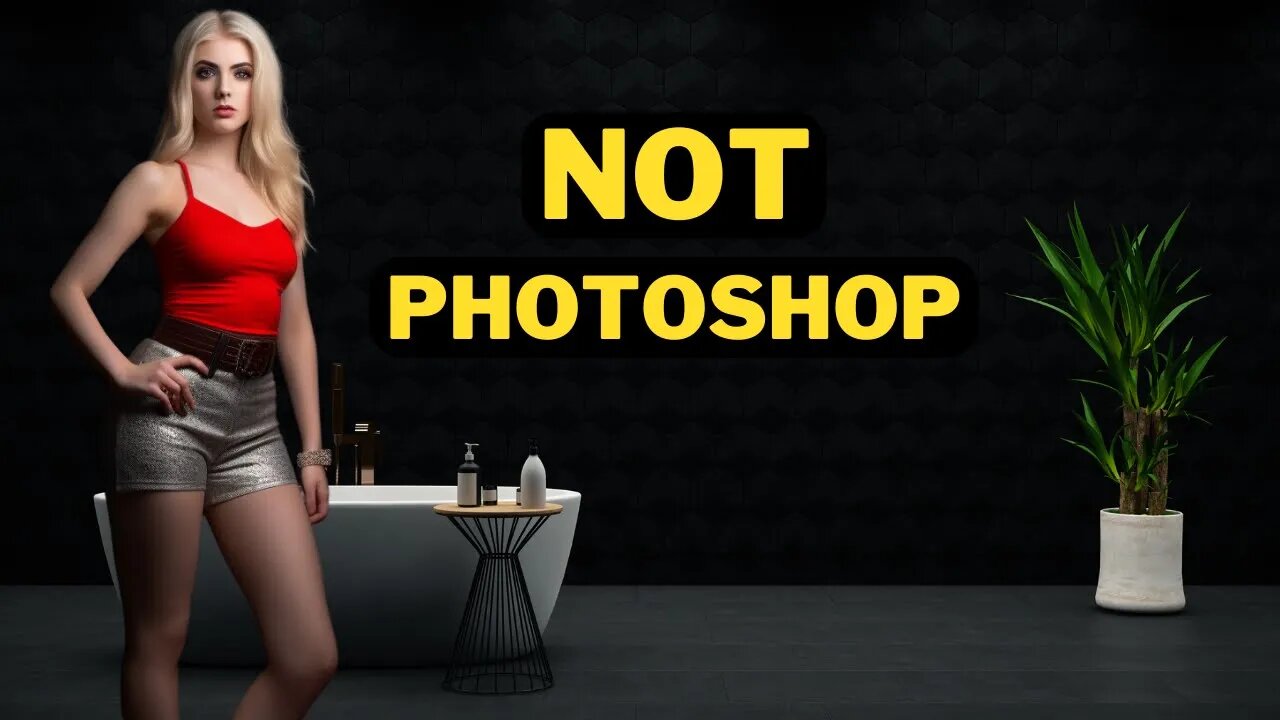
FORGET Photoshop! Edit Your Photos Using FREE Firefly AI
FORGET Photoshop! Edit Your Photos Using FREE Firefly AI #photoshopai #photoshop #fireflyai #ai #artificialintelligence
Hi, welcome back to my channel. Today, I'll show you how to use Adobe's Generative Fill AI to edit your photos without downloading or using Adobe Photoshop. So, let's get started!
Free Firefly AI : https://aitoolsarena.com/best-ai-tools/firefly-ai
My AI Avatar Generator : https://aitoolsarena.com/best-ai-tools/heygen-ai
My YouTube SEO Tool : https://aitoolsarena.com/best-ai-tools/vidiq-ai
My Video Editor : https://bit.ly/try-filmora
AI Tools Directory : https://aitoolsarena.com
Adobe Photoshop AI Tutorial : https://youtu.be/GzMAKaScqQg
How To Create Video Like This : https://youtu.be/a7YJqd80joE
To use the Adobe Generative Fill AI feature, you can easily visit the Adobe Firefly AI page and click the "Generate" button in the Generative Fill section. Now, click "Upload Image" to upload your photo. Let's try using this Generative Fill AI to change the image background. To do that, click the "Background" button to remove the current background, then describe what you want to generate in the prompt input. Click "Generate" to start. Adobe Firefly AI will provide you with four options. To save your image, click the "Download" button in the top right corner. If you are not satisfied with the results, click the "More" button to generate new options. To finish your current edit, click the "Keep" button, or click the "Cancel" button to create a new prompt. Now, let's edit an object in the photo. In this tutorial, we will change the hotpants to a white skirt. To do that, click the "Remove" button on the left side, and click the "Settings" button to adjust the brush size. Now, remove the object from the image. After that, click the "Insert" button and type your prompt for this Generative Fill command. Now, let's add a new object to the photo using Adobe's Generative Fill AI. Click the "Remove" button and select the brush size from the settings menu. Remove some areas in the photo, making sure the shape matches the object you want to add. In this example, I want to add an alien head on the wall, so I will create an oval area. Click "Insert" to open the prompt menu and type your prompt. Click "Generate" to start adding the new object to your photo.
Thank you for watching. Please like, subscribe, and share to support me! See you in the next Artificial Intelligence tutorial video. Bye-bye!
photoshop ai, ai photoshop, firefly ai, adobe ai, generative fill,generative fill free,adobe firefly,adobe firefly free,Adobe Firefly,Generative Fill,Photoshop Alternatives,Photo Editing Tutorial,Learn Adobe Firefly,Free Photo Editing,Generative Fill Tutorial,Firefly Tutorial,Online Design Tools,Edit Photos for Free,Photoshop Online,Firefly Guide,Firefly for Beginners,Free Adobe Tools,Adobe Sensei,AI-based Editing,Create with Firefly,AI-powered Editing,Easy Image Editing,Adobe Firefly Free,how to use generative fill photoshop beta,how to use generative fill in photoshop,photoshop beta 2023,photoshop beta ai,ai photo editing,ai photo generator,ai photo editor,ai photoshop,Gerative,generative ai explained,photoshop 2023,lee zavitz,generative fill,generative ai,adobe,photoshop,photoshop beta,photoshop new feature,inpainting,outpainting,remove anything in photoshop,compositing,change background,extend image,artificial intelligence,ai,create reflection,special effects,create shadows,adobe firefly,piximperfect,unmesh dinda, photoshop ai download, photoshop ai generative fill, photoshop ai tutorial, photoshop ai how to, photoshop ai change background, photoshop ai plugin
#photoshopai #aiphotoshop #fireflyai #adobeai #generativefill #generativefillfree #adobefirefly #adobefireflyfree #generativefill #photoeditingtutorial #learnadobefirefly #generativefilltutorial #fireflytutorial #fireflyguide #photoshopbeta2023 #photoshopbetaai #aiphotoediting #adobe #photoshop #changebackground #artificialintelligence #ai #piximperfect #photoshopaidownload #photoshopaigenerativefill #photoshopaitutorial #photoshopaihowto
-
 8:20
8:20
AI Tools Arena
1 year ago $0.20 earnedNOW You Can Create Almost EVERYTHING With New Canva Magic Studio AI
2.02K -
 9:06
9:06
Colion Noir
10 hours agoKid With Gun Shoots & Kills 2 Armed Robbers During Home Invasion
16.9K3 -
 54:28
54:28
LFA TV
1 day agoUnjust Man | TRUMPET DAILY 2.27.25 7PM
19.7K2 -
 DVR
DVR
CatfishedOnline
6 hours ago $1.19 earnedGoing Live With Allen Weekly Recap
21.8K -
 20:10
20:10
CartierFamily
7 hours agoAndrew Schulz DESTROYS Charlamagne’s WOKE Meltdown on DOGE & Elon Musk!
36.8K45 -
 1:36:39
Redacted News
5 hours agoBOMBSHELL EPSTEIN SH*T SHOW JUST DROPPED ON WASHINGTON, WHAT IS THIS? | Redacted w Clayton Morris
145K237 -
 2:03:31
Revenge of the Cis
6 hours agoEpisode 1453: Fat & Fit
48.6K8 -
 2:38:12
The White House
7 hours agoPresident Trump Holds a Press Conference with Prime Minister Keir Starmer of the United Kingdom
160K60 -
 1:01:04
In The Litter Box w/ Jewels & Catturd
1 day agoDrain the Swamp! | In the Litter Box w/ Jewels & Catturd – Ep. 751 – 2/27/2025
91.7K35 -
 1:11:24
Dr. Drew
8 hours agoNEW: Cardiac Arrest In Healthy Young People After mRNA w/ Nicolas Hulscher – Ask Dr. Drew
72.7K31