Premium Only Content

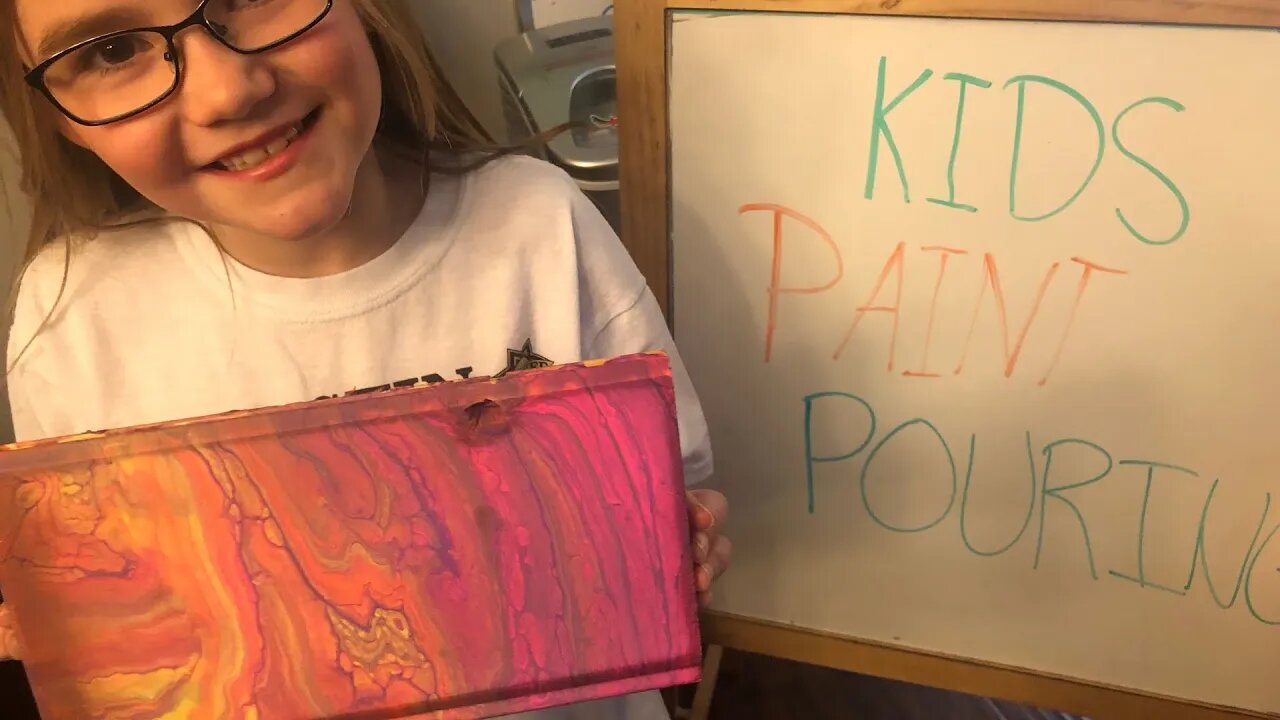
#kidsactivities Paint Pouring with Kids - Stay Home and Paint #withme
With the epidemic going on right now a lot of people are looking for fun activities to do with their kids. Acrylic paint pouring is a fun way to help your kids create some art without any more mess than watercolors or other painting.
We'll take you through the basics of acrylic paint pouring and get your started with this great indoor activity that you can do at home (social distancing and all).
#stayhome #paintwithme #kidsactivities
Stay Home and Paint #withme
--Here is what you need--
Flat surface to paint on like a kitchen table.
Plastic sheeting or trash bag to protect your painting surface.
Paper, cardboard, old wood, canvas, or any other hard flat objects to paint on.
Acrylic paint - craft paints, paint kits from IKEA or other retails work great for this. You can use tempera paint also. It is just a little bit thicker than acrylic and will need to a bit more water to get the right consistency.
Glue - This can be school glue, clear glue, or glue-all. Any will work.
Cups - We prefer plastic cups but paper Dixie cups will work too.
Level - Make sure your painting surface is level
Water
--Optional Items--
Thumbtacks, hooks, or cups to get your painting surface off the ground. This lets the paint drip off the surface and helps contain the mess a little bit more.
Latex Gloves - acrylic paint washes off skin pretty easily but why risk it?
--Steps for Pouring with Kids--
►Cover the paint surface
►Measure your painting surface and calculate the surface area. Divide the surface area by 25 to figure out how many ounces of paint you need (SA/25 = ounces of paint needed)
►Decide how much of each color you want to to use. The total oz should = the amount you figured out in the previous step.
►Measure 1/2 the amount of a color you want on pour that much into a single cup. Pour the same amount of glue into the cup and mix well. Check consistency. Ad needed add a little bit of water and stir until you get the consistency mentioned in the video.
►Pour your paint into a larger cup.
►Pour paint onto your painting surface
►Ensure all of the surface is covered and make sure there isn't a lot of paint left on the surface. It will move a lot if there is too much paint. If there is too much, tip off the edges (preferably on a side where you don't like the design.
►Let the paint dry for 2 to 3 days. This will be dry to the touch then. Don't mount until the paint has has 2-3 weeks to cure.
►Enjoy your home made art
Elmer's Glue All - https://amzn.to/38rXaeS
Paint Pouring Starter Kit - https://amzn.to/2FLBlLu
--Additional Resources--
✔Acrylic Pouring for Beginners - Episode 1 - History and Science | https://youtu.be/HeVy8BHHS1o
✔Acrylic Pouring for Beginners - Episode 2 - Supplies | https://youtu.be/0y4IUVaIZMA
✔Acrylic Pouring for Beginners - Episode 3 - Mixing Paint | https://youtu.be/QkfKSzFFKXc
✔Acrylic Pouring for Beginners - Episode 4 - Simple Pour Techniques | https://youtu.be/X6n2jwtuoOg
✔Acrylic Pouring for Beginners - Episode 5 - Finishing Your Pour | https://youtu.be/H9M1X6Jm_8g
Can You Use PVA Glue for Acrylic Pouring? - https://leftbrainedartist.com/pva-glue-for-acrylic-pouring/
How Much Paint to Use for an Acrylic Pour - https://leftbrainedartist.com/how-much-paint-to-use-for-an-acrylic-pour/
Find more answers to your questions at ➠ leftbrainedartist.com
DISCLAIMER: We are ambassadors or affiliates for many of the brands we reference on the channel. As an Amazon Associate, I earn from qualifying purchases.
-
 49:35
49:35
Donald Trump Jr.
15 hours agoA New Golden Age: Countdown to Inauguration Day | TRIGGERED Ep.202
171K190 -
 1:14:34
Michael Franzese
14 hours agoWhat's Behind Biden's Shocking Death Row Pardons?
76.6K48 -
 9:49
9:49
Tundra Tactical
13 hours ago $23.12 earnedThe Best Tundra Clips from 2024 Part 1.
116K11 -
 1:05:19
Sarah Westall
13 hours agoDying to Be Thin: Ozempic & Obesity, Shedding Massive Weight Safely Using GLP-1 Receptors, Dr. Kazer
104K26 -
 54:38
54:38
LFA TV
1 day agoThe Resistance Is Gone | Trumpet Daily 12.26.24 7PM EST
75K12 -
 58:14
58:14
theDaily302
22 hours agoThe Daily 302- Tim Ballard
67.4K13 -
 13:22
13:22
Stephen Gardner
15 hours ago🔥You'll NEVER Believe what Trump wants NOW!!
115K341 -
 54:56
54:56
Digital Social Hour
1 day ago $12.53 earnedDOGE, Deep State, Drones & Charlie Kirk | Donald Trump Jr.
67.9K6 -
 DVR
DVR
The Trish Regan Show
17 hours agoTrump‘s FCC Targets Disney CEO Bob Iger Over ABC News Alleged Misconduct
71.6K43 -
 1:48:19
The Quartering
18 hours agoElon Calls White People Dumb, Vivek Calls American's Lazy & Why Modern Christmas Movies Suck!
151K114