Premium Only Content

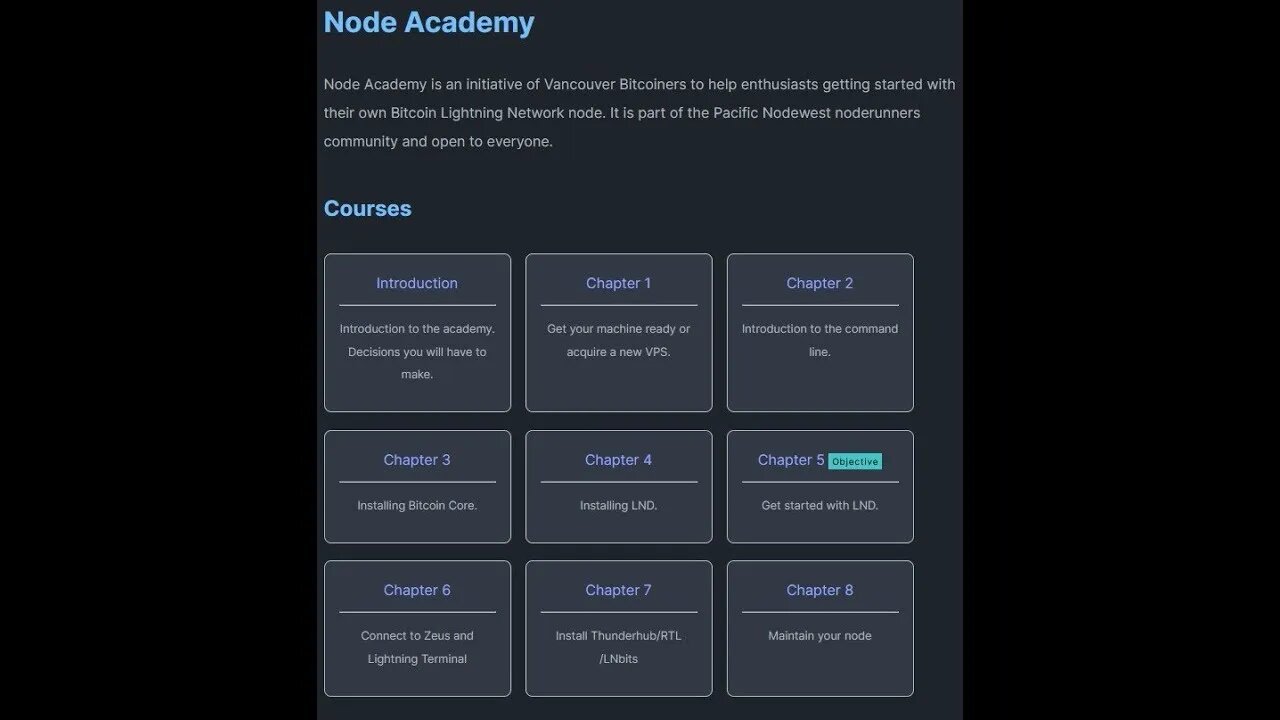
Node Academy: Chapter 4 - Installing and Configuring LND & TOR
To install LND (Lightning Network Daemon), you can either download the binary from the project's repository or compile it from the source code. If you choose to compile from source, you'll need to install dependencies such as Node.js, Yarn, and Golang.
Once LND is installed, you need to configure it before starting it for the first time. This involves creating a configuration file and making some amendments to the Bitcoin Core configuration file. The Bitcoin Core configuration file should include settings for enabling remote procedure calls and ZMQ, with specified usernames and passwords.
For LND configuration, you'll need to create a lit.conf file and customize settings such as the node's alias, color, UI password, and Bitcoin RPC username and password. You also need to specify Bitcoin Core options, including the RPC host, ZMQ settings, and network type.
After configuring LND, you can test the installation by running "litd" and ensuring it doesn't encounter any errors.
If you want to use Tor with LND, you can install Tor either from the Ubuntu software repository or from source. To configure Tor, you need to generate a password, edit the Tor configuration file to set the HashedControlPassword and ControlPort, and then restart Tor.
To configure LND for Tor, you'll need to add Tor-related settings to the lit.conf file, including enabling Tor, specifying the SOCKS and control ports, Tor password, and optional settings for clearnet operation. You can also configure Bitcoin Core to connect to peers over the Tor network by adding a "proxy" setting to its configuration file.
Following these instructions will allow you to install and configure LND, along with optional Tor integration, for enhanced privacy and connectivity in your Bitcoin node.
-
 12:29
12:29
Mr. Build It
5 days agoWish I Knew This Before I Started Building It
35.5K15 -
 2:03:57
Megyn Kelly
2 days agoNew Trump Derangement Syndrome, and How CNN Smeared a Navy Veteran, w/ Piers Morgan & Zachary Young
135K173 -
 10:05
10:05
DIY Wife
3 years agoHow We Flip Old Furniture For Profit!
70.2K58 -
 2:14:54
TheSaltyCracker
9 hours agoTrump Goes Gangster ReeEEeE Stream 01-26-25
146K297 -
 4:42:13
Due Dissidence
18 hours agoTrump Calls To "CLEAN OUT" Gaza, Swiss ARREST Pro-Palestine Journalist, MAGA's Hollywood Makeover?
66.9K92 -
 2:02:20
Nerdrotic
11 hours ago $19.97 earnedDECLASSIFIED: JFK, MLK UFO Immaculate Constellation Doc | Forbidden Frontier #089
88.3K17 -
 3:00:14
vivafrei
19 hours agoEp. 248: "Bitcoin Jesus" Begs Trump! Rekieta Gets Plea Deal! Pardons, Deportations, Bird Flu & MORE!
206K222 -
 3:44:06
Rising Rhino
17 hours ago $14.24 earnedWashington Commanders Vs Philadelphia Eagles: NFL NFC Championship LIVE Watch Party
97.7K4 -
 13:00
13:00
Exploring With Nug
12 hours ago $7.28 earnedHe Went To Get A Haircut And Vanished WIthout a Trace!
79.3K3 -
 18:53
18:53
DeVory Darkins
2 days ago $33.86 earnedTrump JUST ENDED Mayor Karen Bass During HEATED Meeting
107K224