Premium Only Content

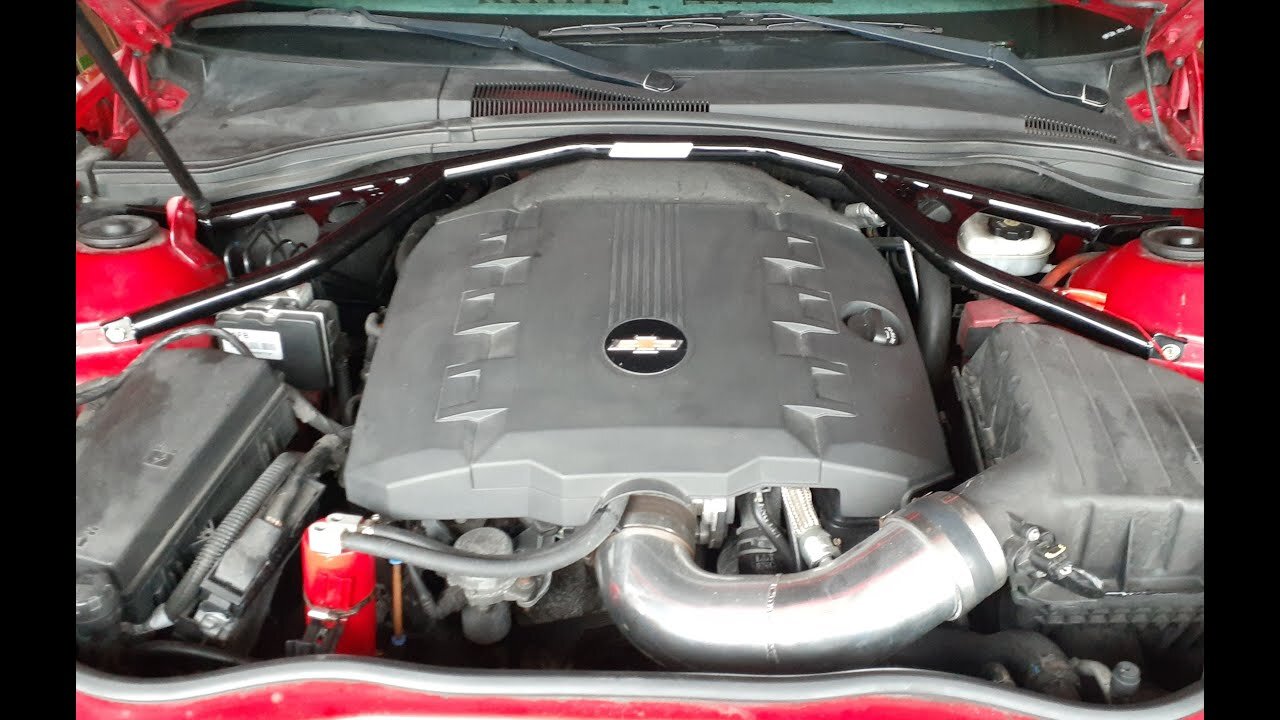
How to: 2010 Chevy Camaro Hotchkis Strut Tower Brace install Part II (Passengers side) with struts!
Welcome back to the second part of our comprehensive tutorial on installing the Hotchkis Strut Tower Brace on a 2010 Chevy Camaro 3.6L! In this detailed video, we guide you through the remaining steps of the installation process, focusing specifically on the passenger side.
Join us as we demonstrate how to achieve enhanced handling and stability for your Camaro with this high-performance upgrade. In this video, we pick up where we left off in Part I and provide clear instructions, helpful tips, and close-up shots to ensure a seamless installation experience. We cover everything from removing the necessary components to mounting the Hotchkis Strut Tower Brace securely on the passenger side, working around the struts for optimal compatibility and performance. By following our step-by-step instructions, you'll gain valuable insights into the proper techniques and precautions required for this upgrade.
Enhance your Camaro's chassis rigidity, minimize body flex, and enjoy improved driving dynamics with the Hotchkis Strut Tower Brace. Make sure to watch Part I if you haven't already, where we walk you through the driver side installation. Subscribe to our channel and hit the notification bell to stay updated with our latest videos and car modification guides!
-
 16:06
16:06
The Rubin Report
11 hours agoProof the Islamist Threat in England Can No Longer Be Ignored | Winston Marshall
65K73 -
 2:07:07
Robert Gouveia
8 hours agoFBI Files Coverup! Bondi FURIOUS; SCOTUS Stops Judge; Special Counsel; FBI Does
84.2K79 -
 56:15
56:15
Candace Show Podcast
8 hours agoBREAKING: My FIRST Prison Phone Call With Harvey Weinstein | Candace Ep 153
144K108 -
 1:56:39
Flyover Conservatives
7 hours agoROBIN D. BULLOCK | Prophetic Warning: 2030 Is Up for Grabs – If We Don’t Act Now, Disaster Awaits! | FOC SHOW
32.8K8 -
 2:13:11
megimu32
5 hours agoON THE SUBJECT: The Epstein List & Disney Channel Original Movies Nostalgia!!
28.3K4 -
 9:06
9:06
Colion Noir
14 hours agoKid With Gun Shoots & Kills 2 Armed Robbers During Home Invasion
45.1K13 -
 54:28
54:28
LFA TV
1 day agoUnjust Man | TRUMPET DAILY 2.27.25 7PM
49.9K5 -
 1:36:39
Redacted News
8 hours agoBOMBSHELL EPSTEIN SH*T SHOW JUST DROPPED ON WASHINGTON, WHAT IS THIS? | Redacted w Clayton Morris
171K296 -
 2:03:31
Revenge of the Cis
10 hours agoEpisode 1453: Fat & Fit
62.5K9 -
 2:38:12
The White House
11 hours agoPresident Trump Holds a Press Conference with Prime Minister Keir Starmer of the United Kingdom
198K61