Premium Only Content

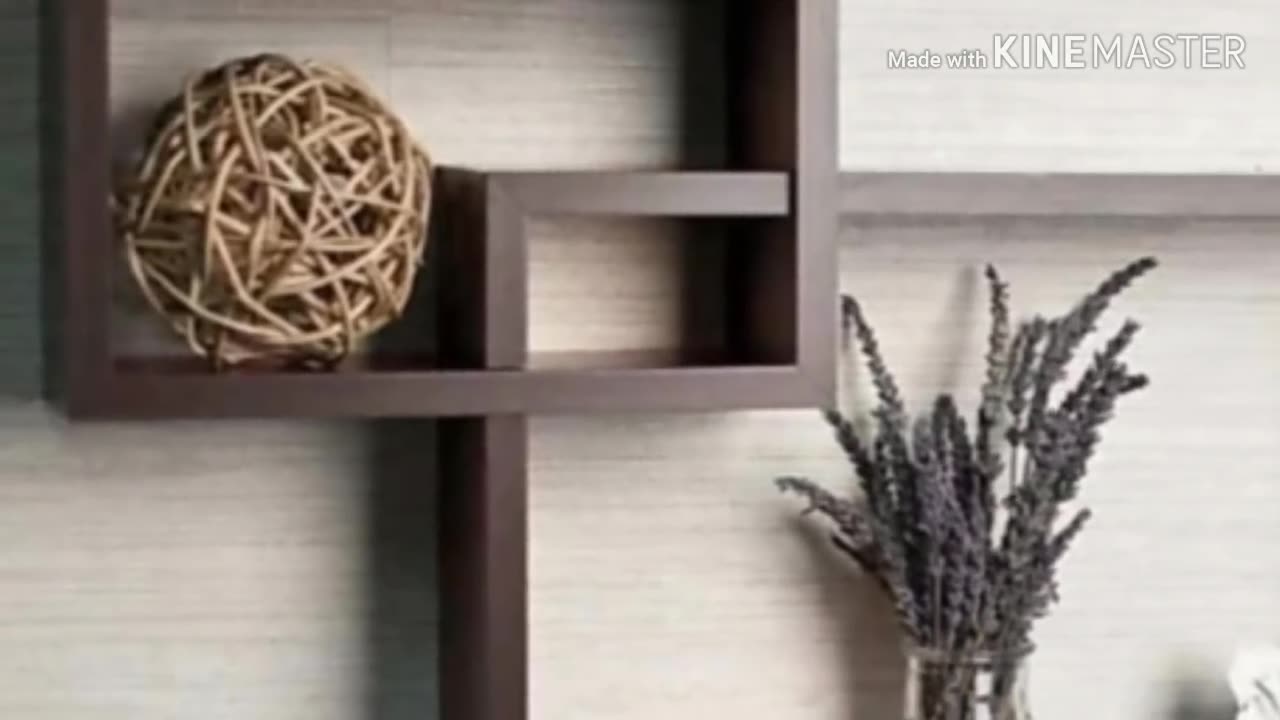
How To Make Cardboard Wall Shelf | Cardboard Wall Decor |Home Wall Decorating Ideas |Cardboard art
Introduction:
Looking for a unique and budget-friendly way to decorate your walls? Creating a cardboard wall shelf is a fantastic DIY project that combines functionality with creativity. Cardboard, a readily available and versatile material, can be transformed into a stylish and practical shelf, adding a touch of charm to any room. In this guide, we will walk you through the step-by-step process of making a cardboard wall shelf, providing you with a fun and rewarding home decor project.
Materials Needed:
Cardboard sheets
Ruler or measuring tape
Pencil or pen
Box cutter or utility knife
Adhesive (strong glue or hot glue gun)
Paint or decorative paper (optional)
Paintbrushes (if painting)
Mounting hardware (such as brackets or picture hanging hooks)
Level
Step 1: Designing and Measuring
Begin by sketching your desired shelf design on a piece of cardboard. Consider the dimensions and shape of the shelf, keeping in mind the space where it will be mounted. Measure and mark the dimensions accurately to ensure a precise build.
Step 2: Cutting the Cardboard
Using a ruler and a box cutter or utility knife, carefully cut out the cardboard pieces according to your design. Take your time to make clean and straight cuts, as they will contribute to the overall appearance and stability of the shelf.
Step 3: Assembling the Shelf
Lay out the cardboard pieces according to your design. Apply adhesive along the edges where the pieces will join, and press them firmly together. Allow the adhesive to dry completely before moving on to the next step.
Step 4: Reinforcing the Shelf
To enhance the strength and durability of the shelf, consider adding additional cardboard strips or layers to the bottom and back of the structure. This reinforcement will provide stability and ensure that the shelf can hold the desired weight.
Step 5: Decorate (optional)
If you wish to add a decorative touch to your cardboard wall shelf, you can paint it or cover it with decorative paper. Use acrylic paints or spray paints for a vibrant and long-lasting finish. Alternatively, choose decorative paper or patterned contact paper that complements your room's aesthetic. Apply the paint or paper carefully, allowing it to dry or adhere fully before handling the shelf.
Step 6: Mounting the Shelf
Before mounting the shelf, decide on its placement on the wall. Use a level to ensure it will be straight. Attach the appropriate mounting hardware, such as brackets or picture hanging hooks, to the back of the shelf. Ensure that the hardware is securely attached and properly aligned.
Step 7: Hanging the Shelf
Position the shelf on the wall, aligning it with the mounting hardware. Carefully hang the shelf, making sure it is level. Double-check that the shelf is securely attached and capable of supporting the desired weight.
-
 2:08:48
TheSaltyCracker
9 hours agoLefty Grifters Go MAGA ReeEEeE Stream 12-22-24
169K453 -
 1:15:40
Man in America
12 hours agoThe DISTURBING Truth: How Seed Oils, the Vatican, and Procter & Gamble Are Connected w/ Dan Lyons
83.9K64 -
 6:46:07
Rance's Gaming Corner
13 hours agoTime for some RUMBLE FPS!! Get in here.. w/Fragniac
143K1 -
 1:30:48
Josh Pate's College Football Show
13 hours ago $7.58 earnedCFP Reaction Special | Early Quarterfinal Thoughts | Transfer Portal Intel | Fixing The Playoff
65.7K -
 23:55
23:55
CartierFamily
3 days agoElon & Vivek TRIGGER Congress as DOGE SHUTS DOWN Government
125K152 -
 5:43:44
Scammer Payback
2 days agoCalling Scammers Live
206K27 -
 18:38
18:38
VSiNLive
2 days agoProfessional Gambler Steve Fezzik LOVES this UNDERVALUED Point Spread!
150K17 -
 LIVE
LIVE
Right Side Broadcasting Network
10 days agoLIVE REPLAY: President Donald J. Trump Keynotes TPUSA’s AmFest 2024 Conference - 12/22/24
2,470 watching -
 4:31
4:31
CoachTY
1 day ago $28.61 earnedCOINBASE AND DESCI !!!!
190K11 -
 10:02
10:02
MichaelBisping
1 day agoBISPING: "Was FURY ROBBED?!" | Oleksandr Usyk vs Tyson Fury 2 INSTANT REACTION
110K14